SEARCH THE BLOG

Showing posts with label crafts. Show all posts

Dec 3, 2018

4x4 Wooden Snowmen


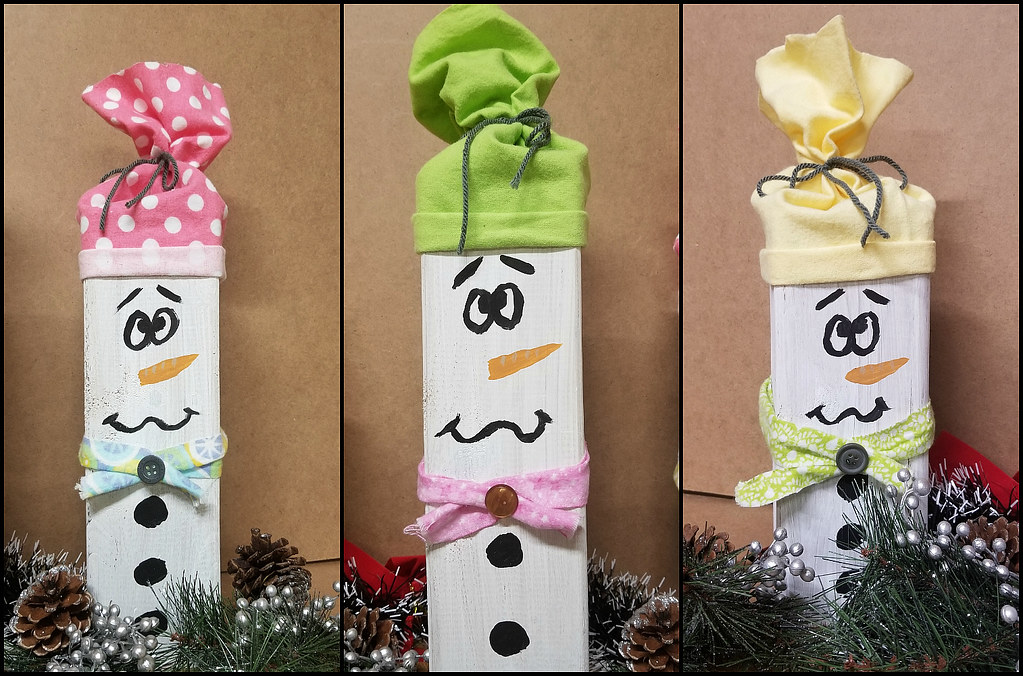
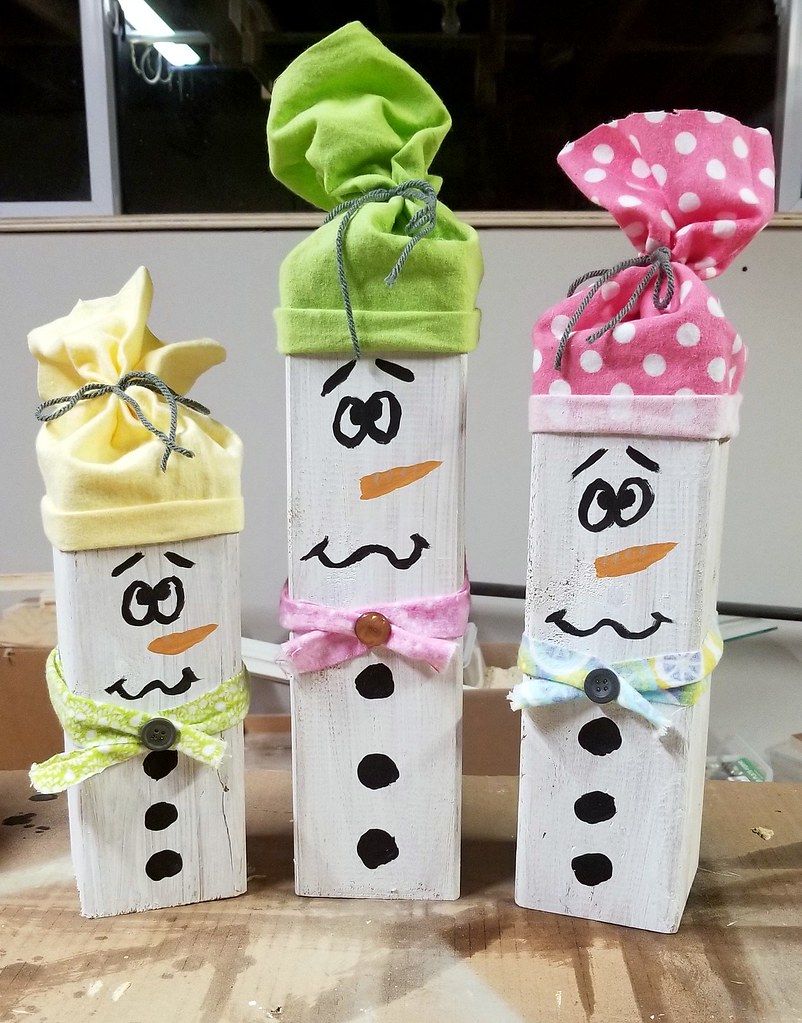
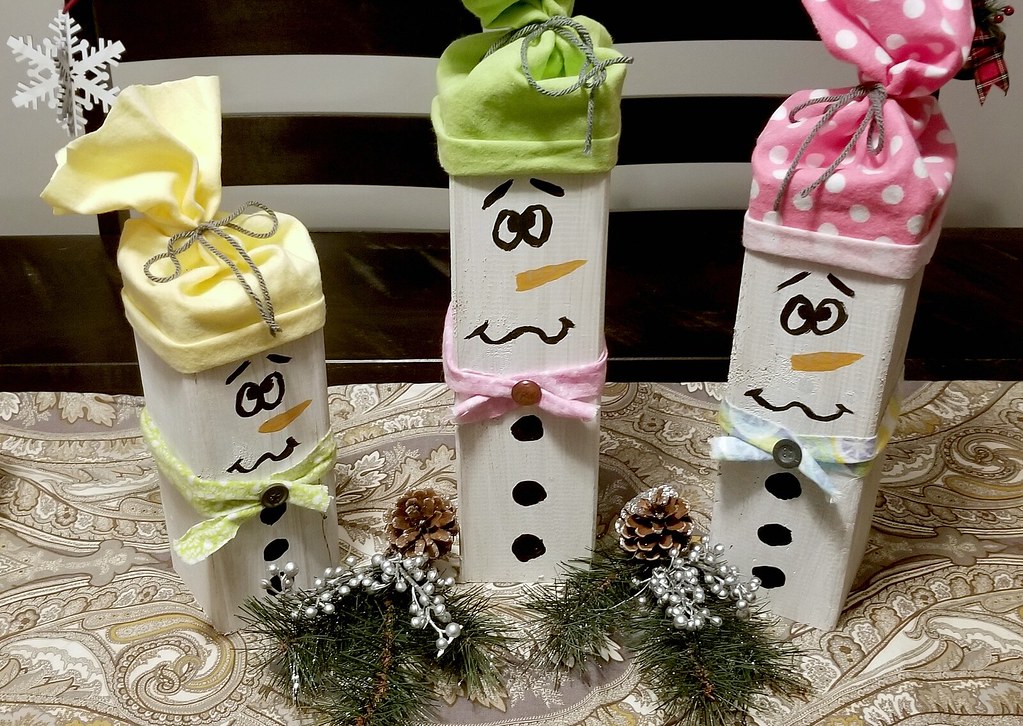
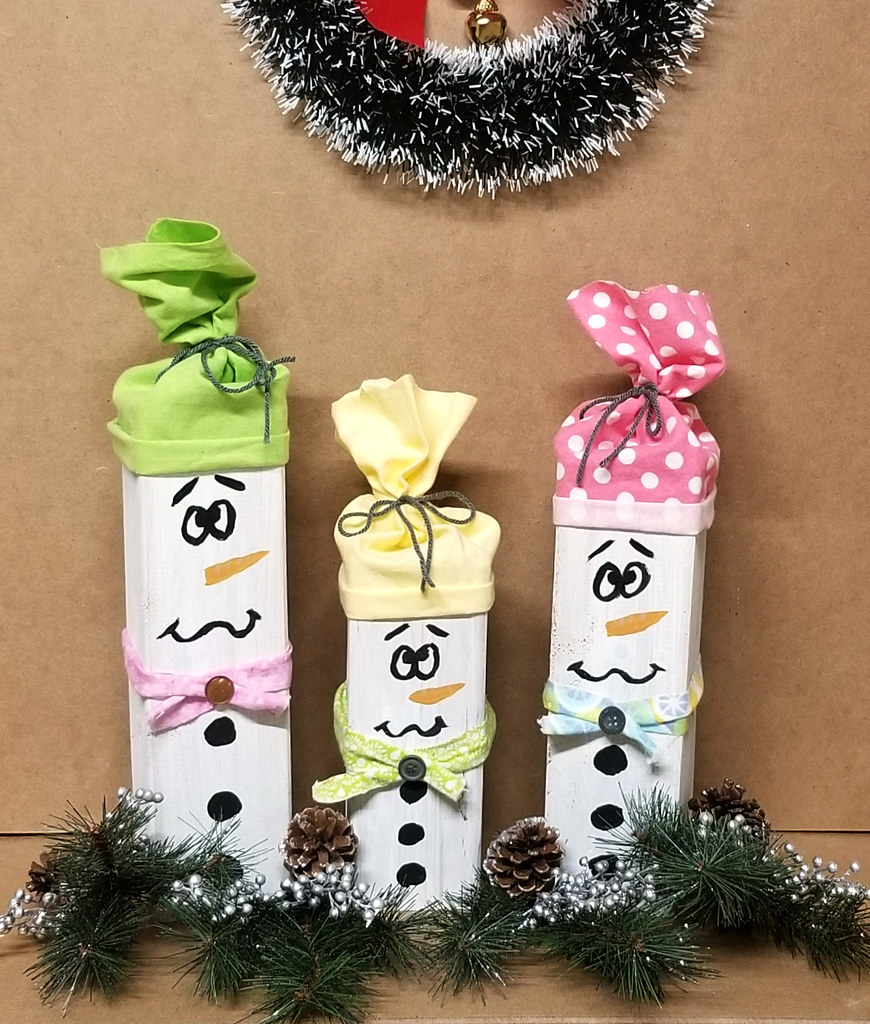
The town resurfaced our road this summer and that extra layer of asphalt they put on was enough such that our mailbox was now too low by postal standards. We had to replace the 4x4 post, so the old one went into the scrap wood bin until I could make these adorable 4x4 fence post snowmen.
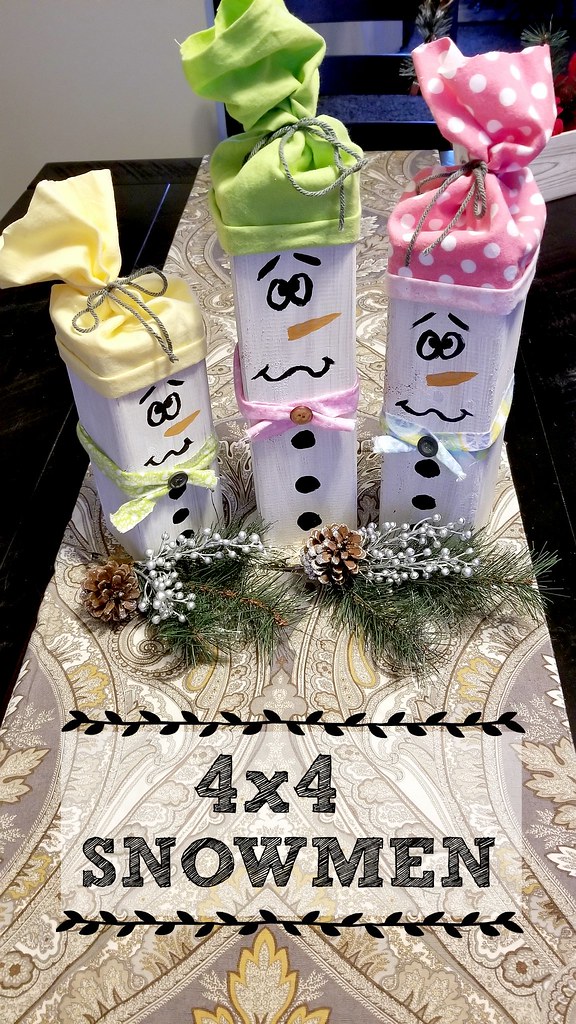
4x4 wooden snowmen


To make one you will need:

3' of 4x4 fence post
white, black, & orange paint
scrap fabric
yarn
buttons
miter saw
hot glue gun


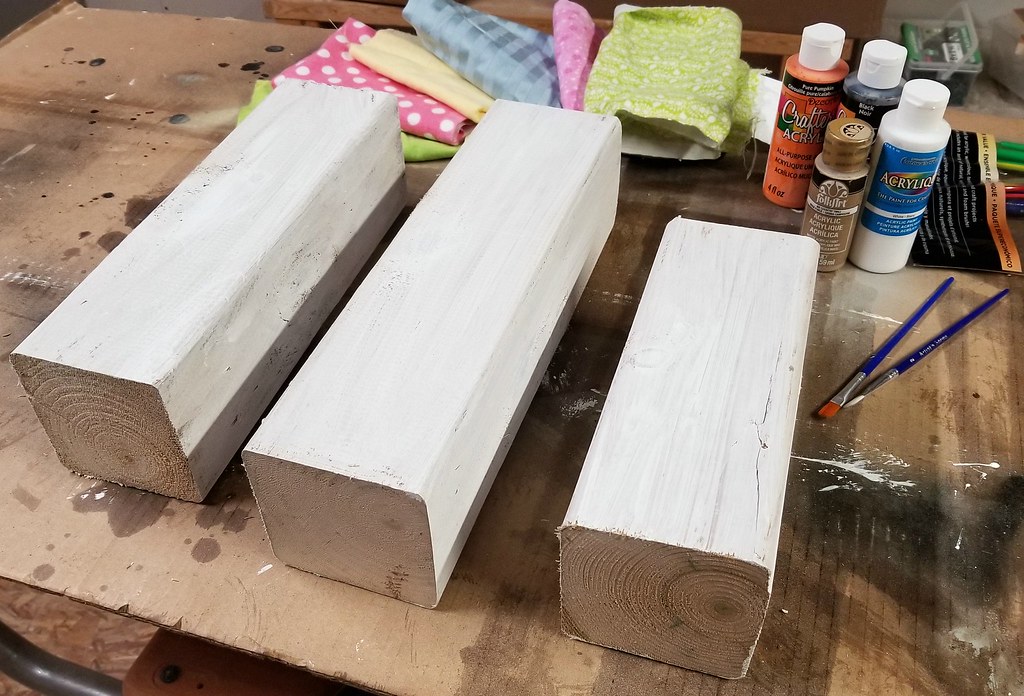
Cut your post into three pieces. It's up to you if you want your snowmen to be all the same or different heights. I randomly cut the post lengths without measuring, and ended up with pieces that were 9-1/2", 11-1/2", and 13-1/2" long.
4x4 wooden snowmen

I wanted a flat paint finish for the snowmen bodies, so I chose white ceiling paint, and rubbed it on with a cloth to give it just a light washed look.

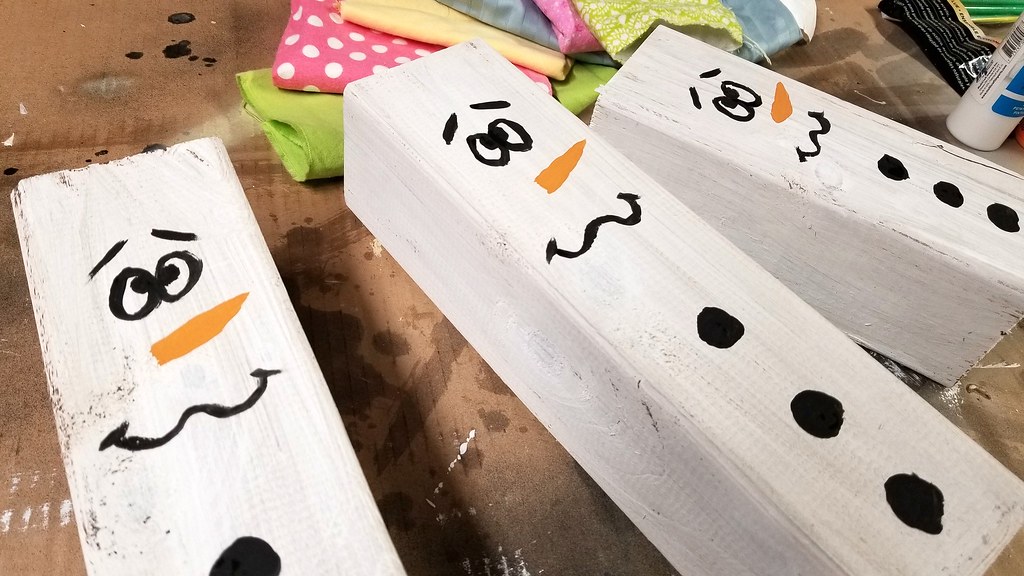
Once the white paint was dry, I used poster paint to add the eyes, nose, mouth, and buttons. I used a fairly wide artist's brush which gave the features a more rustic, cartoonish look instead of being sharply defined.
4x4 wooden snowmen

You can use any type of fabric you want for the hat and scarf. I used scraps of flannel left over from the receiving blankets and stuffed animal I made for my cousin's baby.

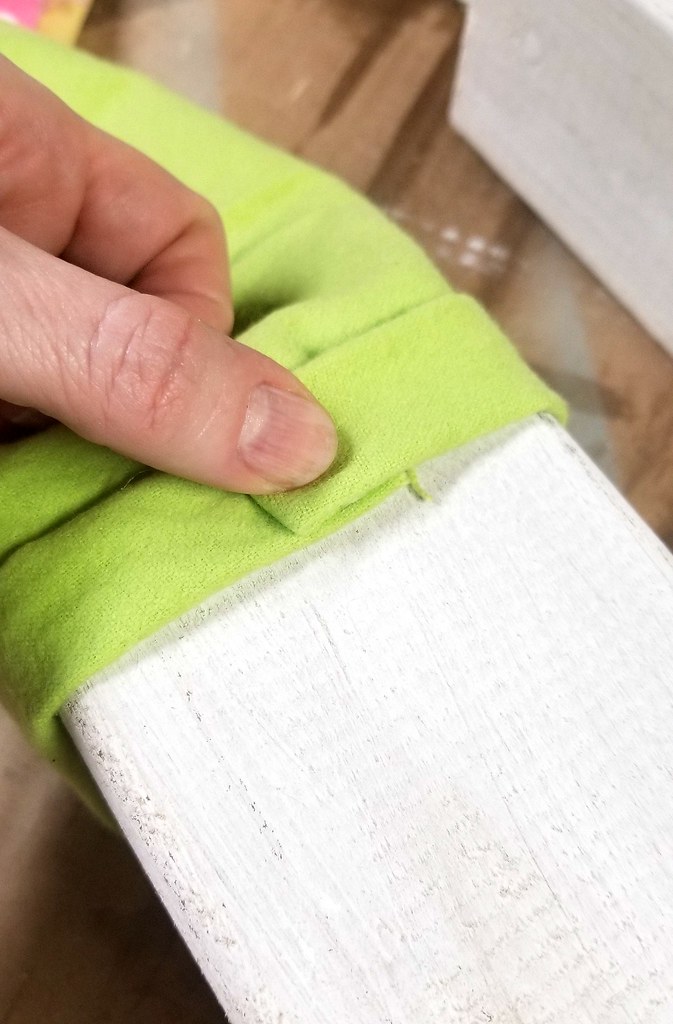
Cut a fabric rectangle measuring 10"x15". Fold the fabric over twice - about an inch - on the long side to create the brim of the hat, and wrap it around the top of the post, just above the eyes. Glue one end of the rolled edge of the hat to the post at the back, then fold over the other end and glue it to the first edge.
4x4 wooden snowmen

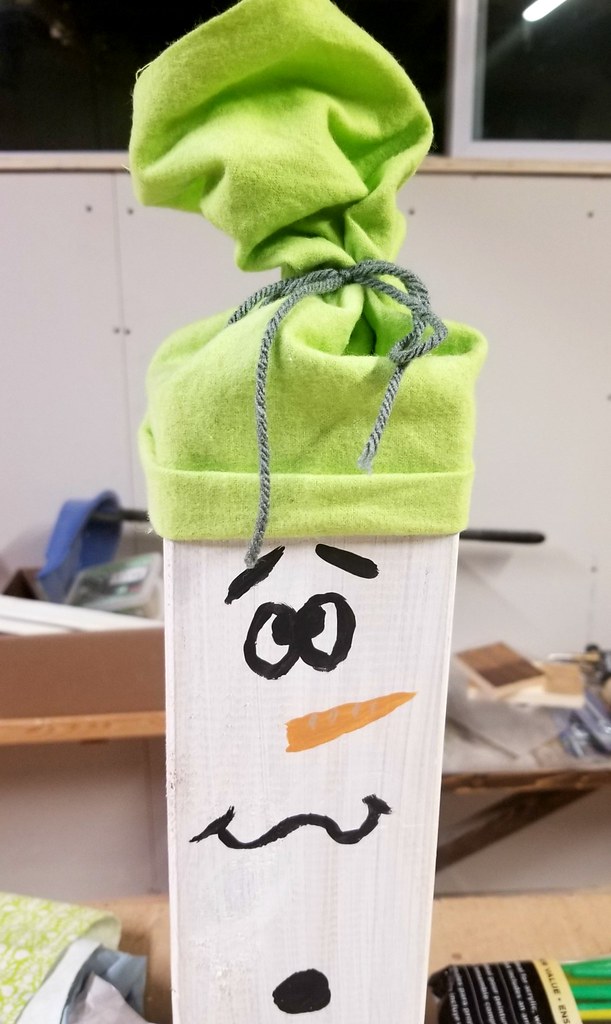
Gather the top of the hat together and tie it off with yarn. Floof the top of the hat like a pompom.
4x4 wooden snowmen

Take another scrap of fabric, 17" long and about 1" wide, and wrap it around the post at the neck. I picked fabric for the scarves that didn't quite match the hats because, when we go out to play in the snow we don't worry about matching, we just make sure we're warm. Crisscross the scarf fabric and secure in place with a dot of hot glue. Glue a button where the two ends cross.

And you're done!
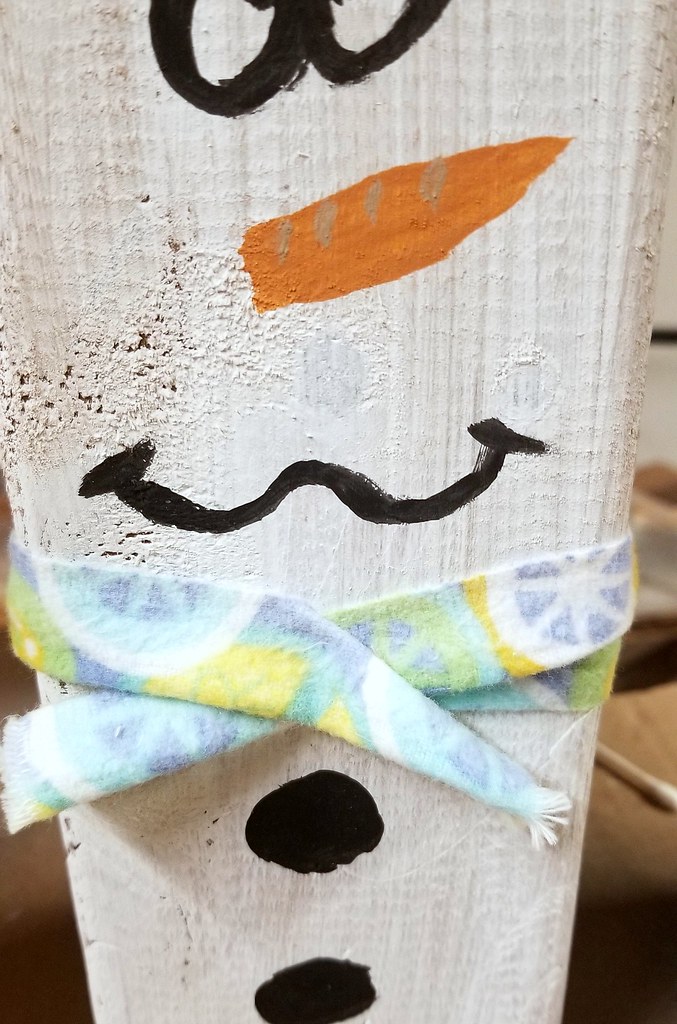
4x4 wooden snowmen
4x4 wooden snowmen
4x4 wooden snowmen
4x4 wooden snowmen
4x4 wooden snowmen


Nov 23, 2018

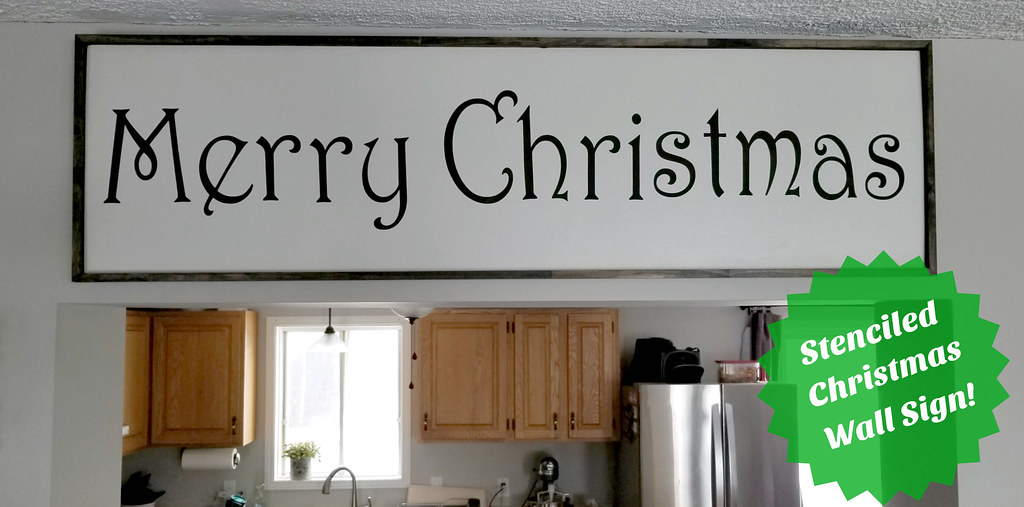
Merry Christmas Stenciled Wall Sign (Silhouette/Cricut)


More holiday decorations today. After slacking off the last couple of years, I vowed that this year I would complete all of the crafty projects I have saved up.

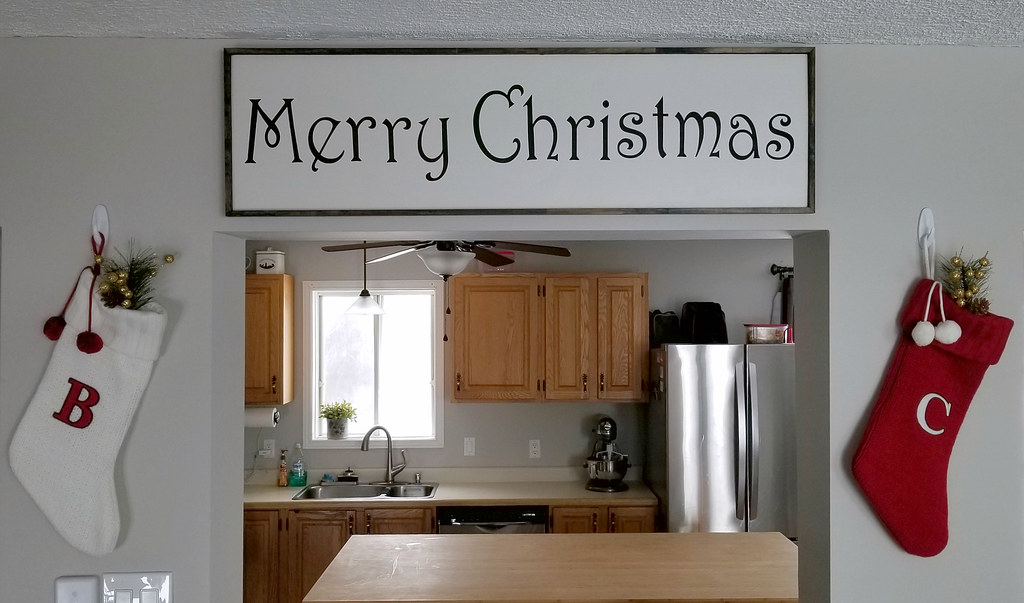
stenciled Christmas sign (Silhouette/Cricut)

I made this sign for my house back in October and I've been waiting so impatiently to share it with you! The build is pretty easy - the most time-intensive part is placing the stencil.

You will need:

1 - 1x12 board - 42" long
2 - 1-1/4 x 3/8 trim pieces - cut at 45 degrees - 42.75" longest point to longest point
2 - 1-1/4 x 3/8 trim pieces - cut at 45 degrees - 12.75" longest point to longest point

Also:

Merry Christmas stencil (cut with Silhouette/Cricut/by hand)
Paint/stain
Brad nailer and brad nails or driver and screws
Miter saw
French cleat for hanging (optional)

Cut your sign board and sand it smooth on the face and edges. Cut your trim strips for the border at a 45 degree angle.

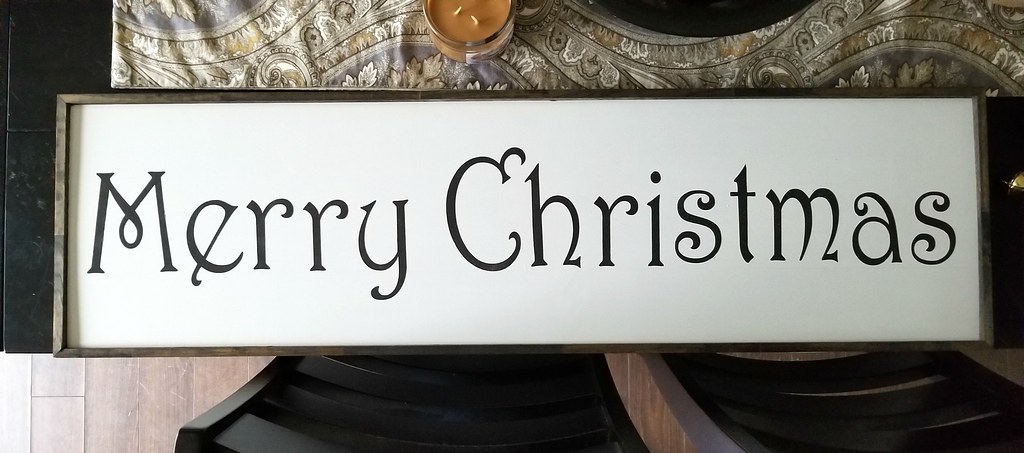
Paint one side of the board in your chosen colour. I mixed BM Edgecomb Gray with plain white paint to lighten it up. Stain your trim pieces in a contrasting colour. I chose Minwax Jacobean.

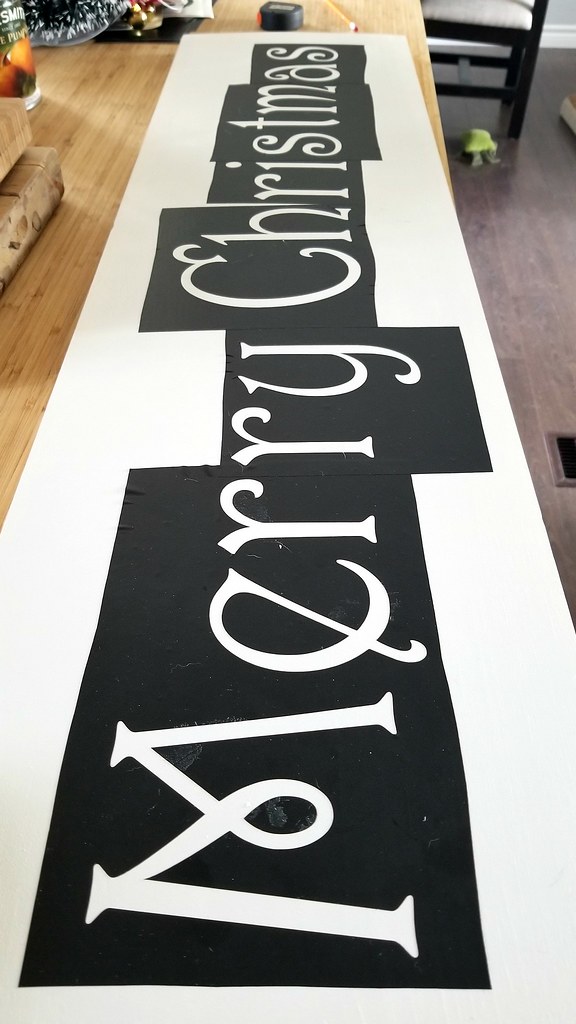
I used my Silhouette Cameo cutter to cut the words from vinyl. The font type is called Harrington. My vinyl is only 12" wide so I had to cut the words out in pieces, a few letters at a time.

Once you have your stencil cut, arrange it on your sign board so that the spacing is even. My vinyl is peel and stick, so the letters stay securely in place.

stenciled Christmas sign (Silhouette/Cricut)

A trick to keep your letters sharp is to paint along the inside edges of the letters in your background colour first. This forms a seal to keep your top colour from bleeding around the edges.

stenciled Christmas sign (Silhouette/Cricut)

I painted the letters with dark brown poster paint - several thin coats, letting it dry completely between coats.

stenciled Christmas sign (Silhouette/Cricut)

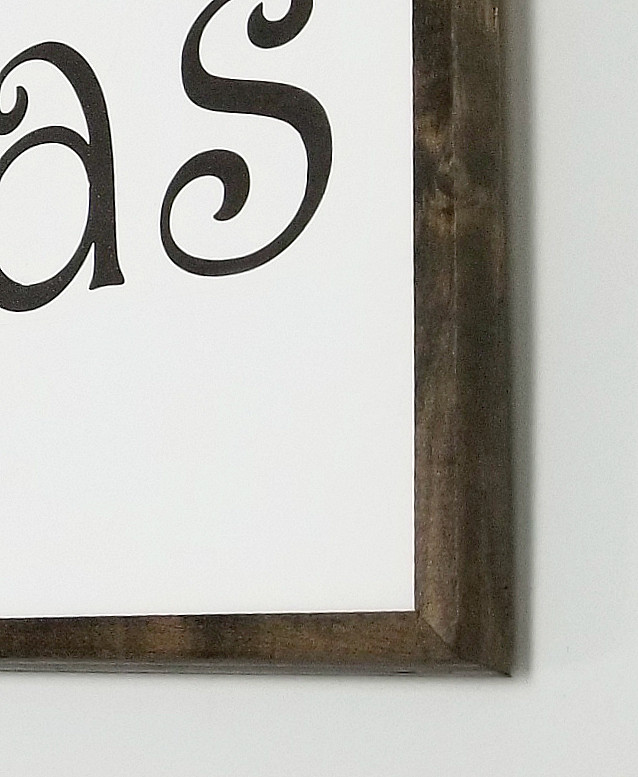
Once your letters are completely dry, peel off your stencil and do any touchups necessary. Nail your trim pieces onto the edges of the board, keeping them flush with the back and with a slight overhang at the front. Squeeze or clamp them tightly together when you nail the corners.


stenciled Christmas sign (Silhouette/Cricut)

stenciled Christmas sign (Silhouette/Cricut)

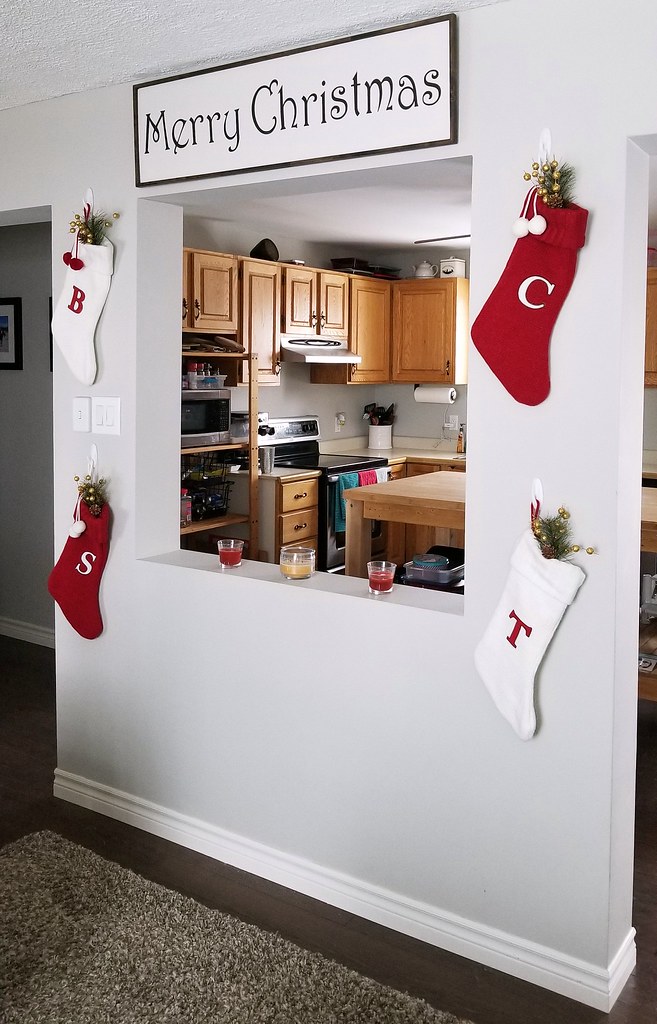
I hung the sign in the living room above our stockings. It perfectly frames the opening to the kitchen and it's the first thing you see when you come in the house. It's hung with a French cleat - very secure and the weight is evenly distributed.

stenciled Christmas sign (Silhouette/Cricut)

stenciled Christmas sign (Silhouette/Cricut)

stenciled Christmas sign (Silhouette/Cricut)


Oct 19, 2018

Autumn Projects Roundup

We had our first snowfall yesterday morning, which I think means we are cruising right past autumn and moving on to winter here. But for those of you lucky enough to still have fall-like weather, here are some seasonal crafts and recipes you may have missed. (Click on an image to go to the original post.)

~~~~~


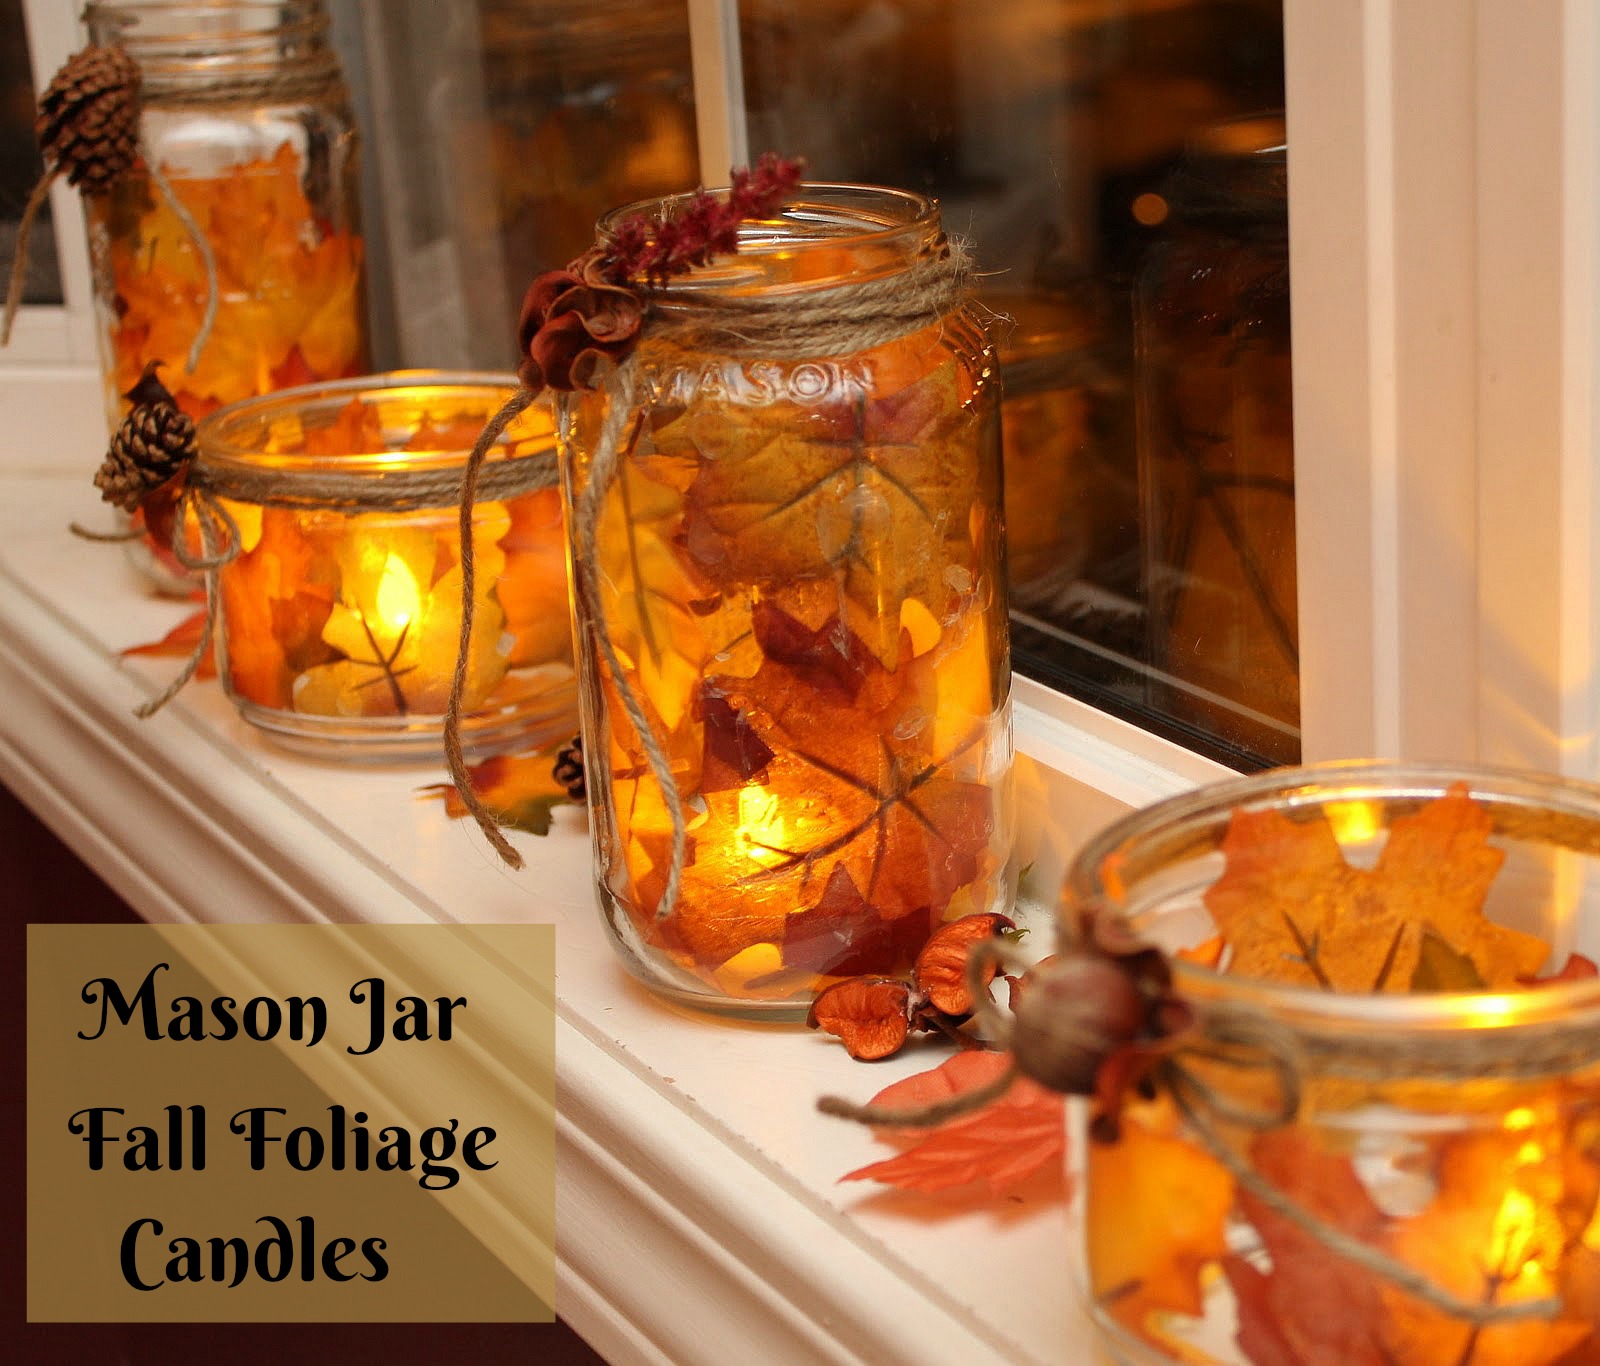
Mason Jar (Flameless) Candles

~~~~


Acorn & Pinecone "Tree" Centerpiece

~~~~


Autumn Burlap Wreath

~~~~


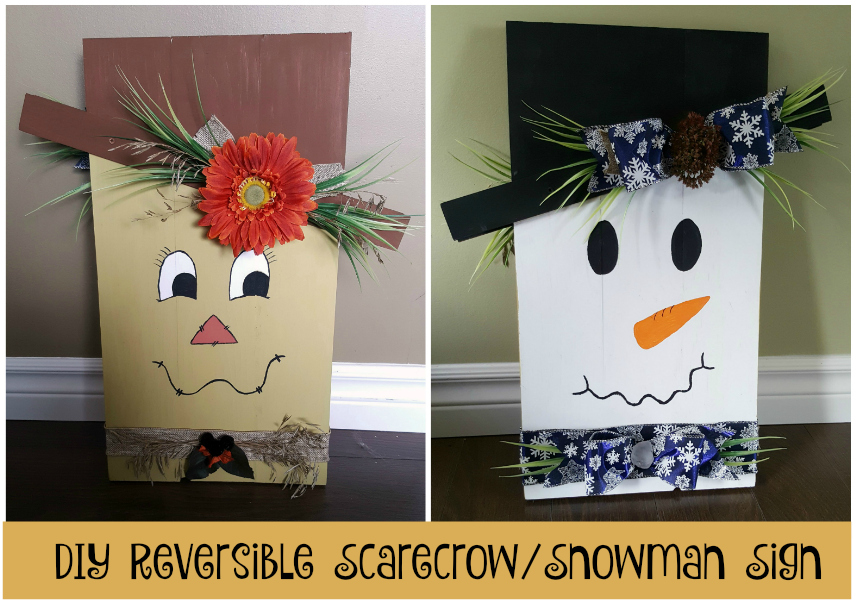
Reversible Scarecrow/Snowman Sign

~~~~


Porch & Mantel Decor

~~~~


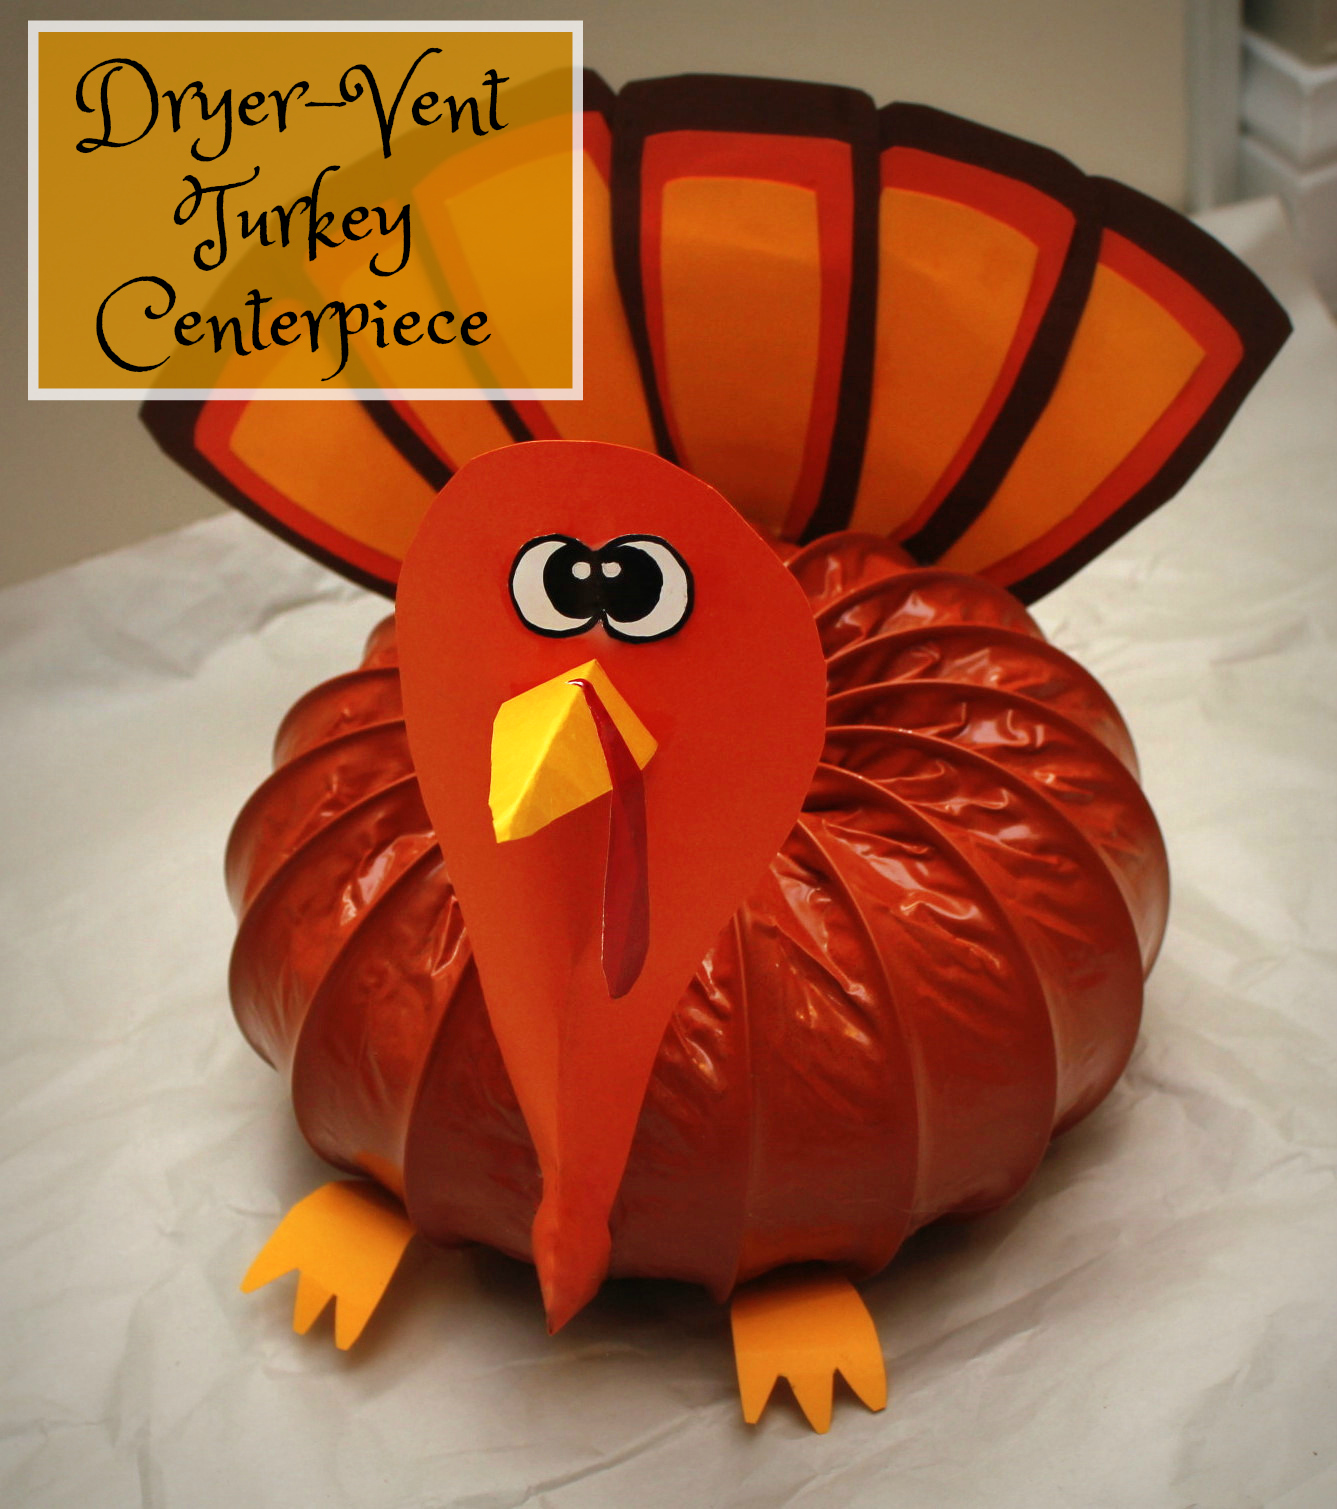
Dryer Vent Turkey and Pumpkin Centerpieces

~~~~


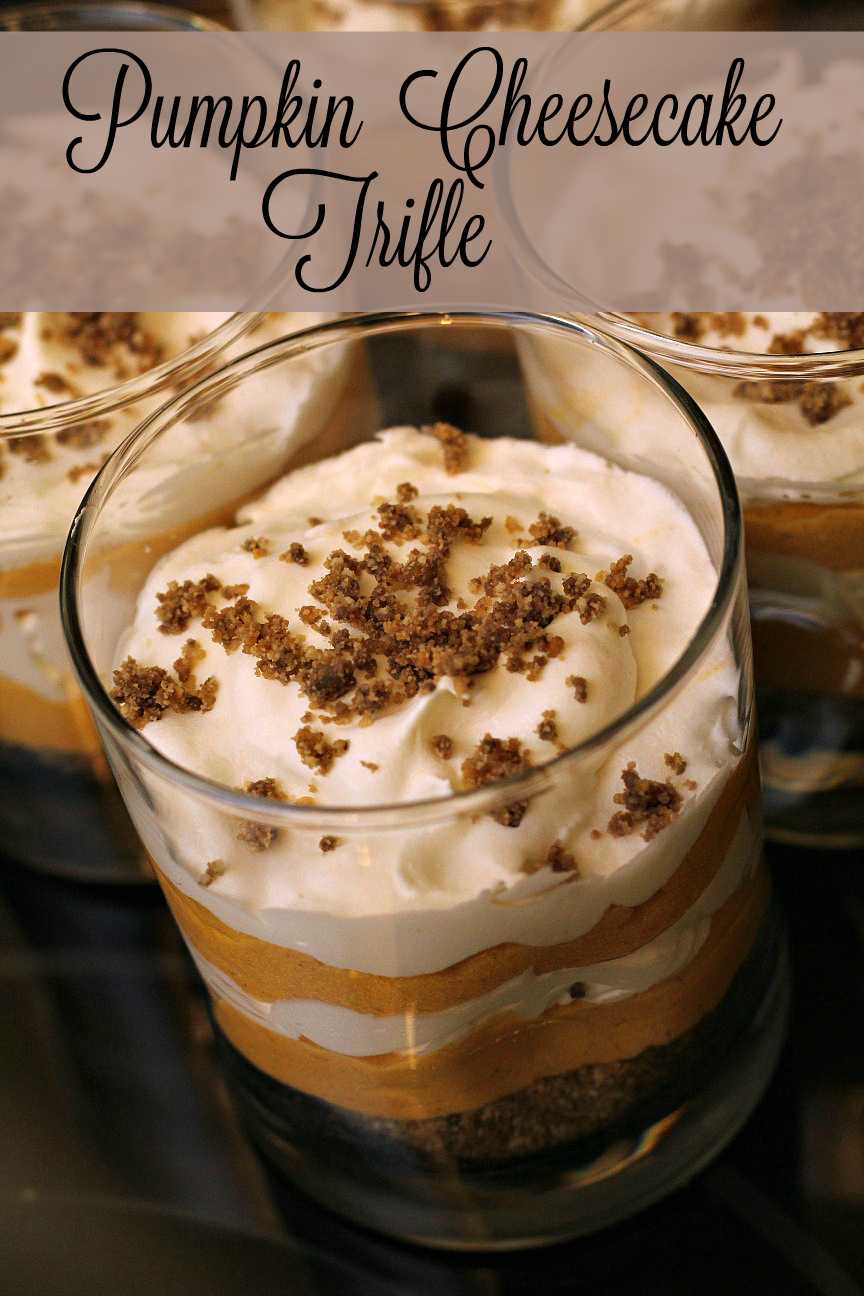
Pumpkin Cheesecake Trifle (No need to bake!)

~~~~


Beef and Vegetable Soup

Oct 31, 2017

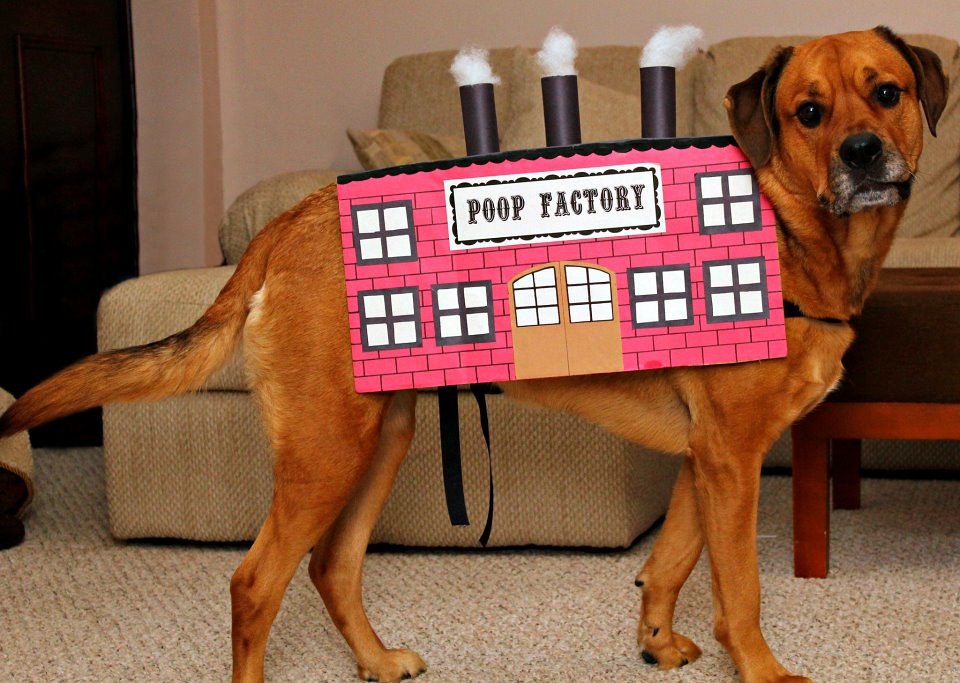
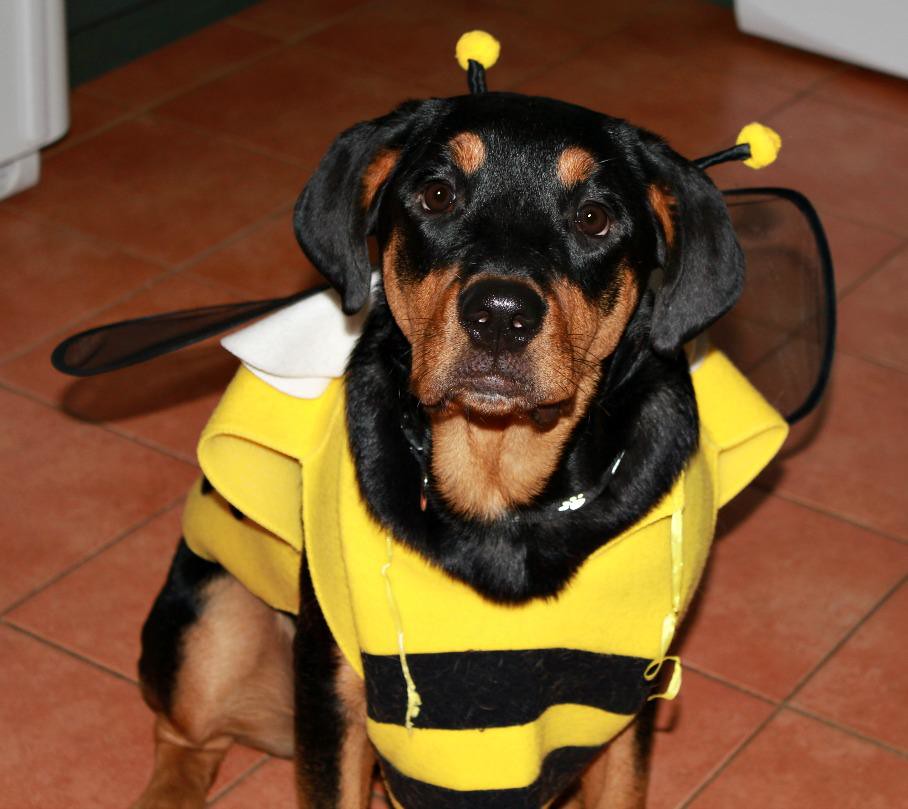
It's the Most Wonderful Time of the Year!!!

It's time to torture the doggos!

These aren't new costumes, but they're definitely our favourites.


Happy Halloween, everyone!

Oct 30, 2016

Reversible Scarecrow/Snowman Sign


I think it's about time to take a break from house renovations and dive back into some arts and crafts. I've had this idea saved on my Pinterest board forever. Last fall we were in the midst of selling our house/packing everything up, so there wasn't an opportunity to make it, or to decorate at all for that matter. But this year I am bound and determined to make the house look festive through the fall and winter seasons.

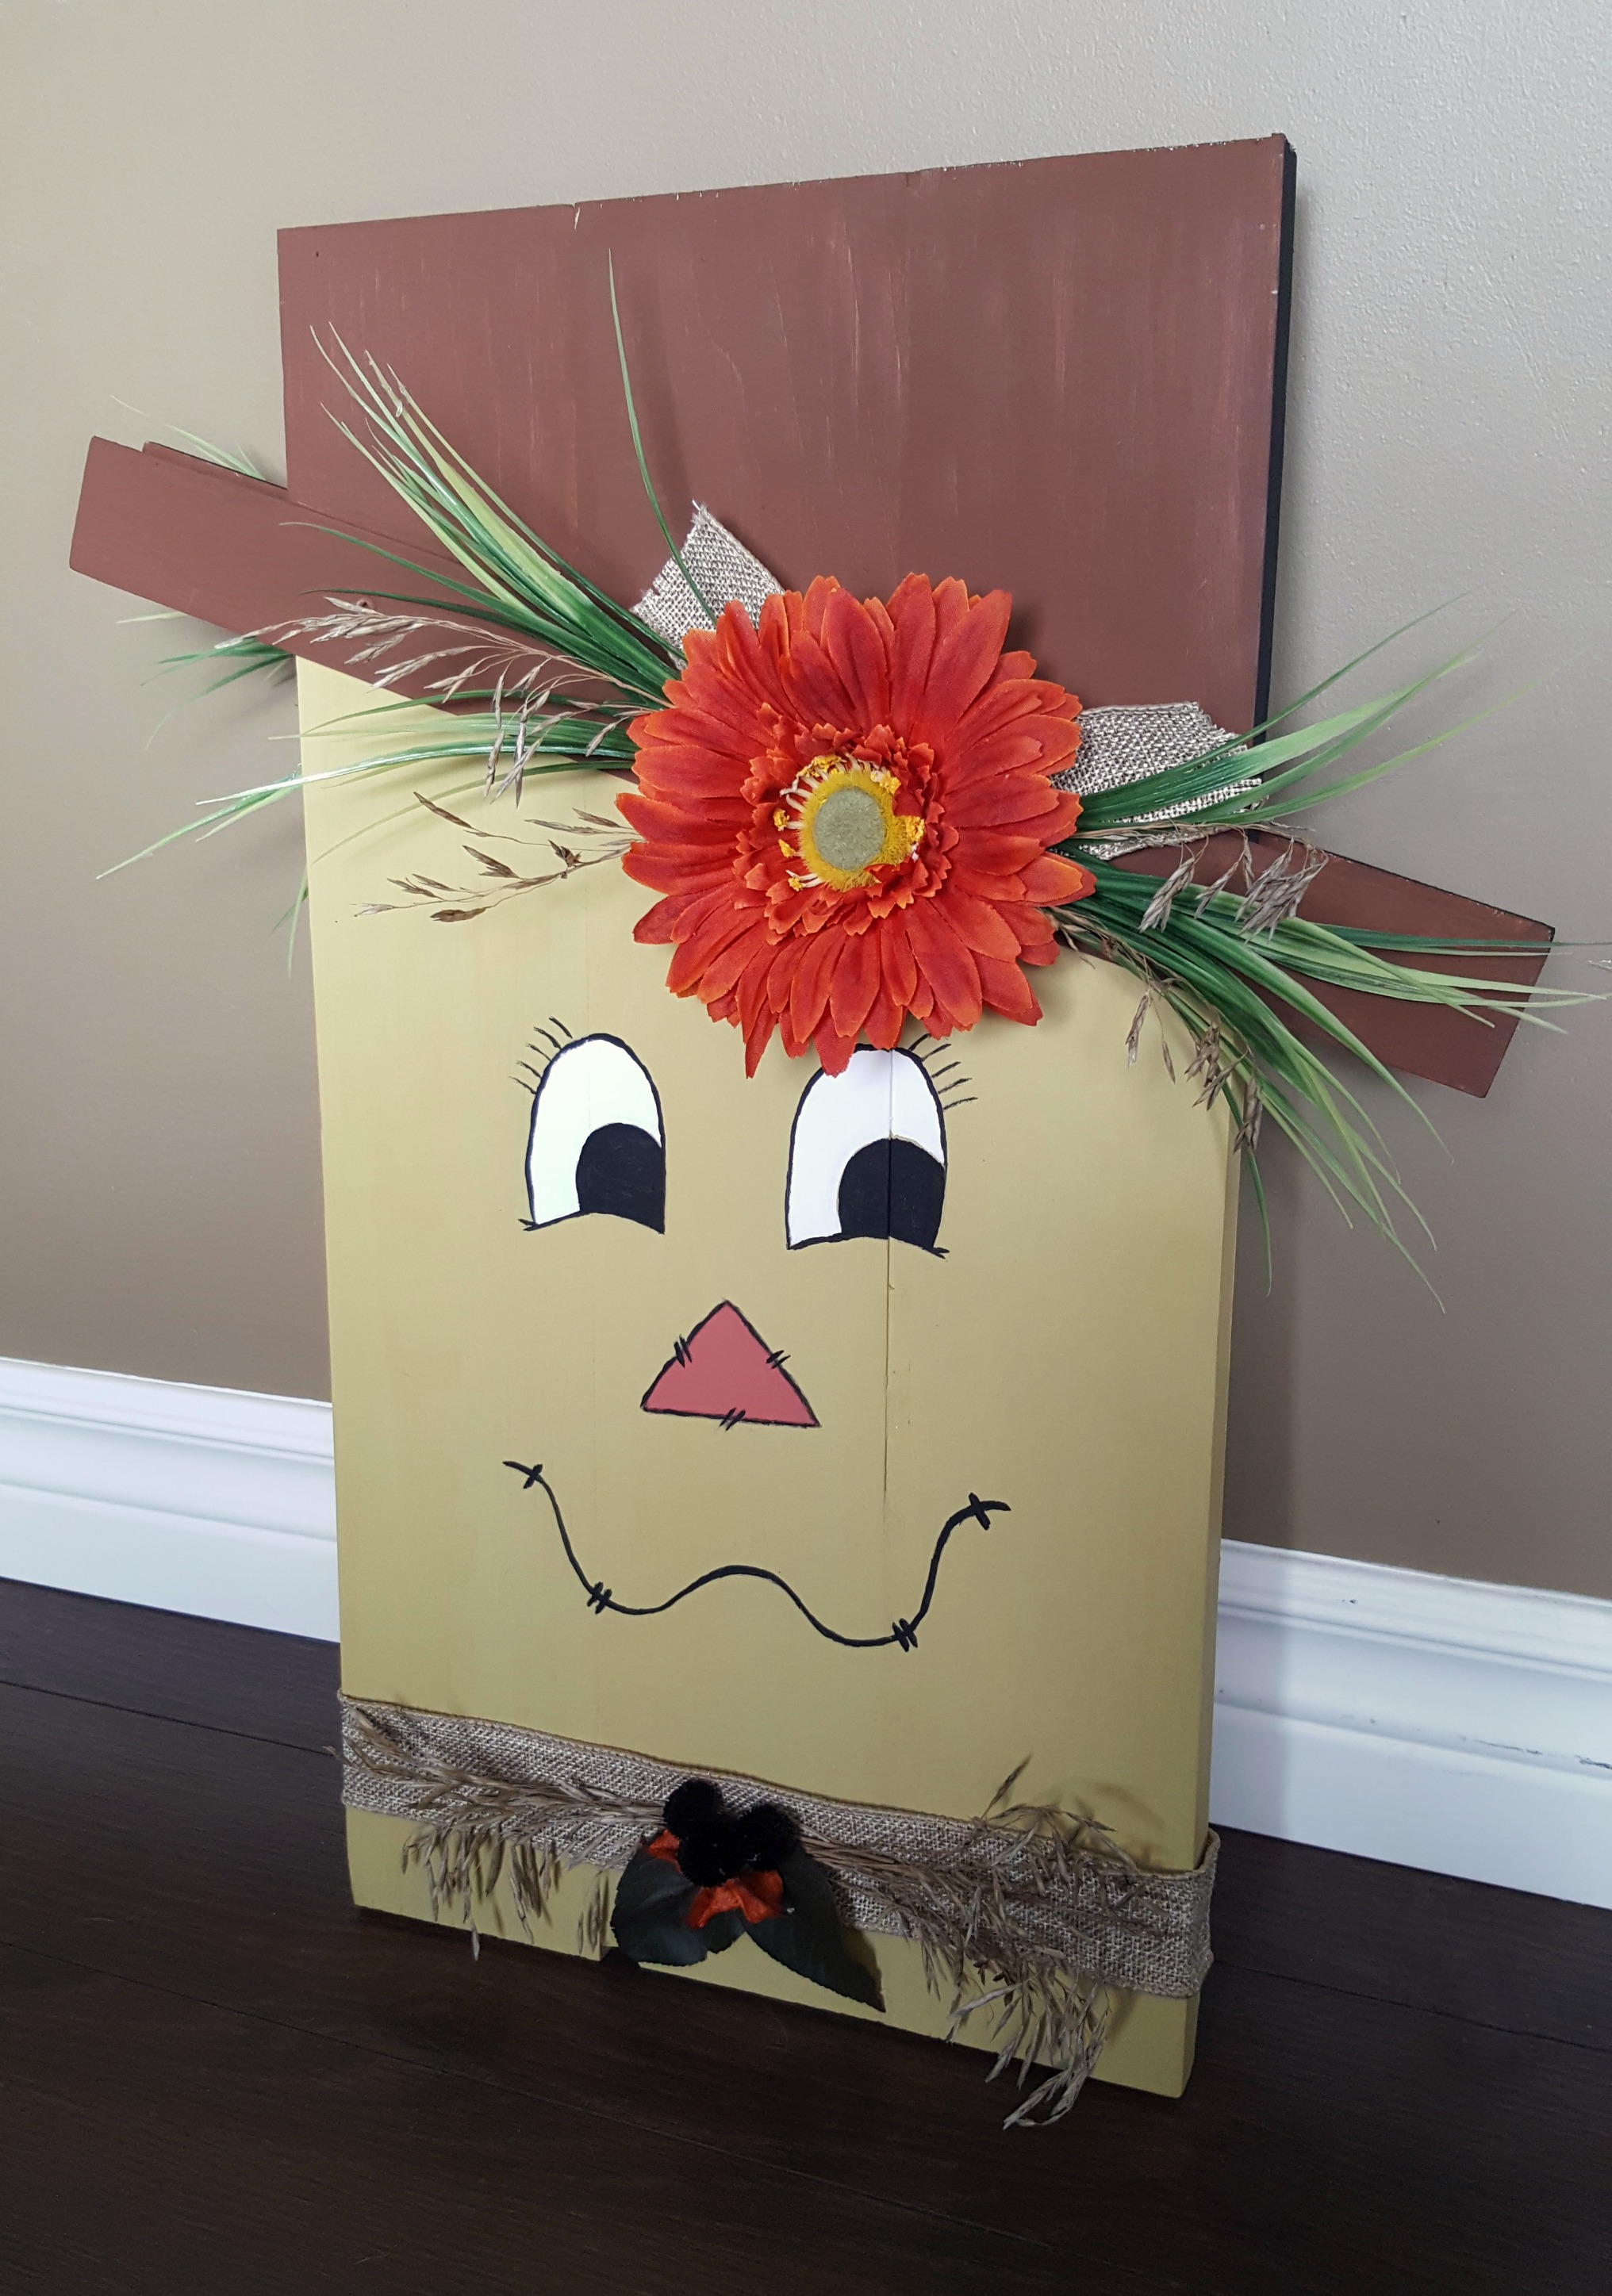
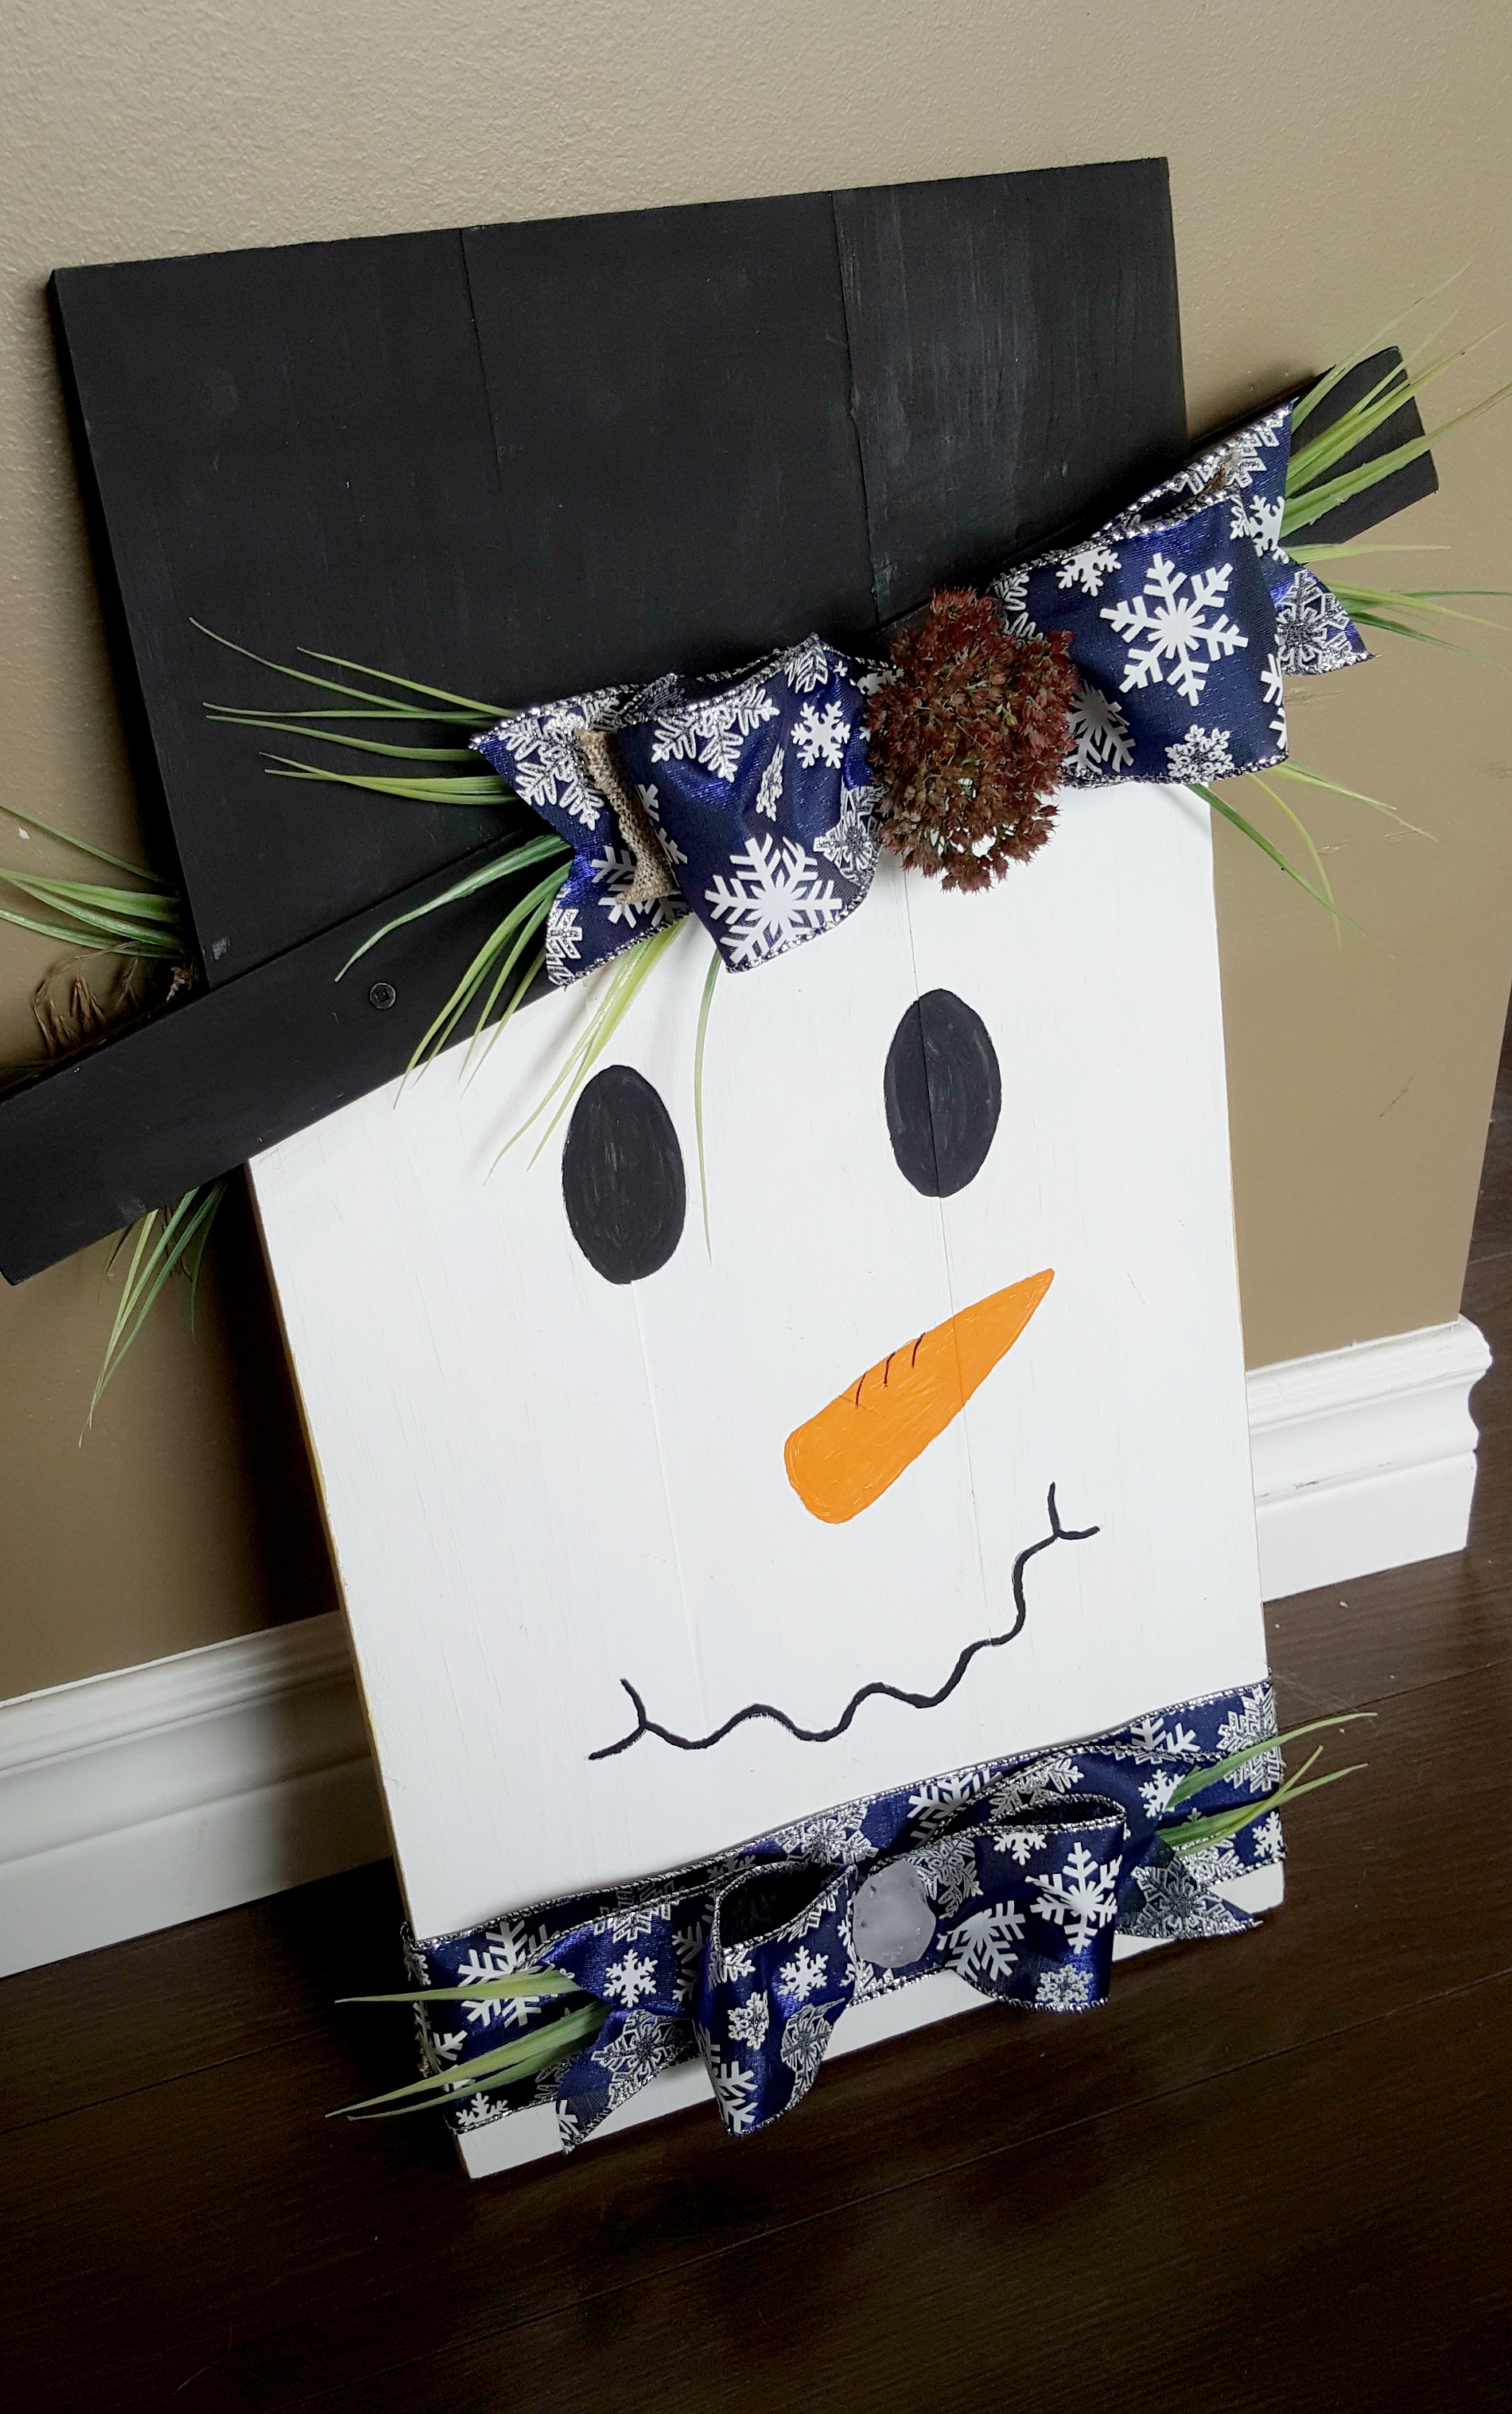
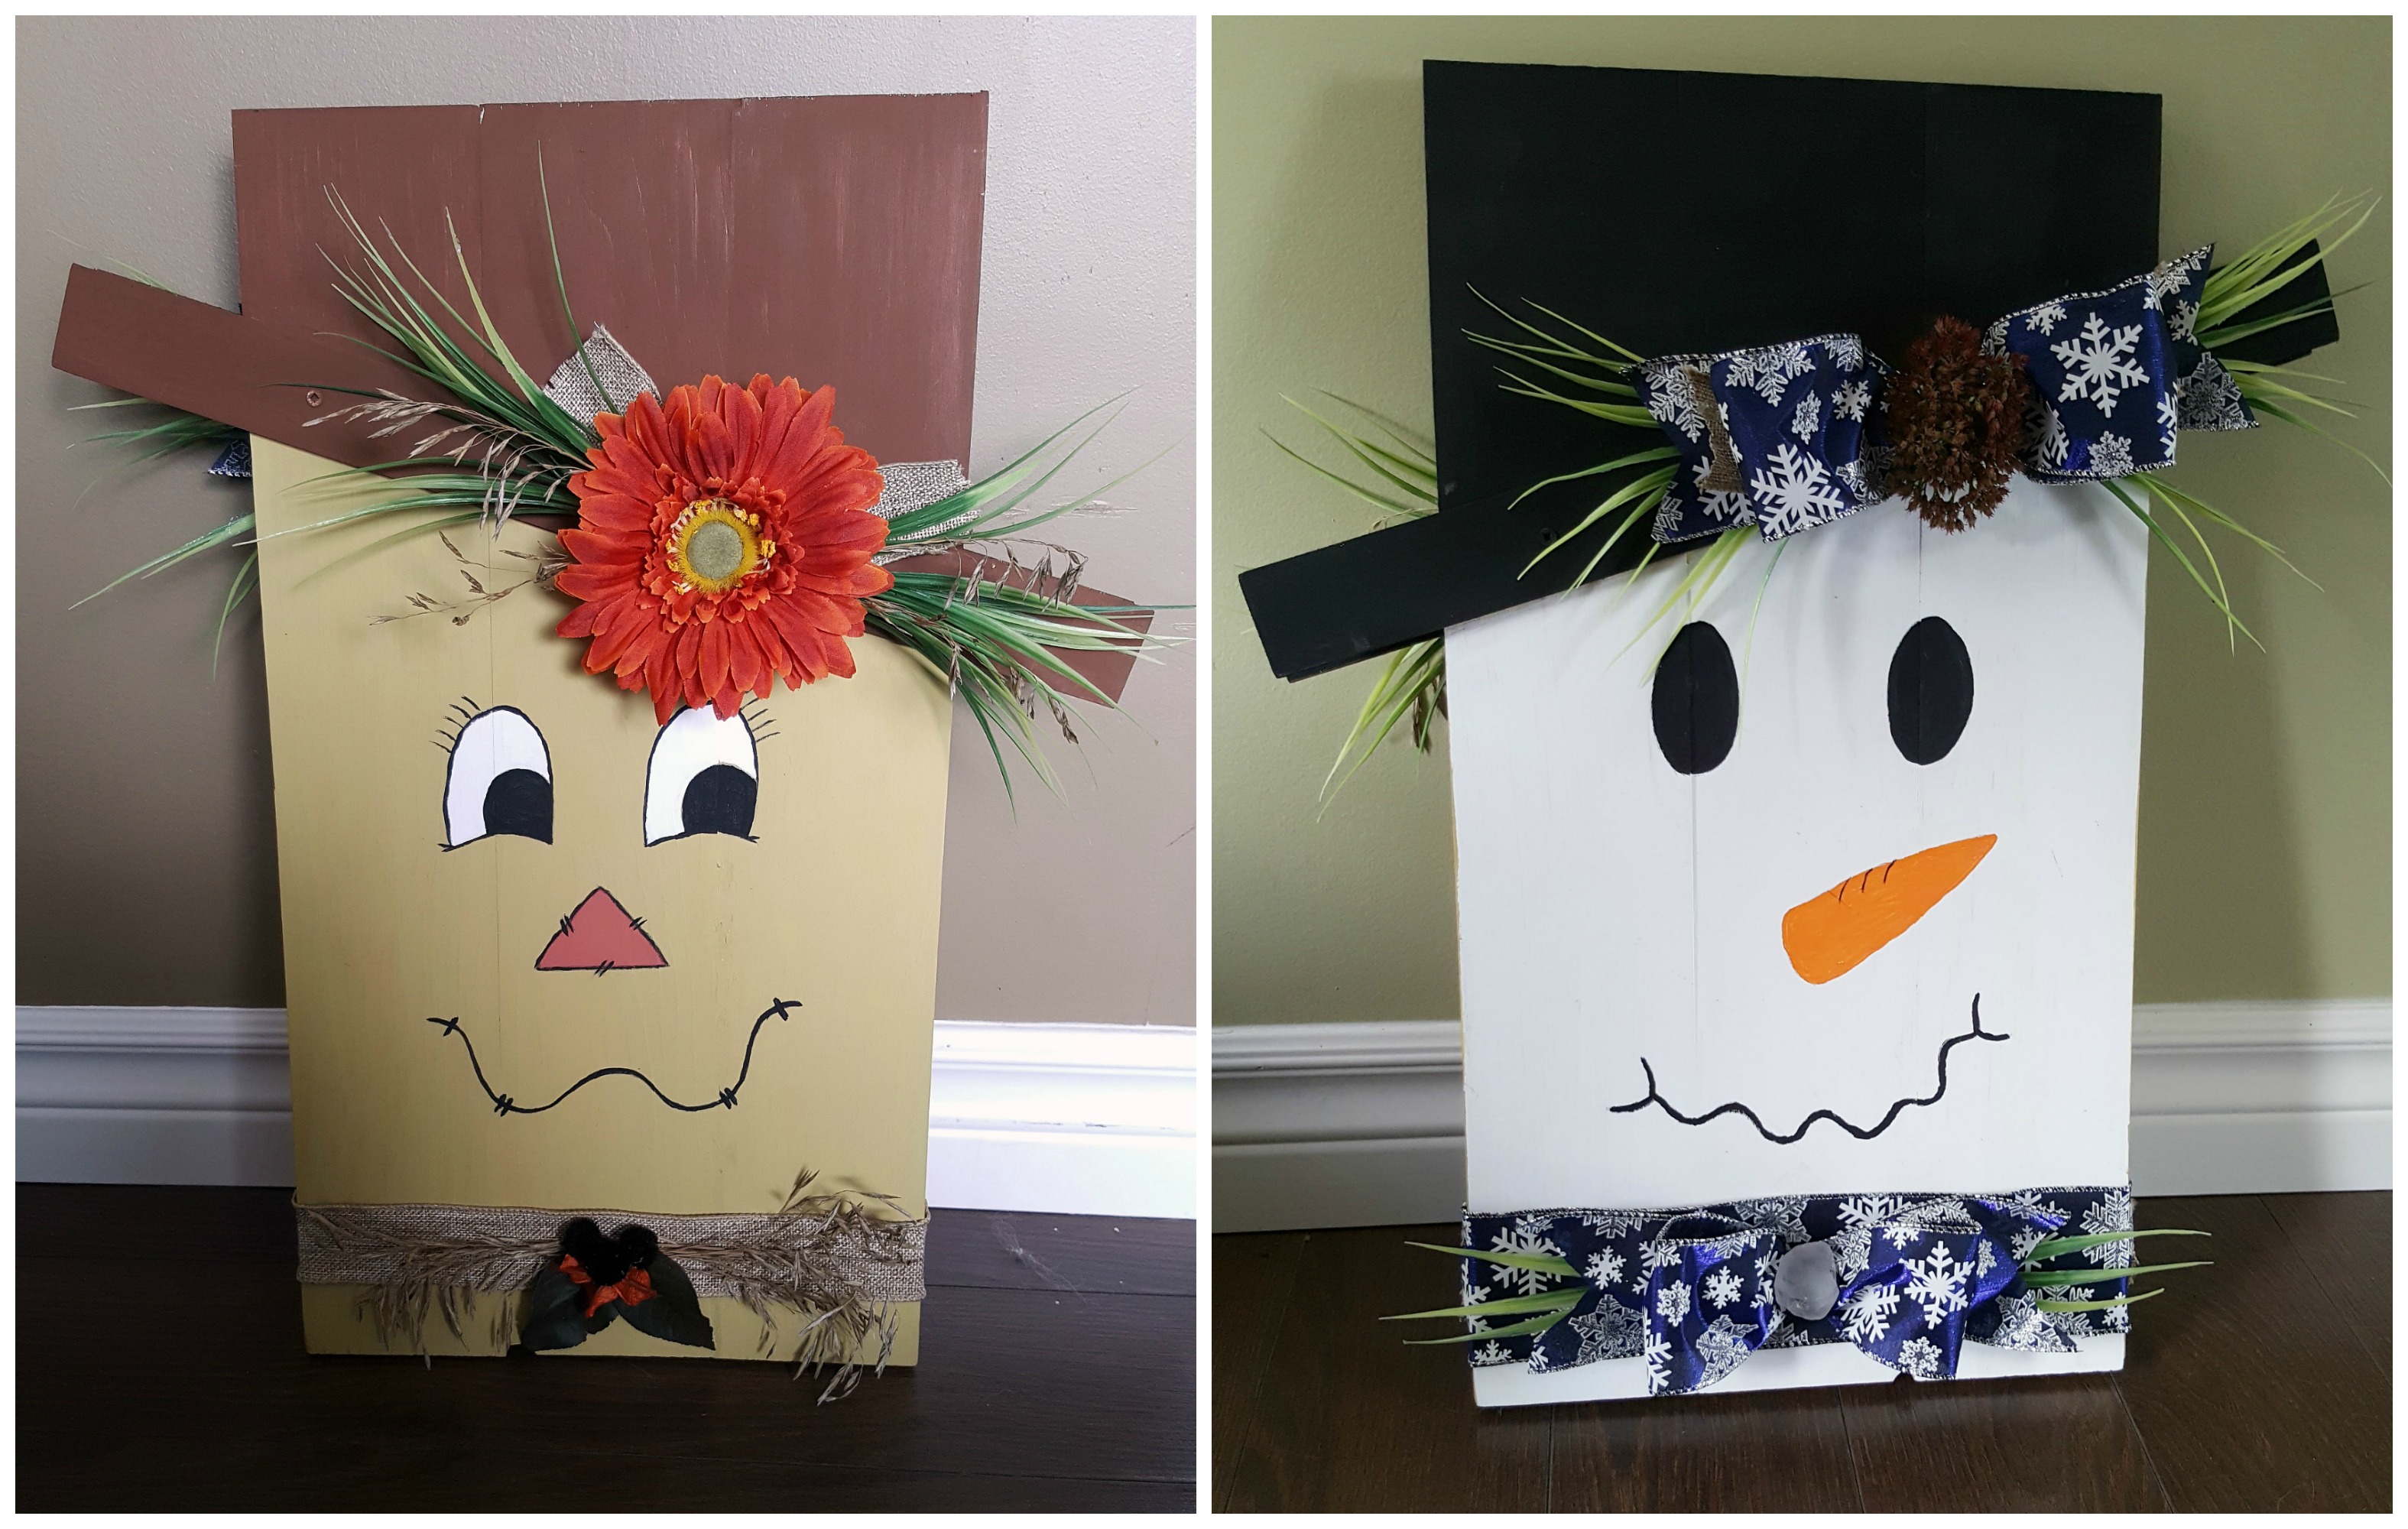
Enter the double-sided (i.e. reversible) scarecrow & snowman sign. You have a sweet fall scarecrow sign, and then also have a jumpstart on winter decorations with the other side.

reversible scarecrow snowman sign

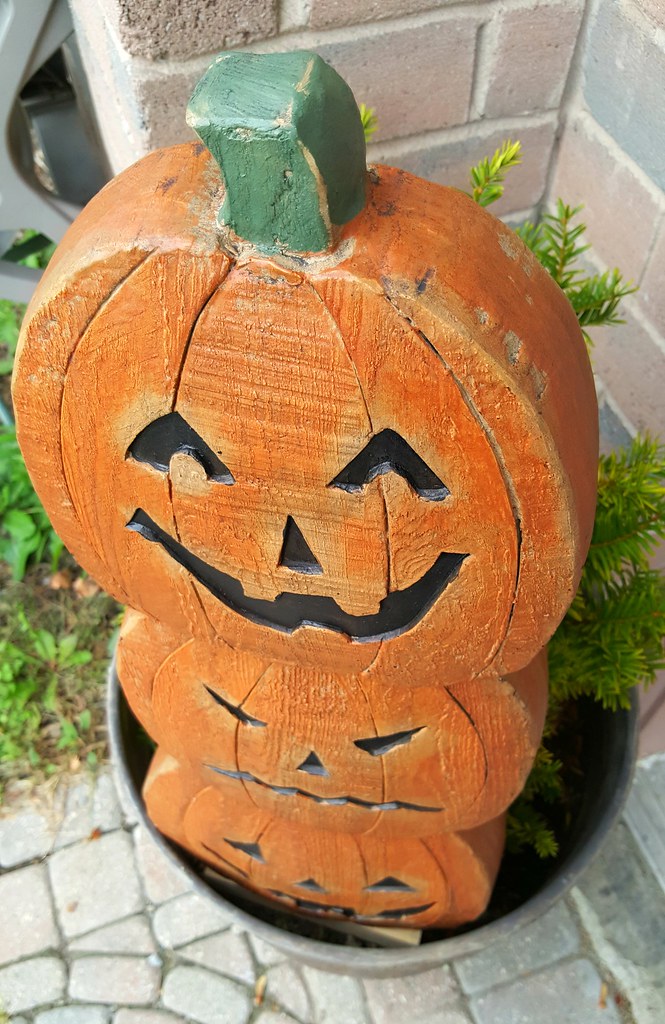
We even managed to get our pumpkins and decorative gourds in place for (Canadian) Thanksgiving. We found a local farm, just minutes from our house, that sells every possible size of pumpkin, squash, and miscellaneous gourd that you could want. They're all arranged by size/price, and the owners provide little red wagons to haul your choices around as you decide. How adorable does Tom look with the wagon?


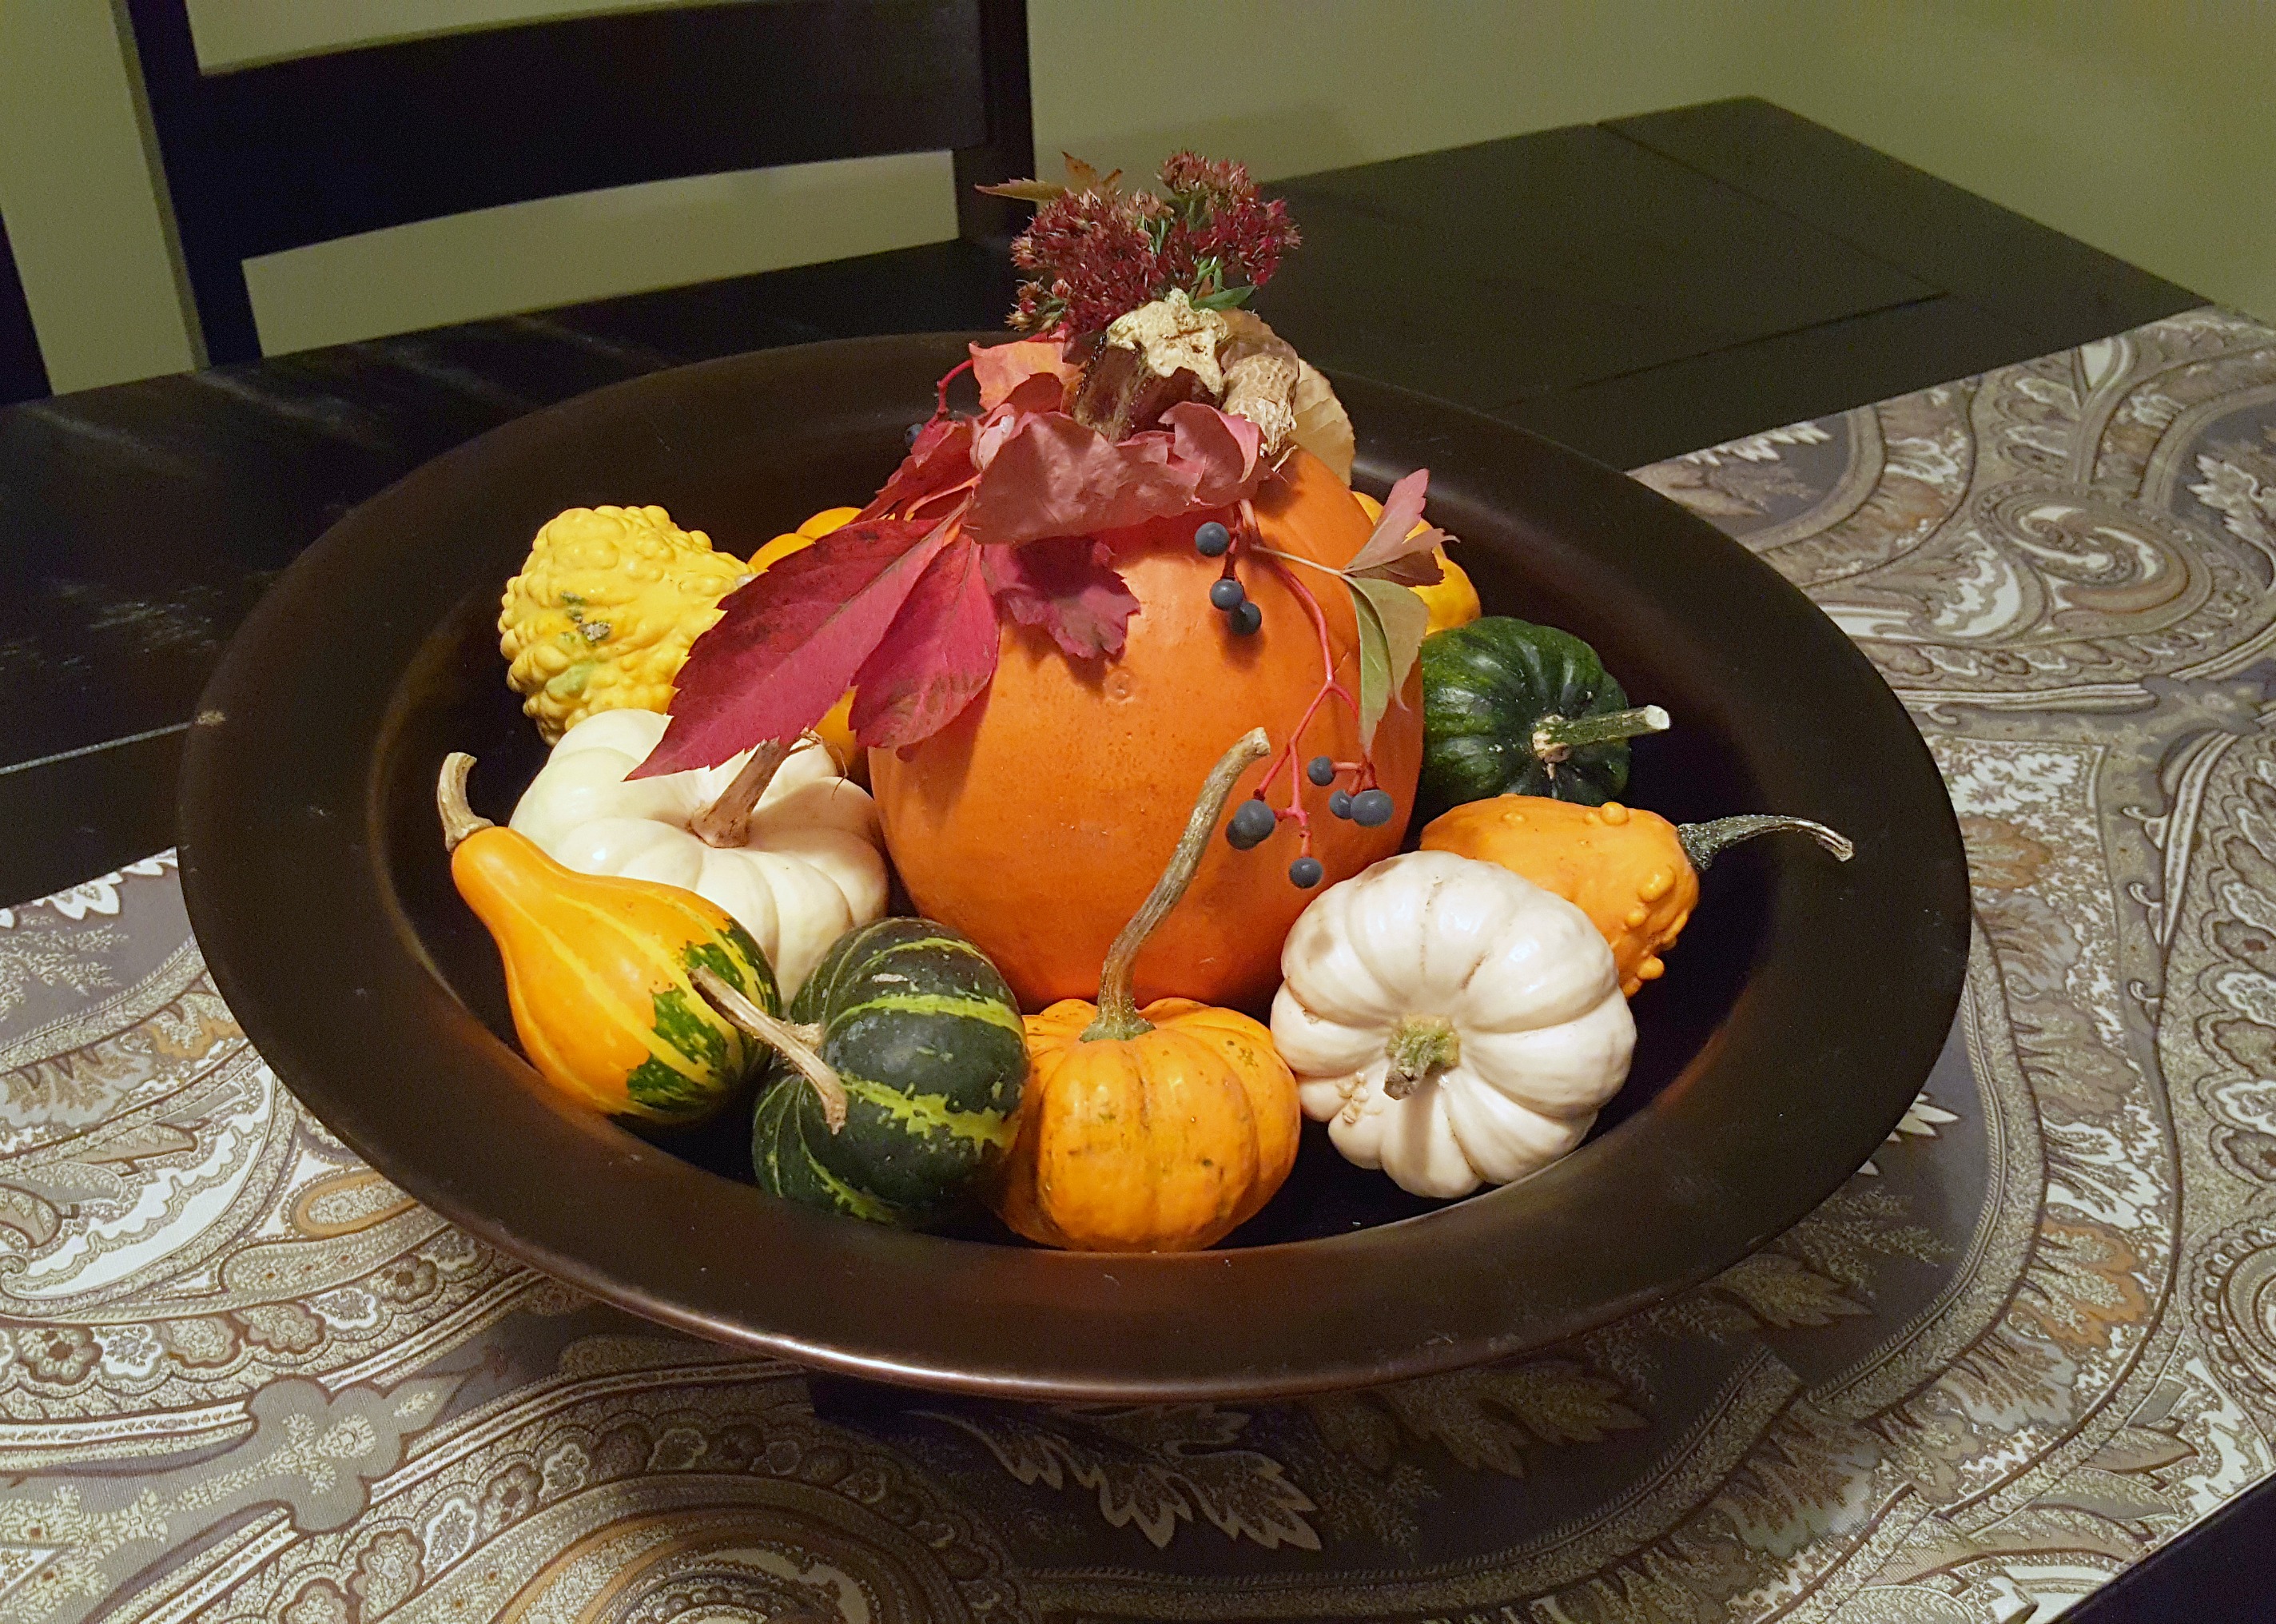
My aunt provided the pie-sized pumpkin that is the star of our table centerpiece.

fall thanksgiving centerpiece

But back to the scarecrow/snowman sign. This project was so much fun. And cost nothing in new materials. I used scrap wood, plus paint and decorations that I already had on hand. I even grabbed some clippings from random plants and bushes on our property to add a natural touch.

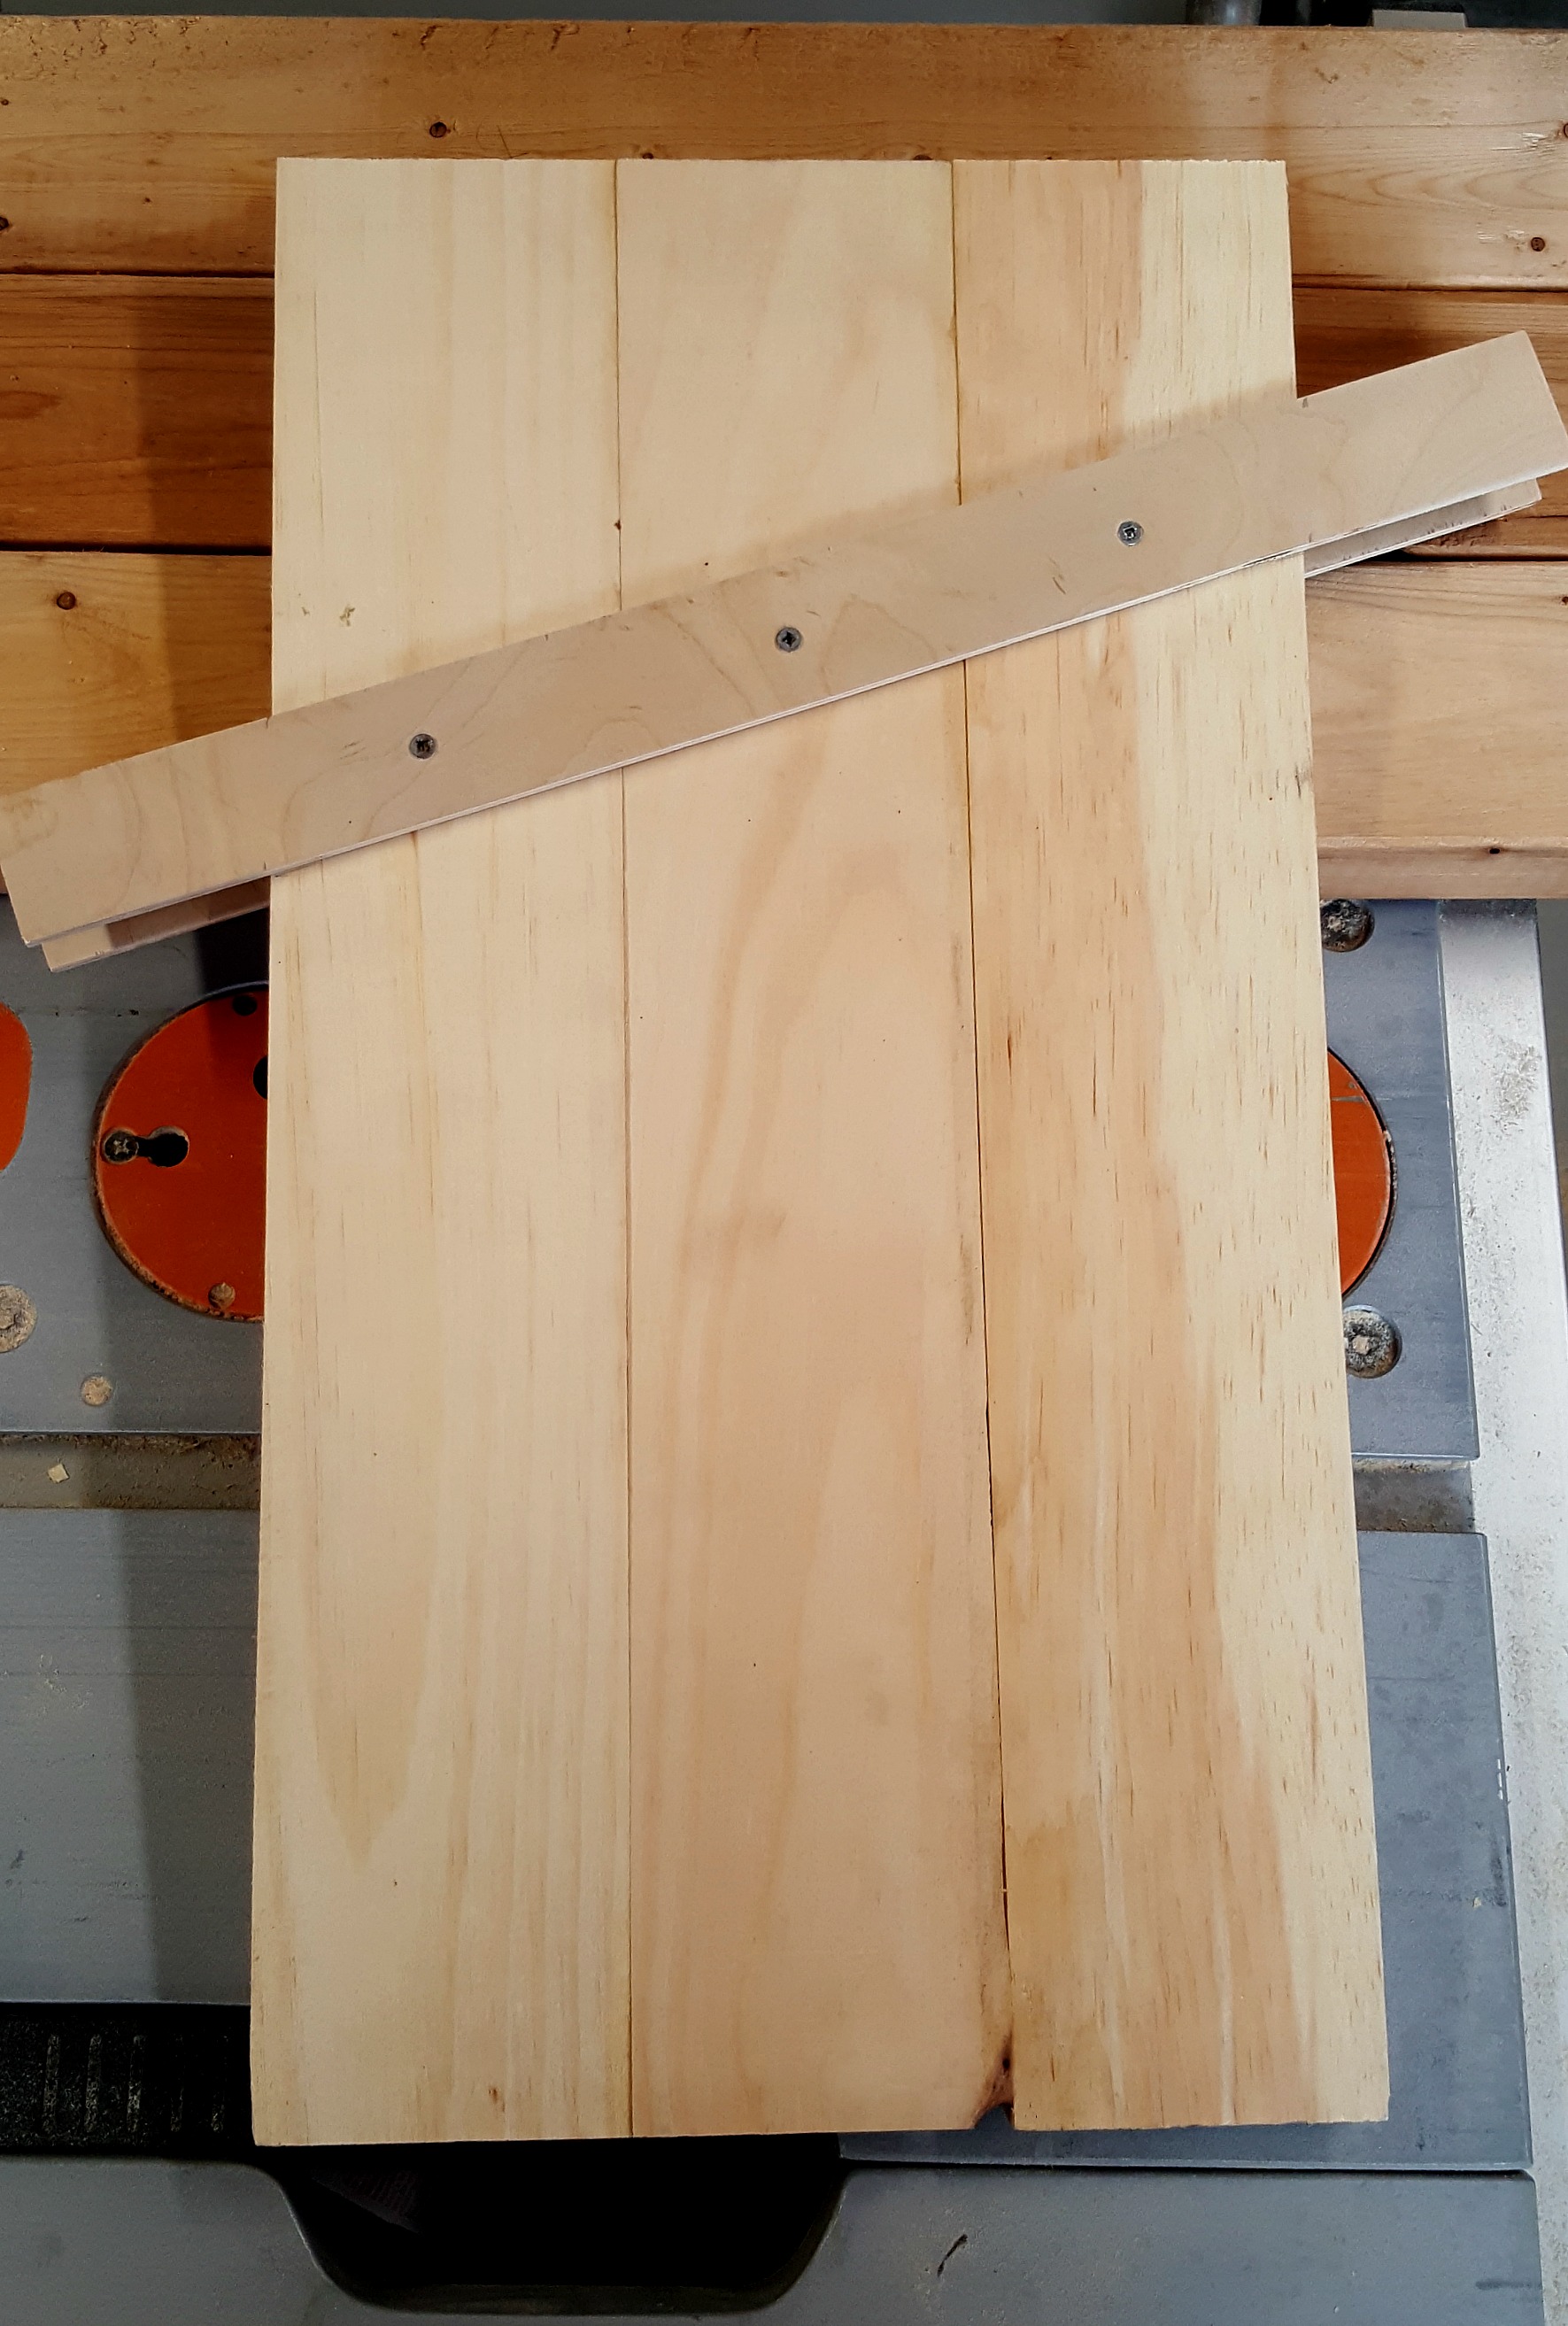
I started with a 1"x4" board that I cut into three pieces - 20" each. I then used Gorilla Glue to attach them to each other and clamped it all together overnight. You could use a pocket hole jig (Kreg is my favourite) to screw them together, but since the boards are so thin, I didn't think it was worth it this time. Plus the brim for the "hat" is screwed on, which helps hold it all together.

reversible scarecrow snowman sign

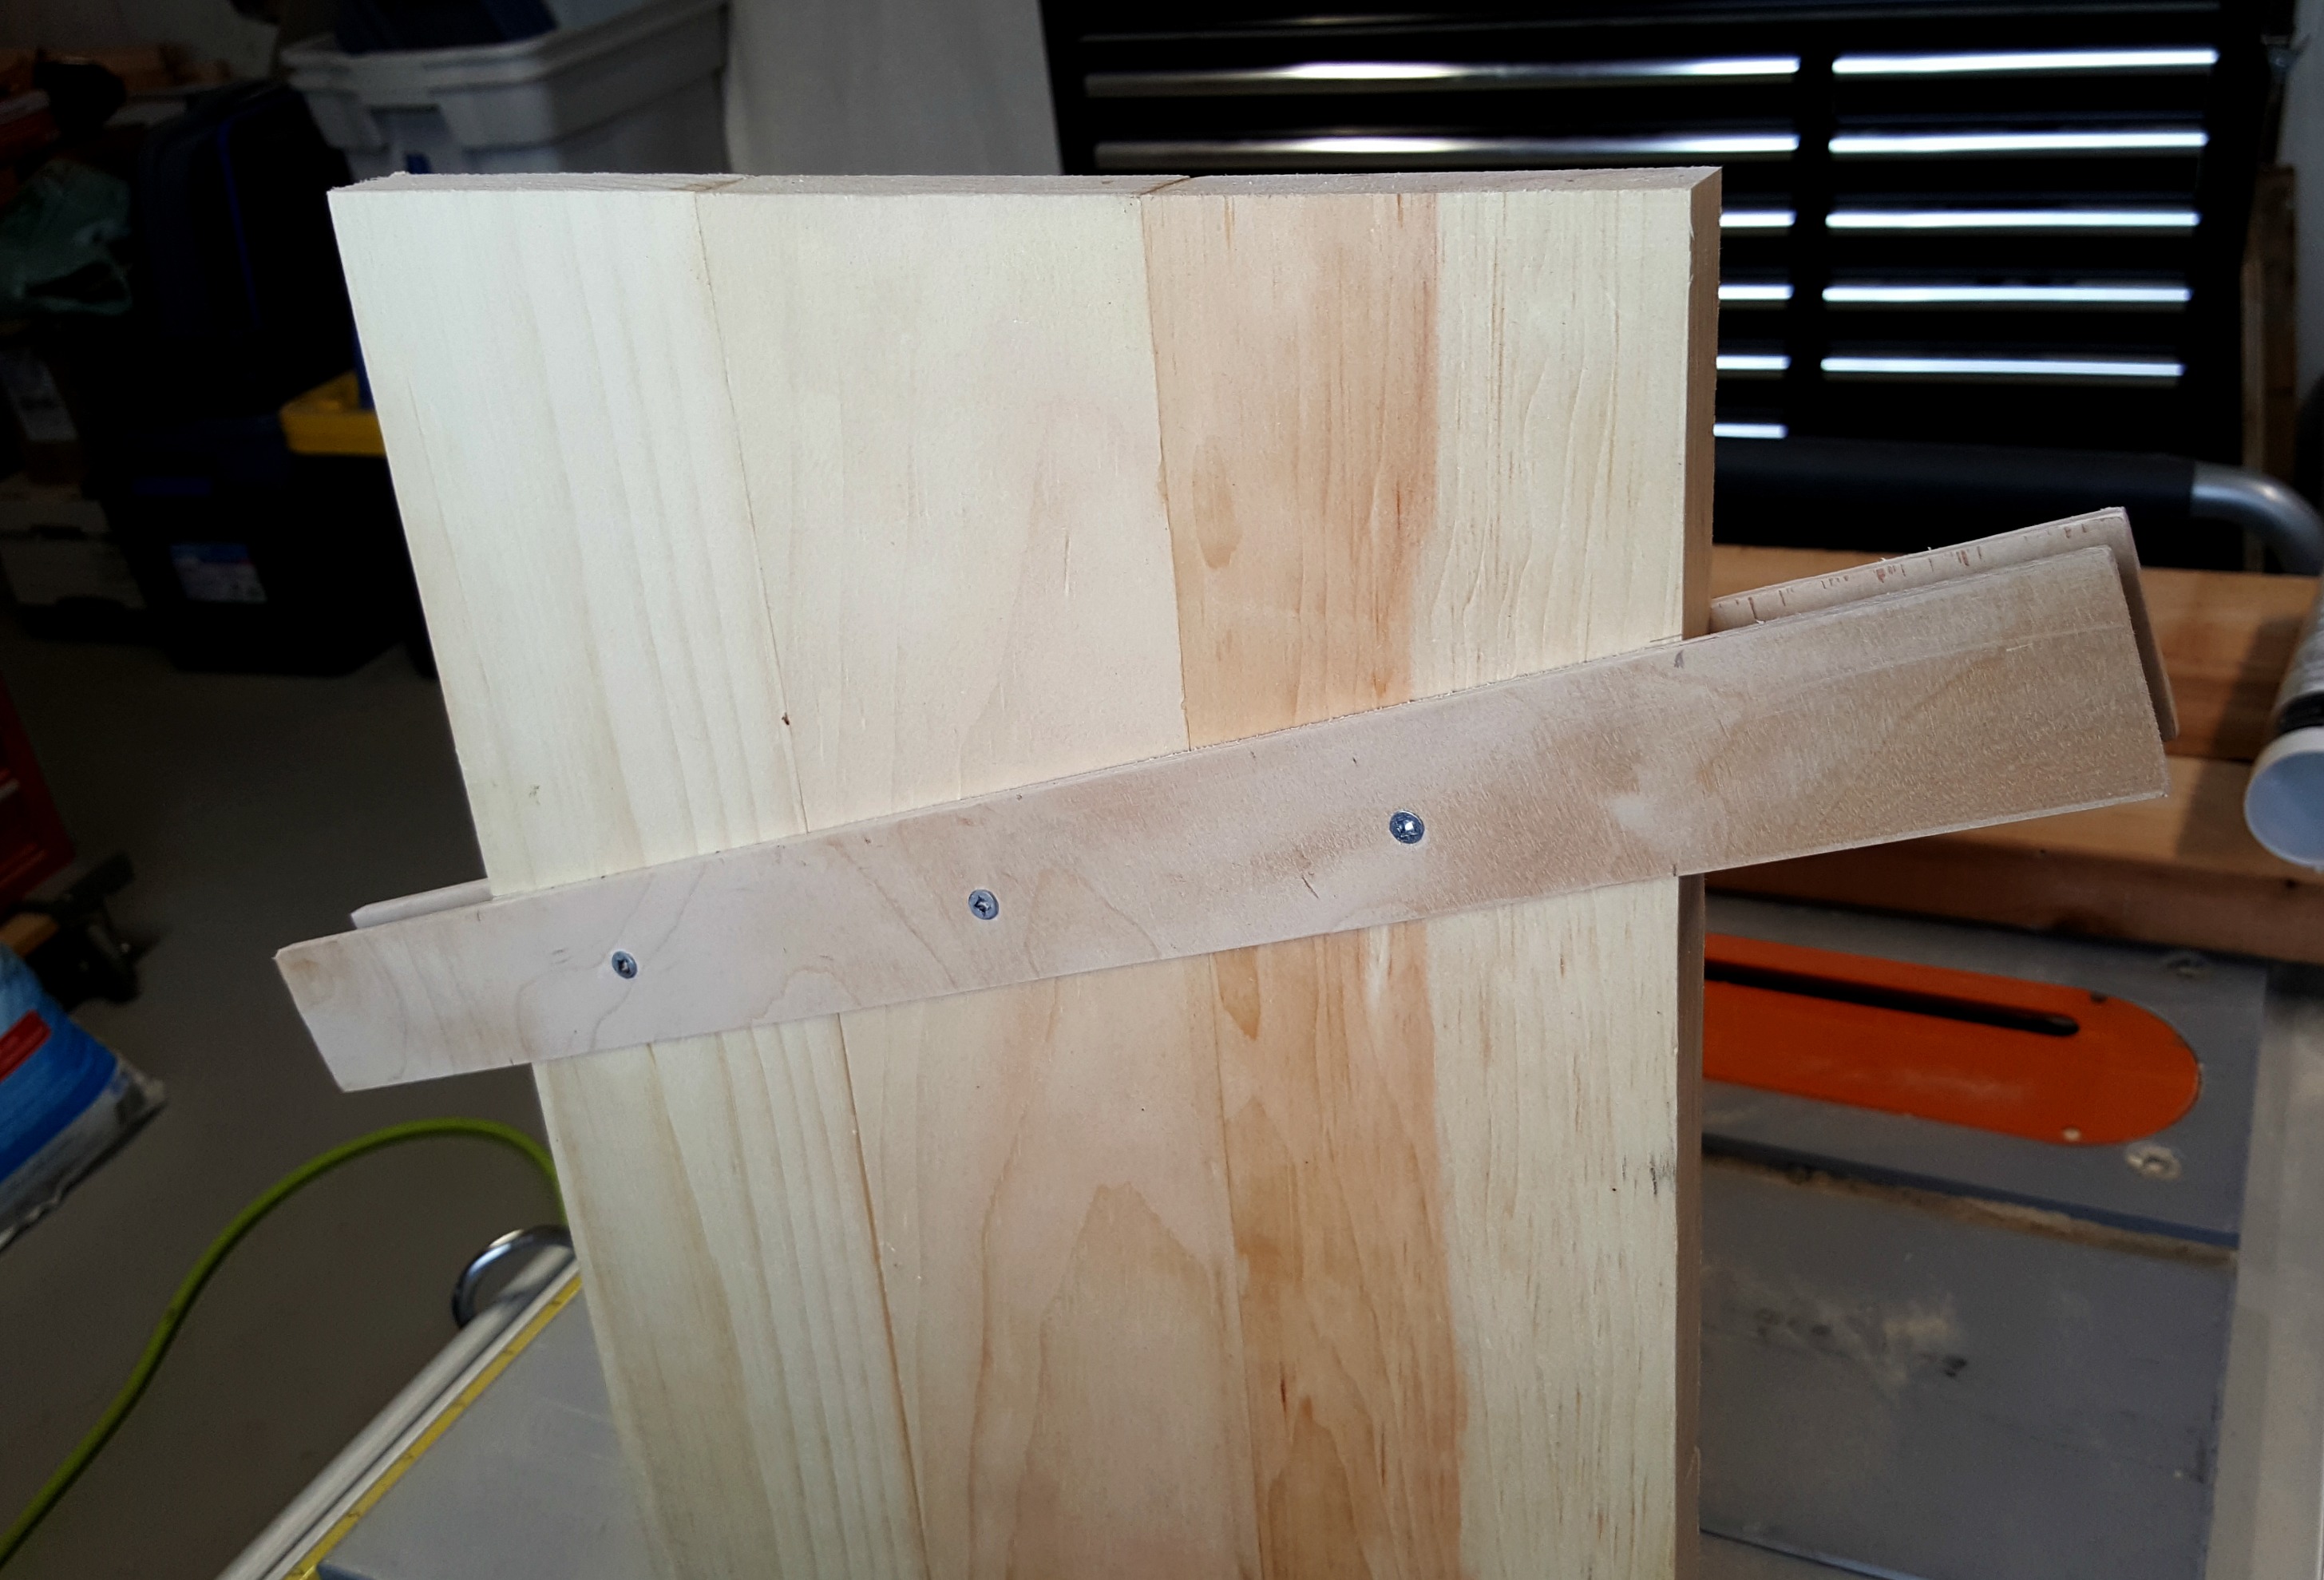
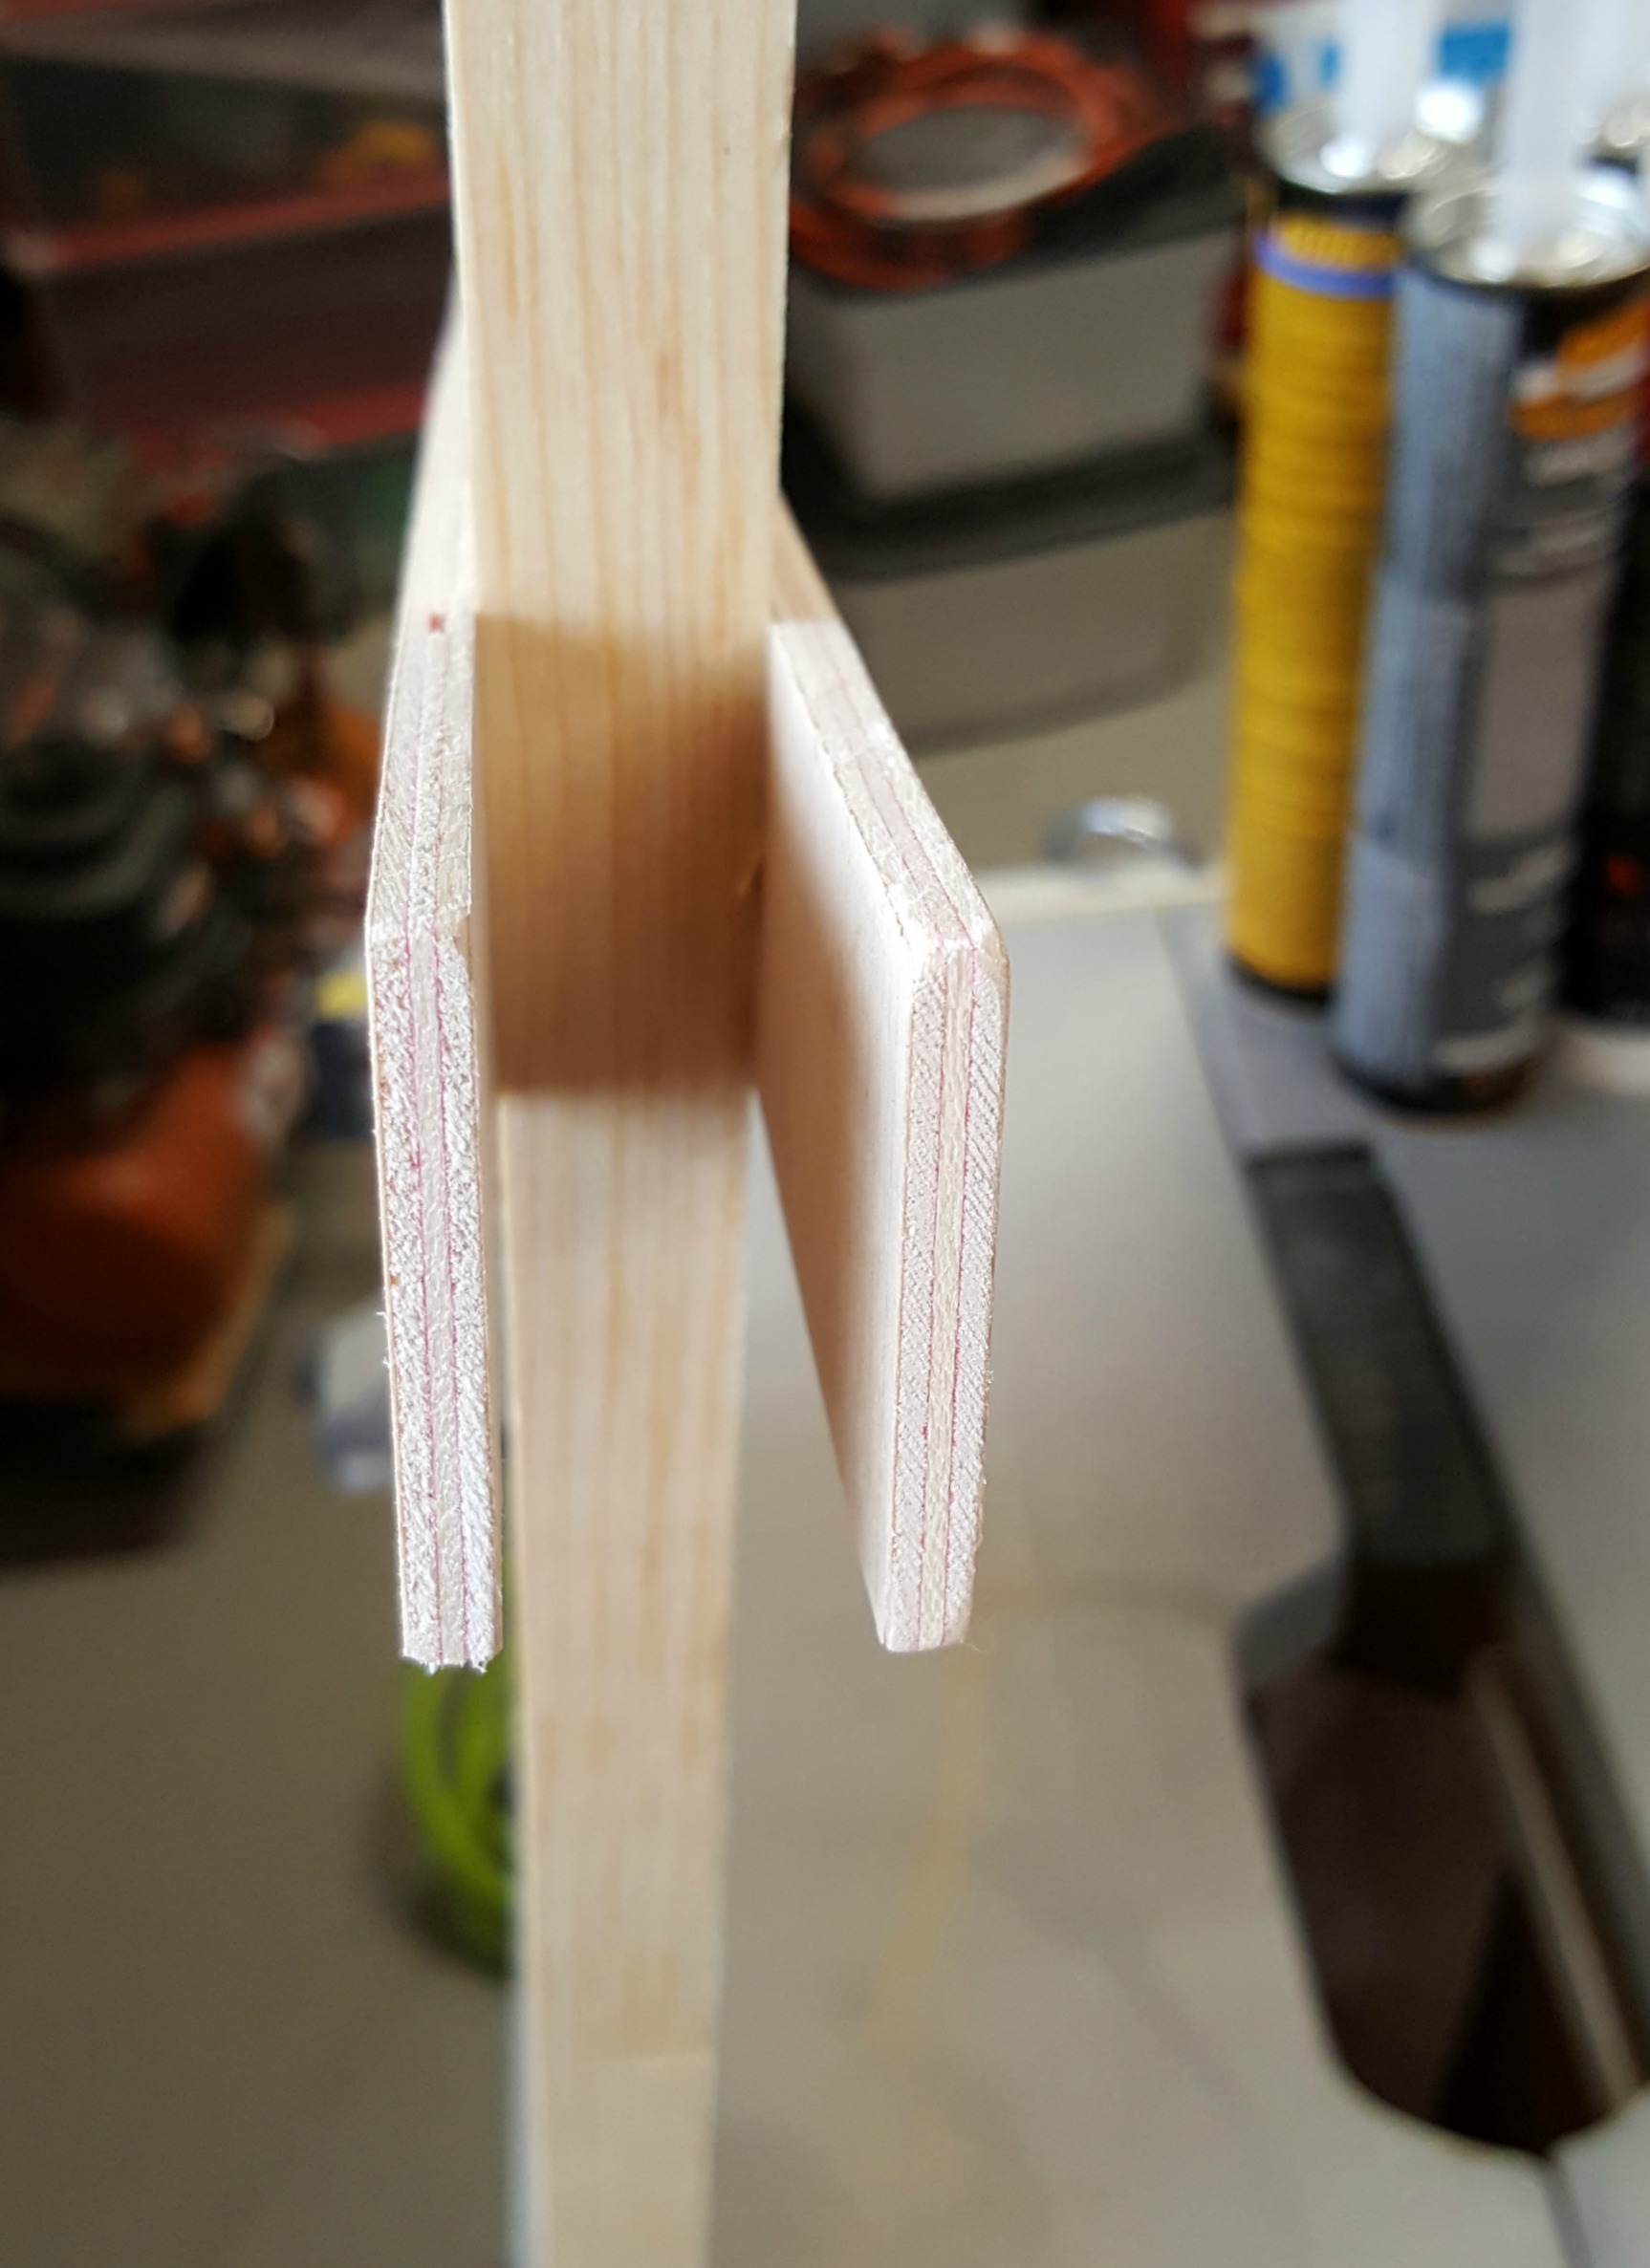
Once the boards were glued, I cut two strips from a spare sheet of 1/8" plywood for the angled hat brim - 1½" x 16" each.  I just played around until I found the angle I liked and screwed them into the sign with countersunk screws - one in each sign board section (six altogether).

reversible scarecrow snowman sign

I painted one side of the sign white with a black hat for the snowman, and the other is yellow with a brown hat for the scarecrow. I used poster paint - two coats for each section.

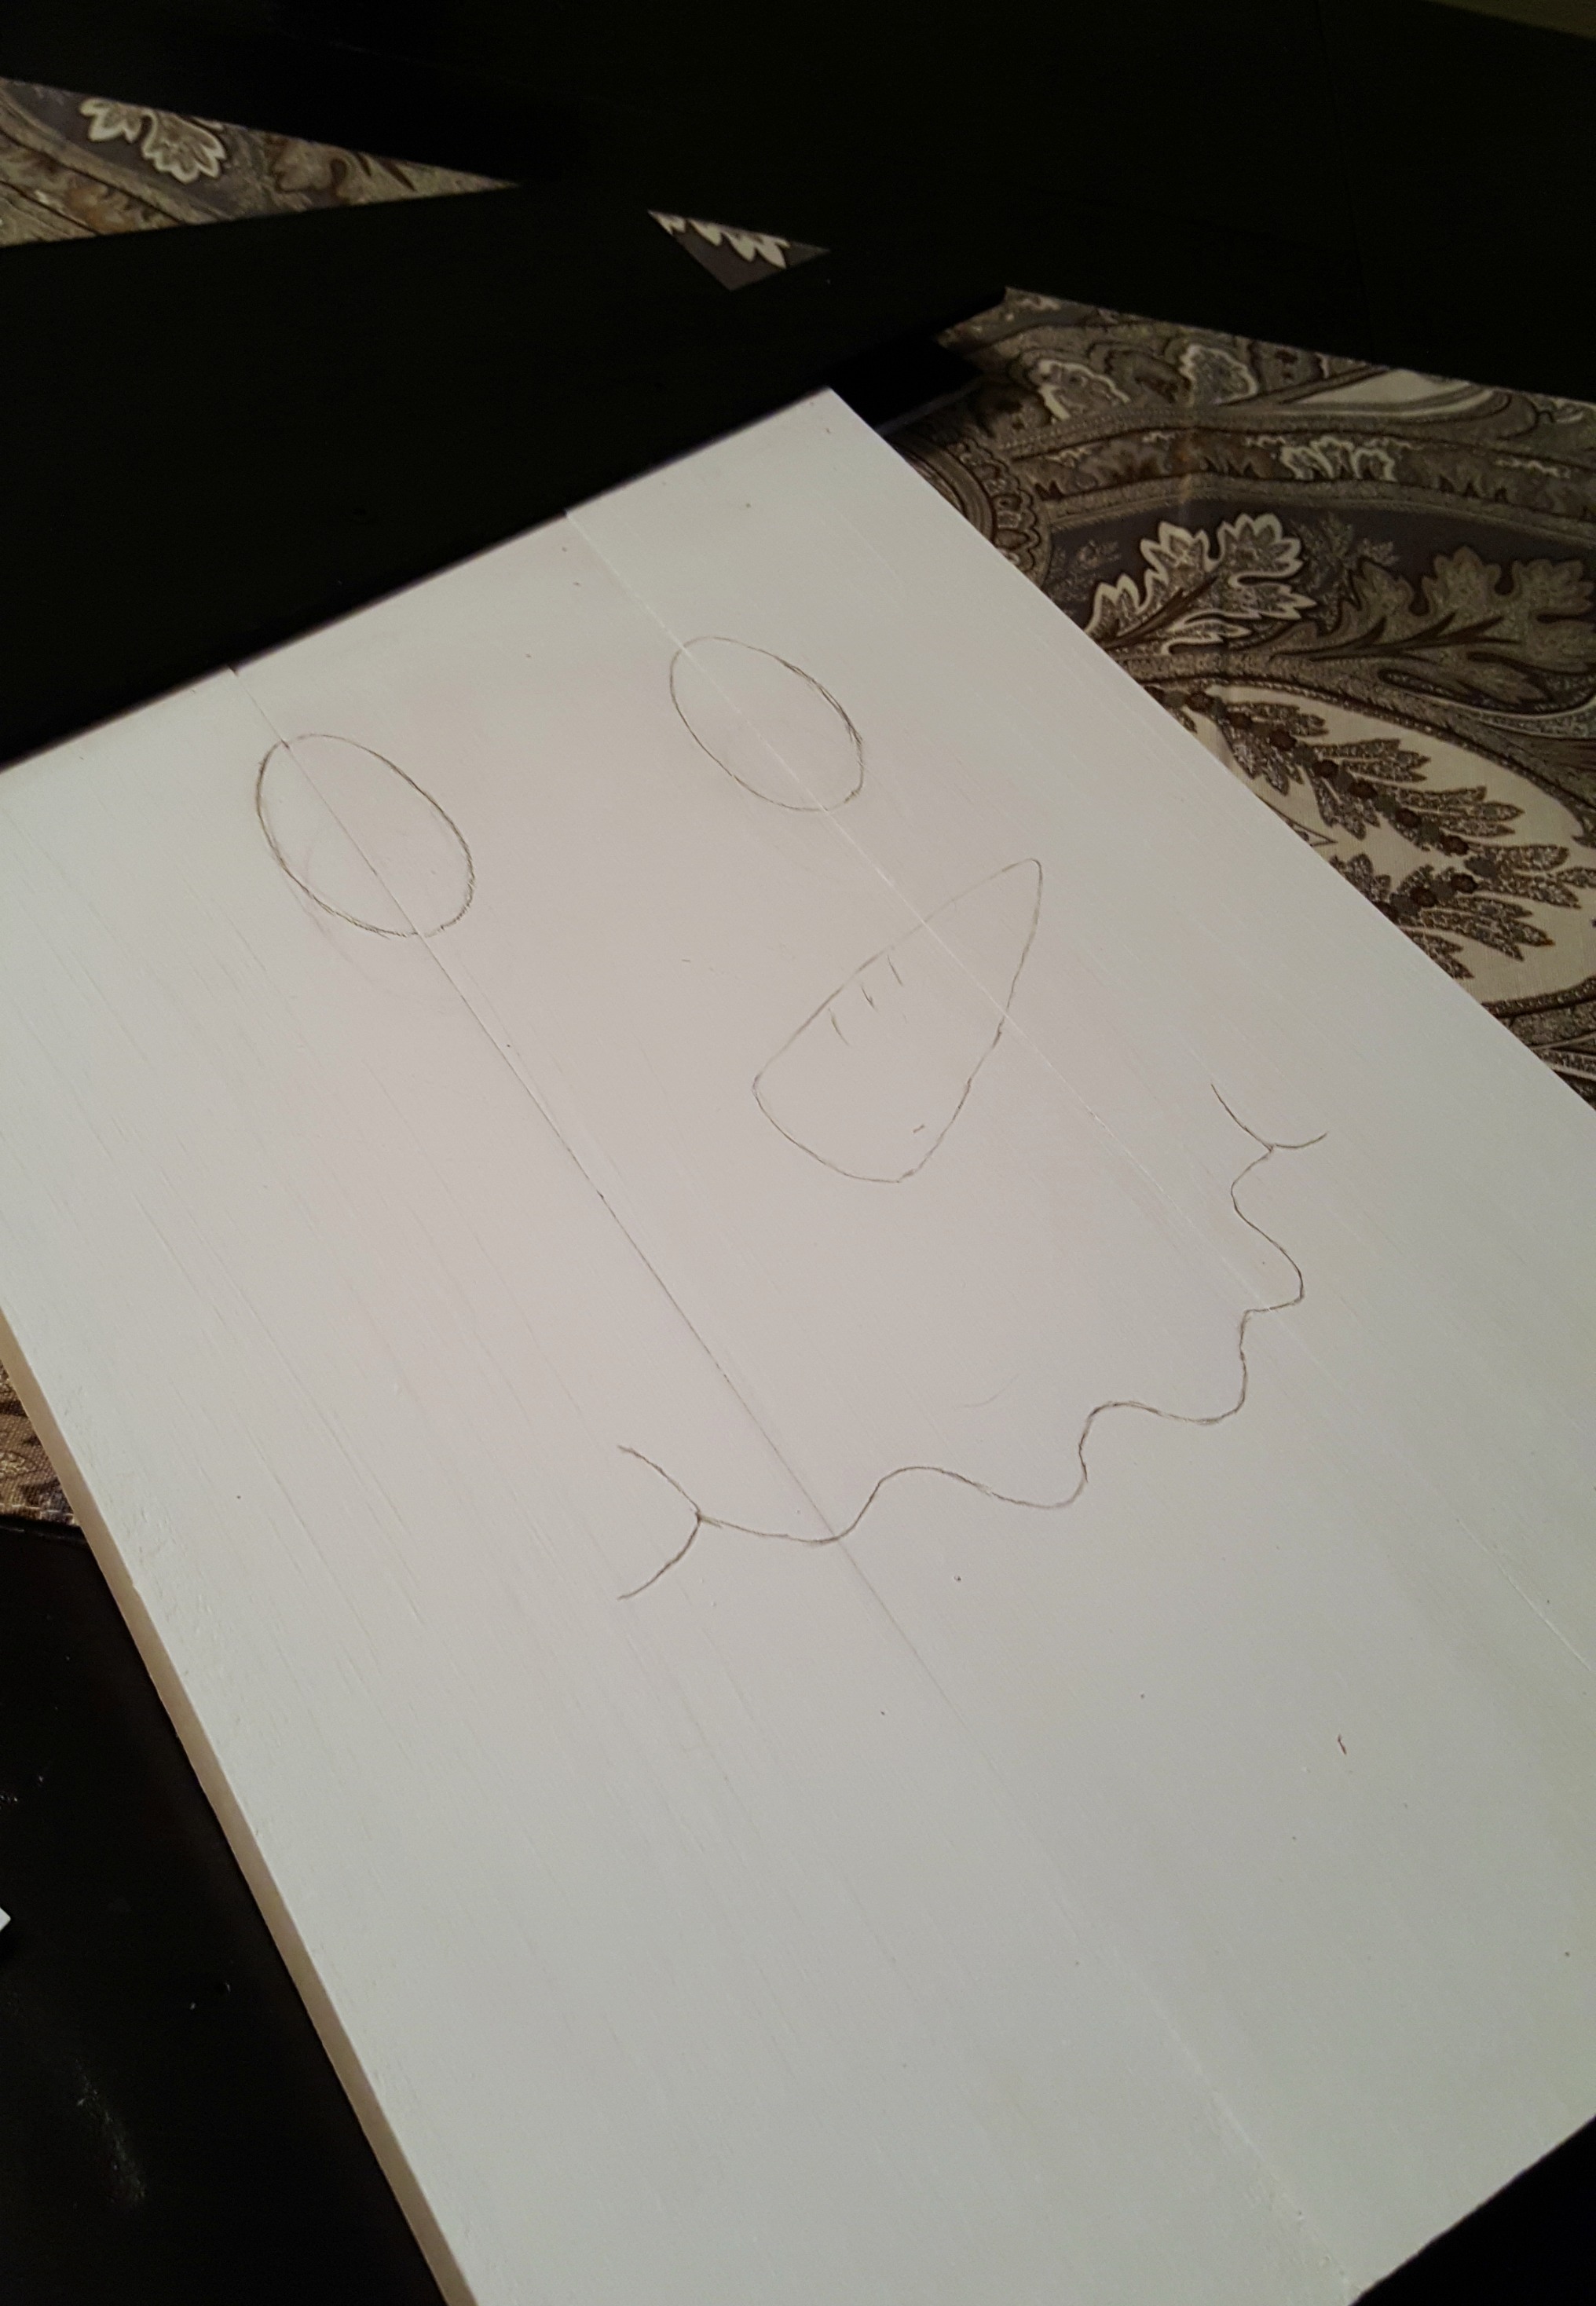
I started with the snowman face (because it was the easiest). I drew it in pencil on a piece of paper, erasing and correcting until I had exactly what I wanted. I flipped the paper over and held it up to a lampshade (you could also use a window in the daytime), and lightly traced the face on the other side of the page.

Back at the table, I went over the tracing again, pressing harder with the pencil this time. I then laid the page on the sign, tracing-side-down, and drew over my original sketch, pressing firmly. This transfers graphite from the back of the paper onto the sign so that you have an exact replica of your original drawing.

reversible scarecrow snowman sign

Then it was just a matter of filling in the features with paint. Once everything was dry I flipped the sign over to do the other side. Same drawing procedure as before. One final step: Give the sign an extra layer of protection against the weather with a couple of coats of matte spray lacquer.

With the painting all finished, I dug out all of my ribbon and crafting bits and pieces, plugged in my hot glue gun, threw on a movie, and got down to decorating the hats and bodies.

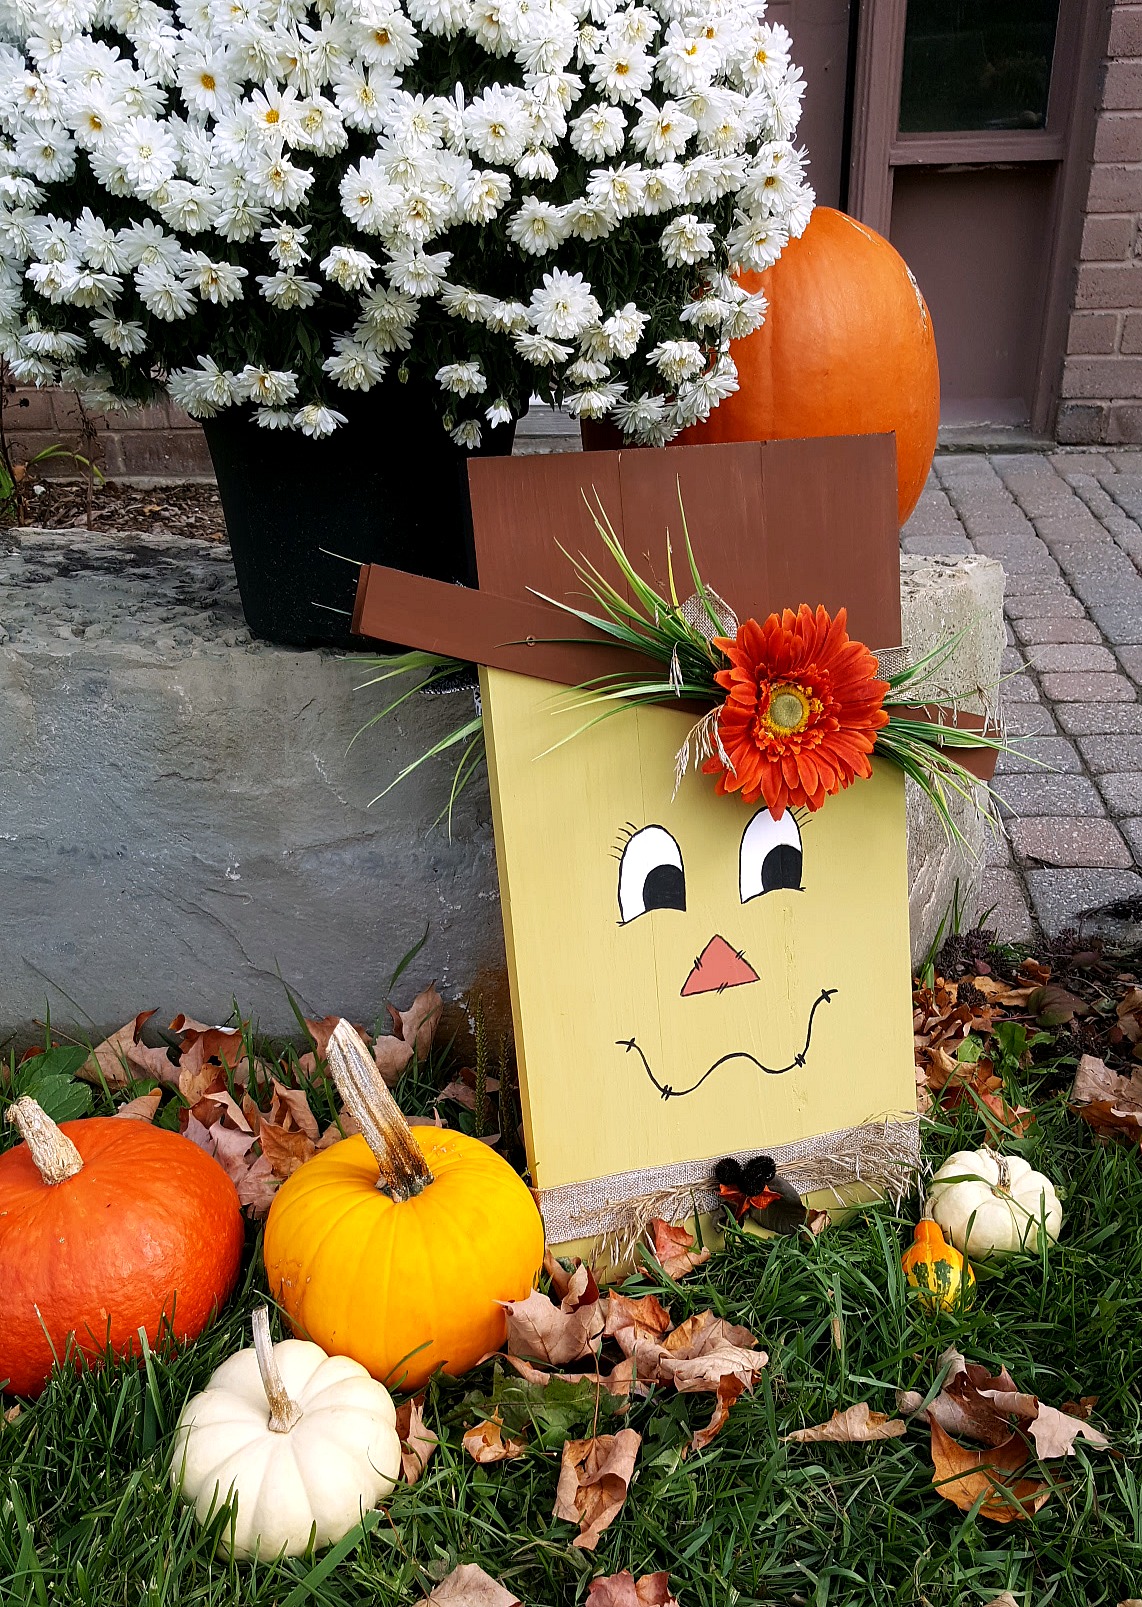
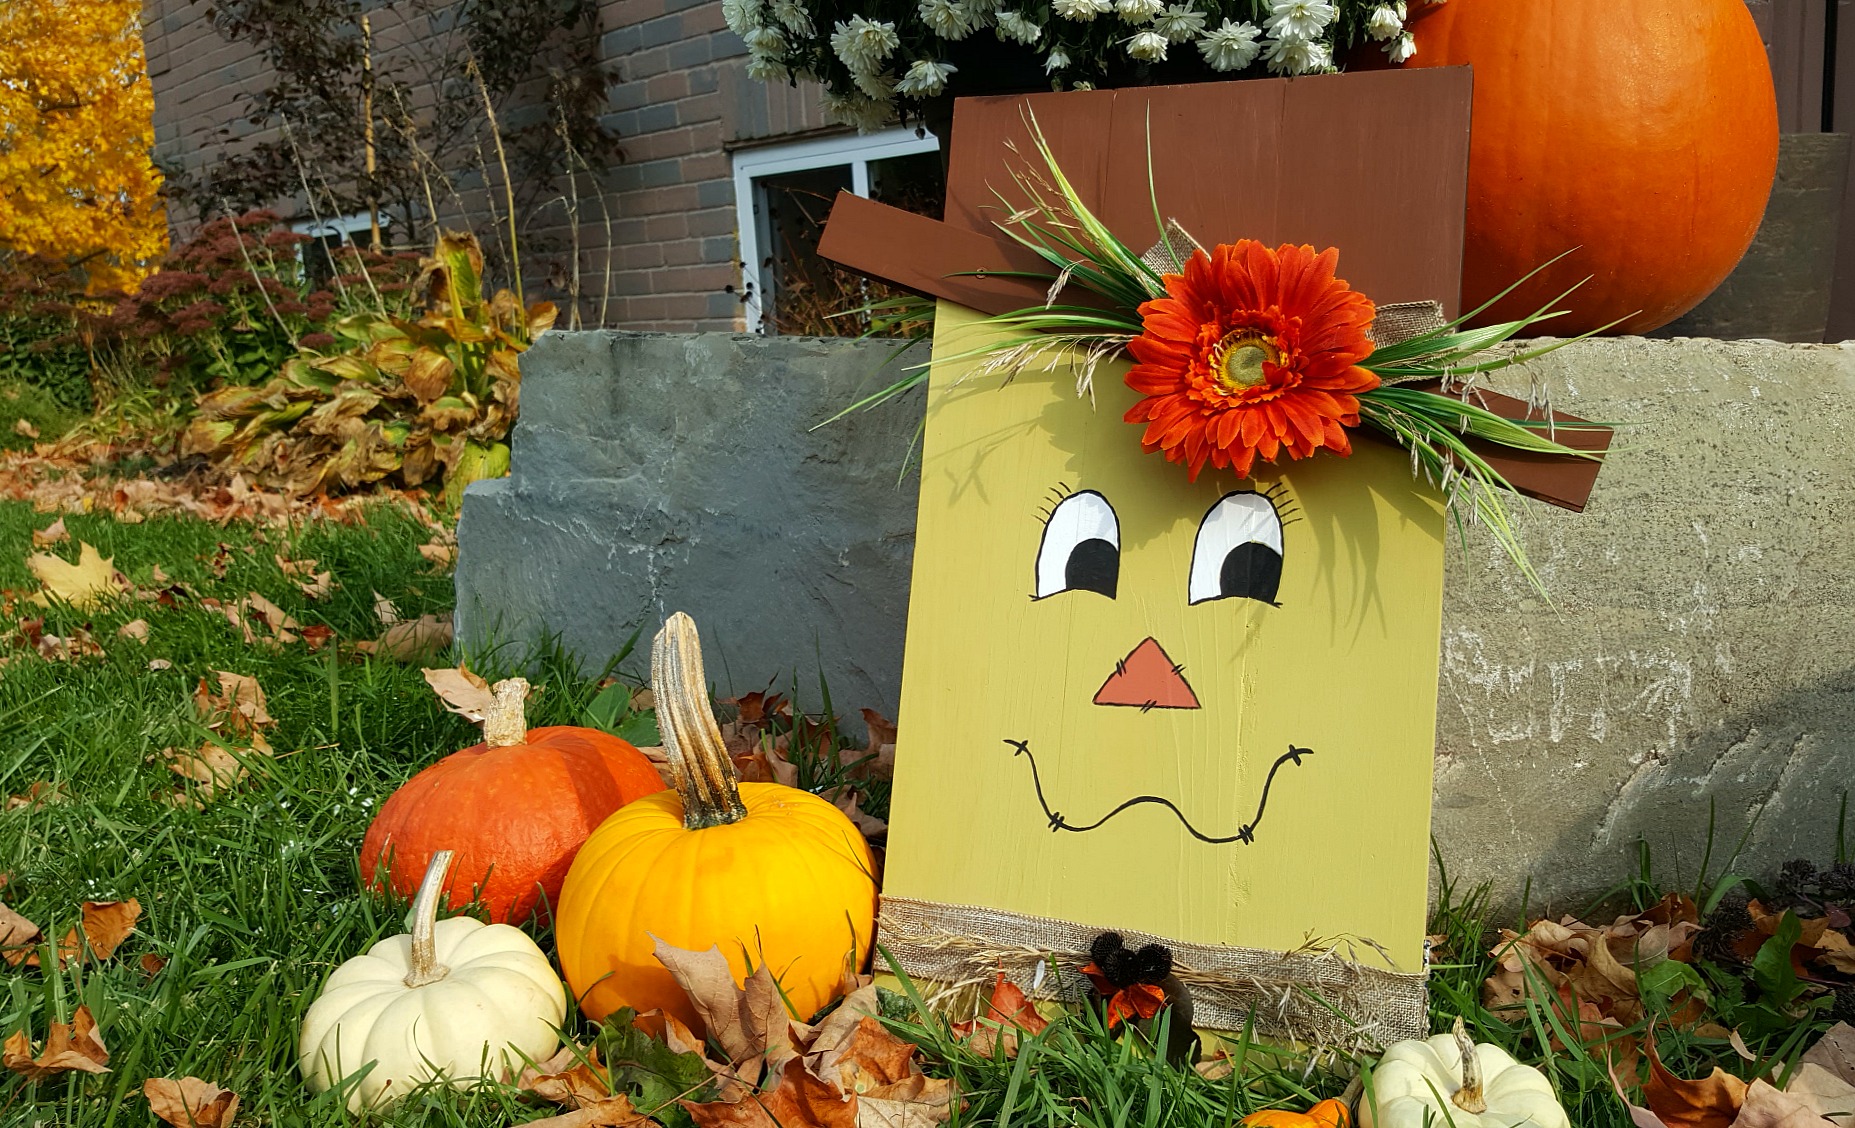
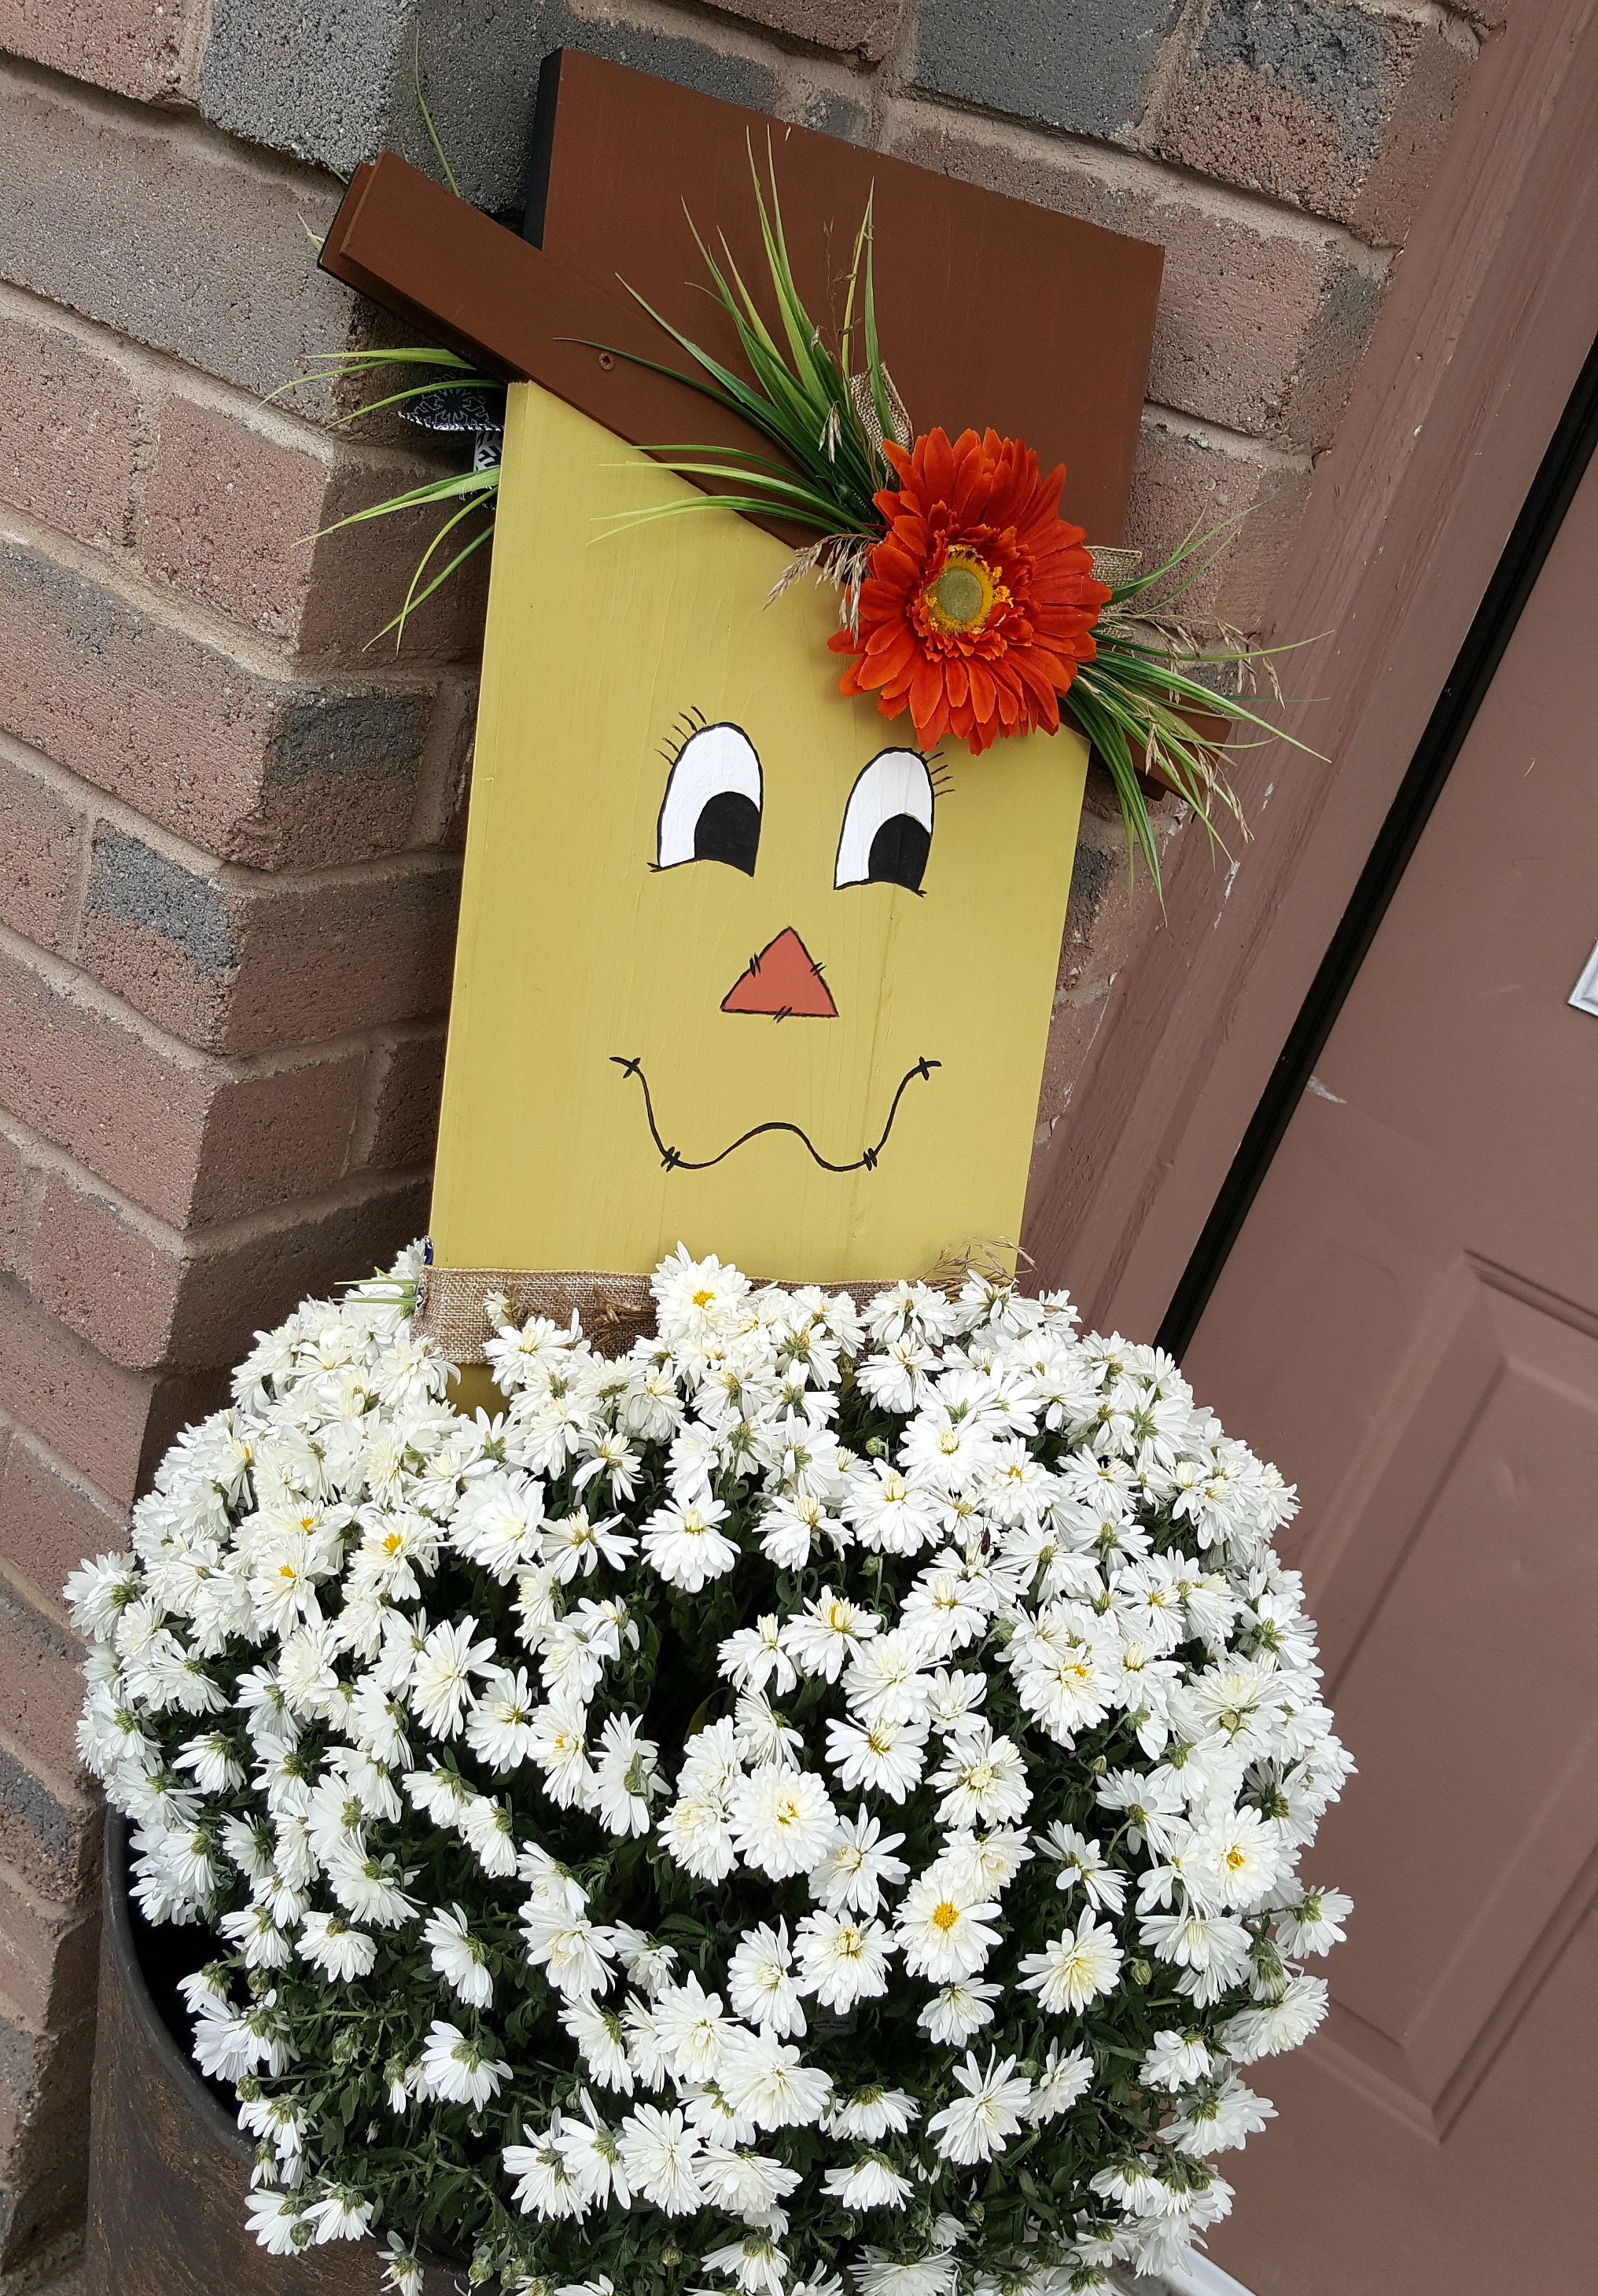
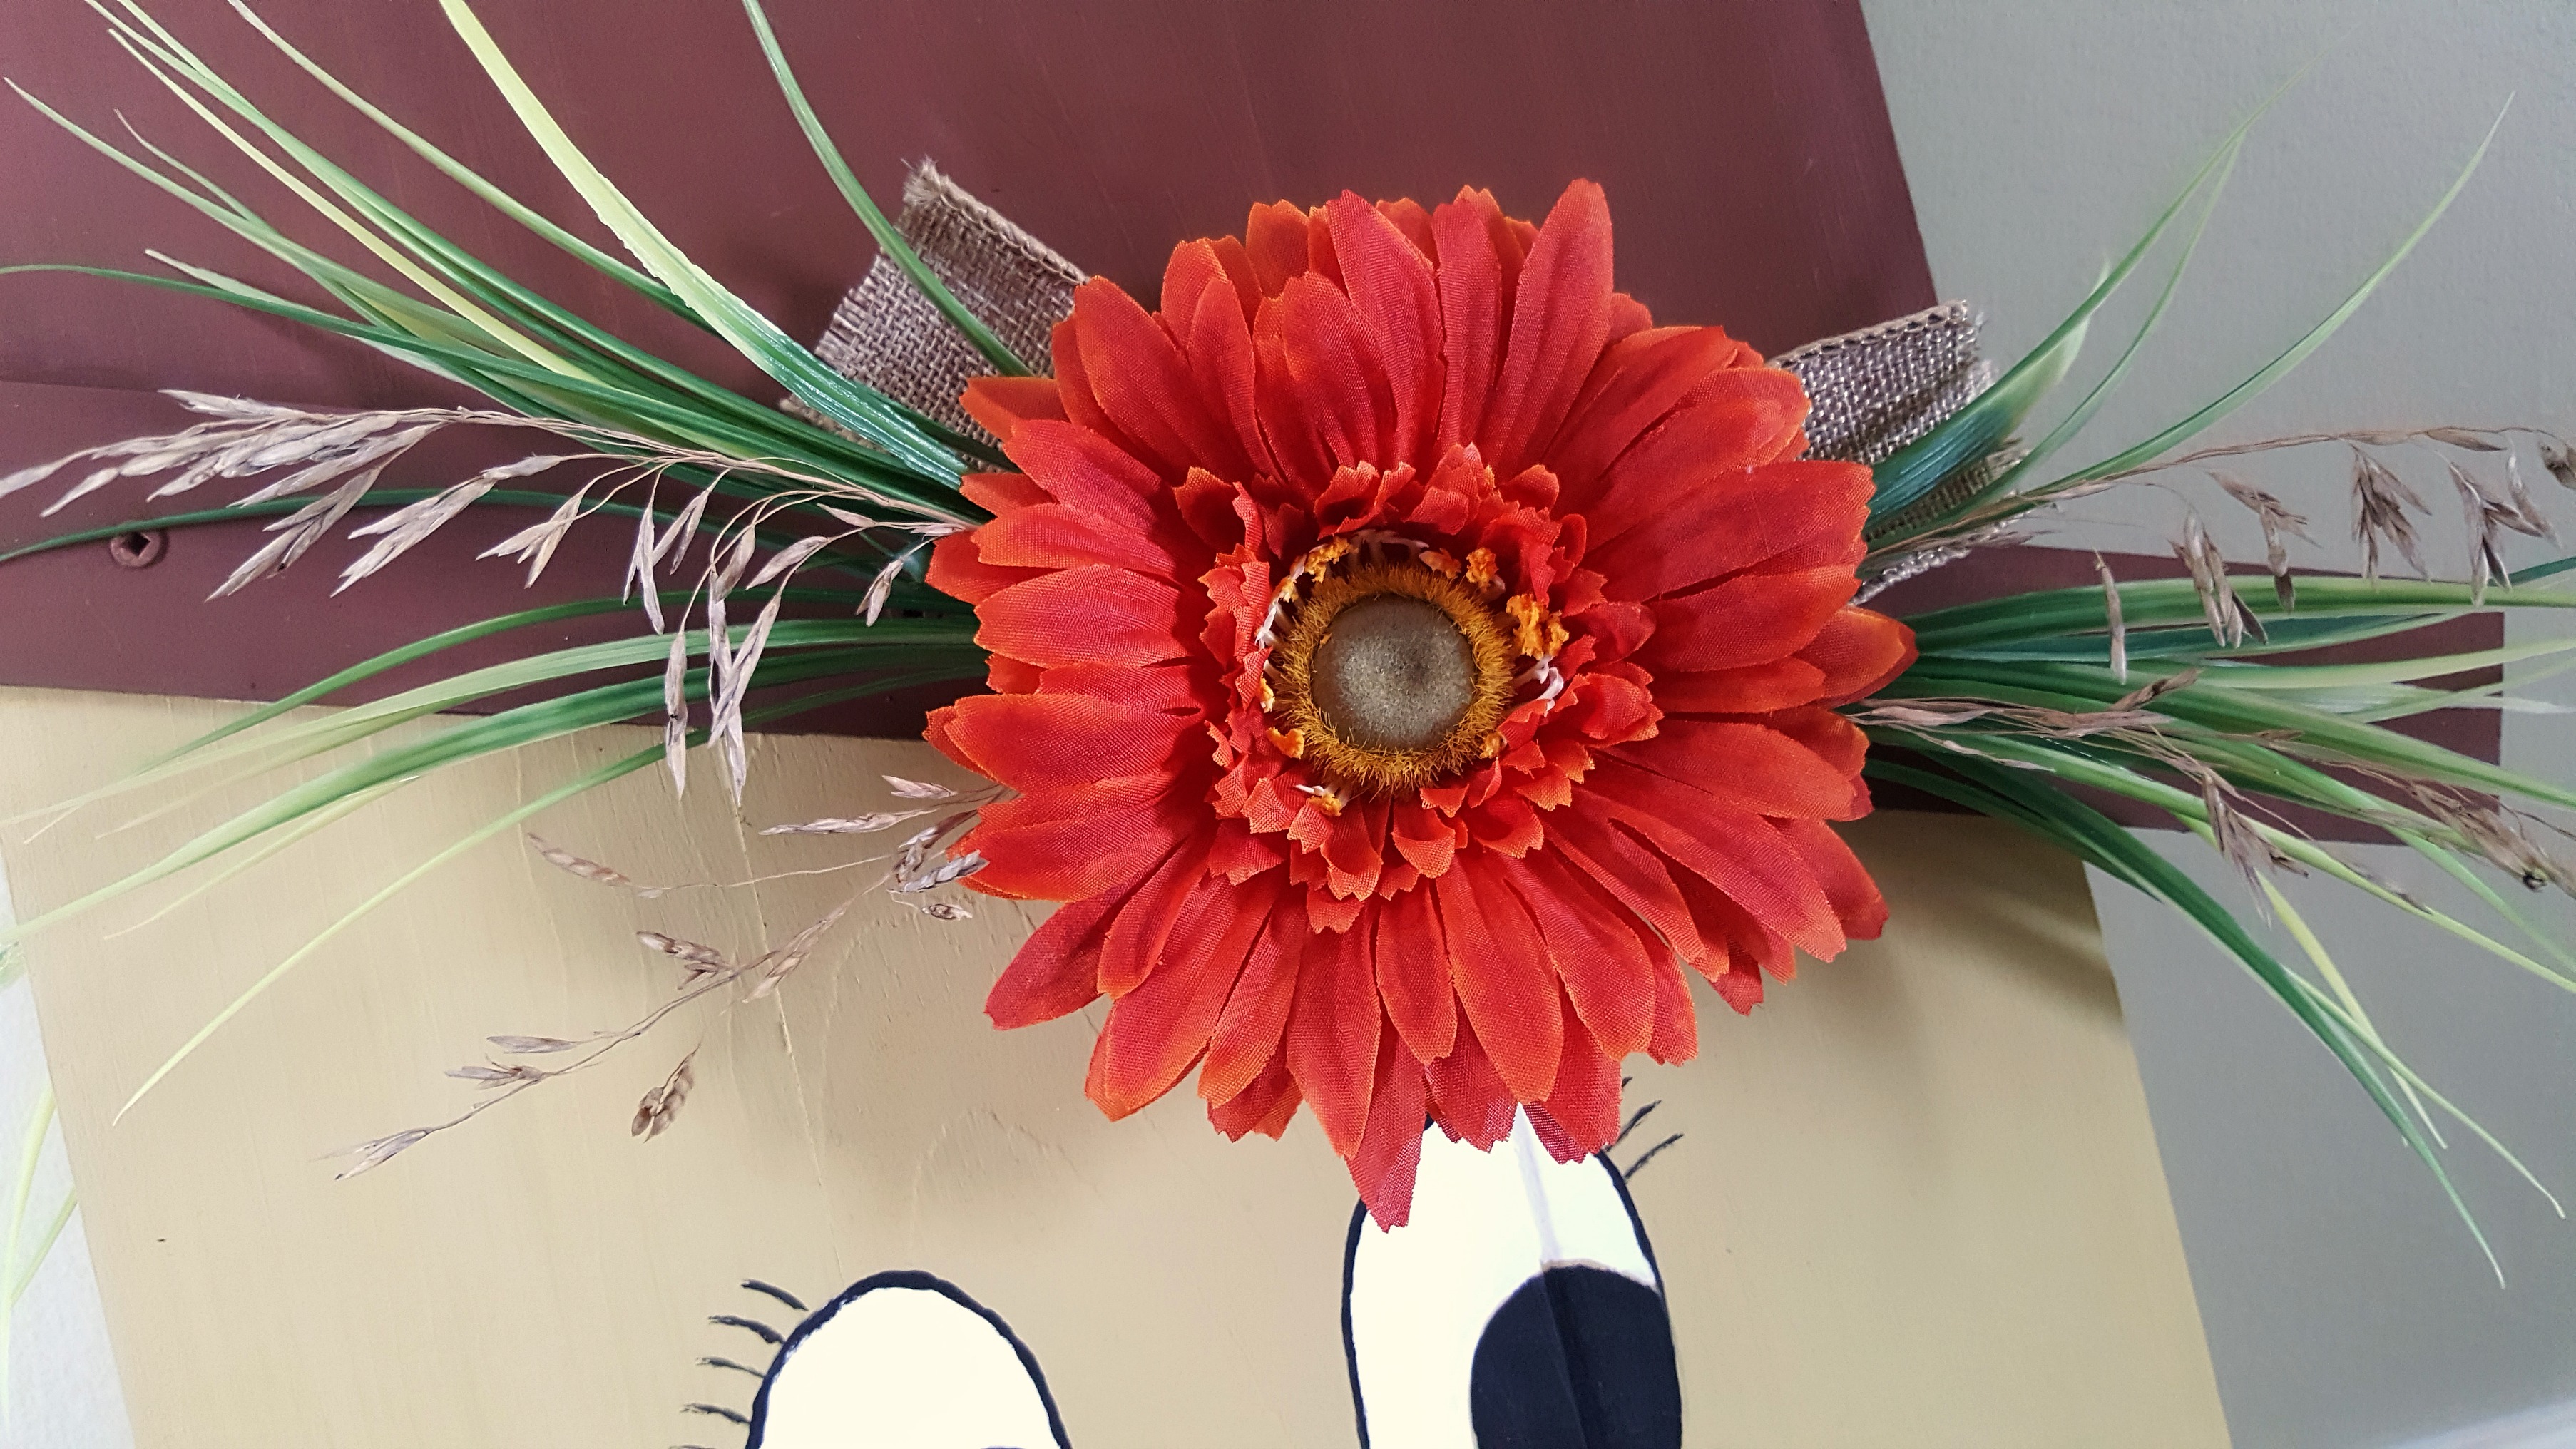
The focus of the scarecrow side was that big honkin' flower. What scarecrow doesn't have a floppy flower hat? I added some scraps of burlap and dried grasses from the yard.

reversible scarecrow snowman sign

The snowman side has bows made of sparkly blue snowflake ribbon and dried sprigs from the garden. My favourite bit is the piece of white glass I glued in the center of the bottom bow. It looks just like a piece of ice!
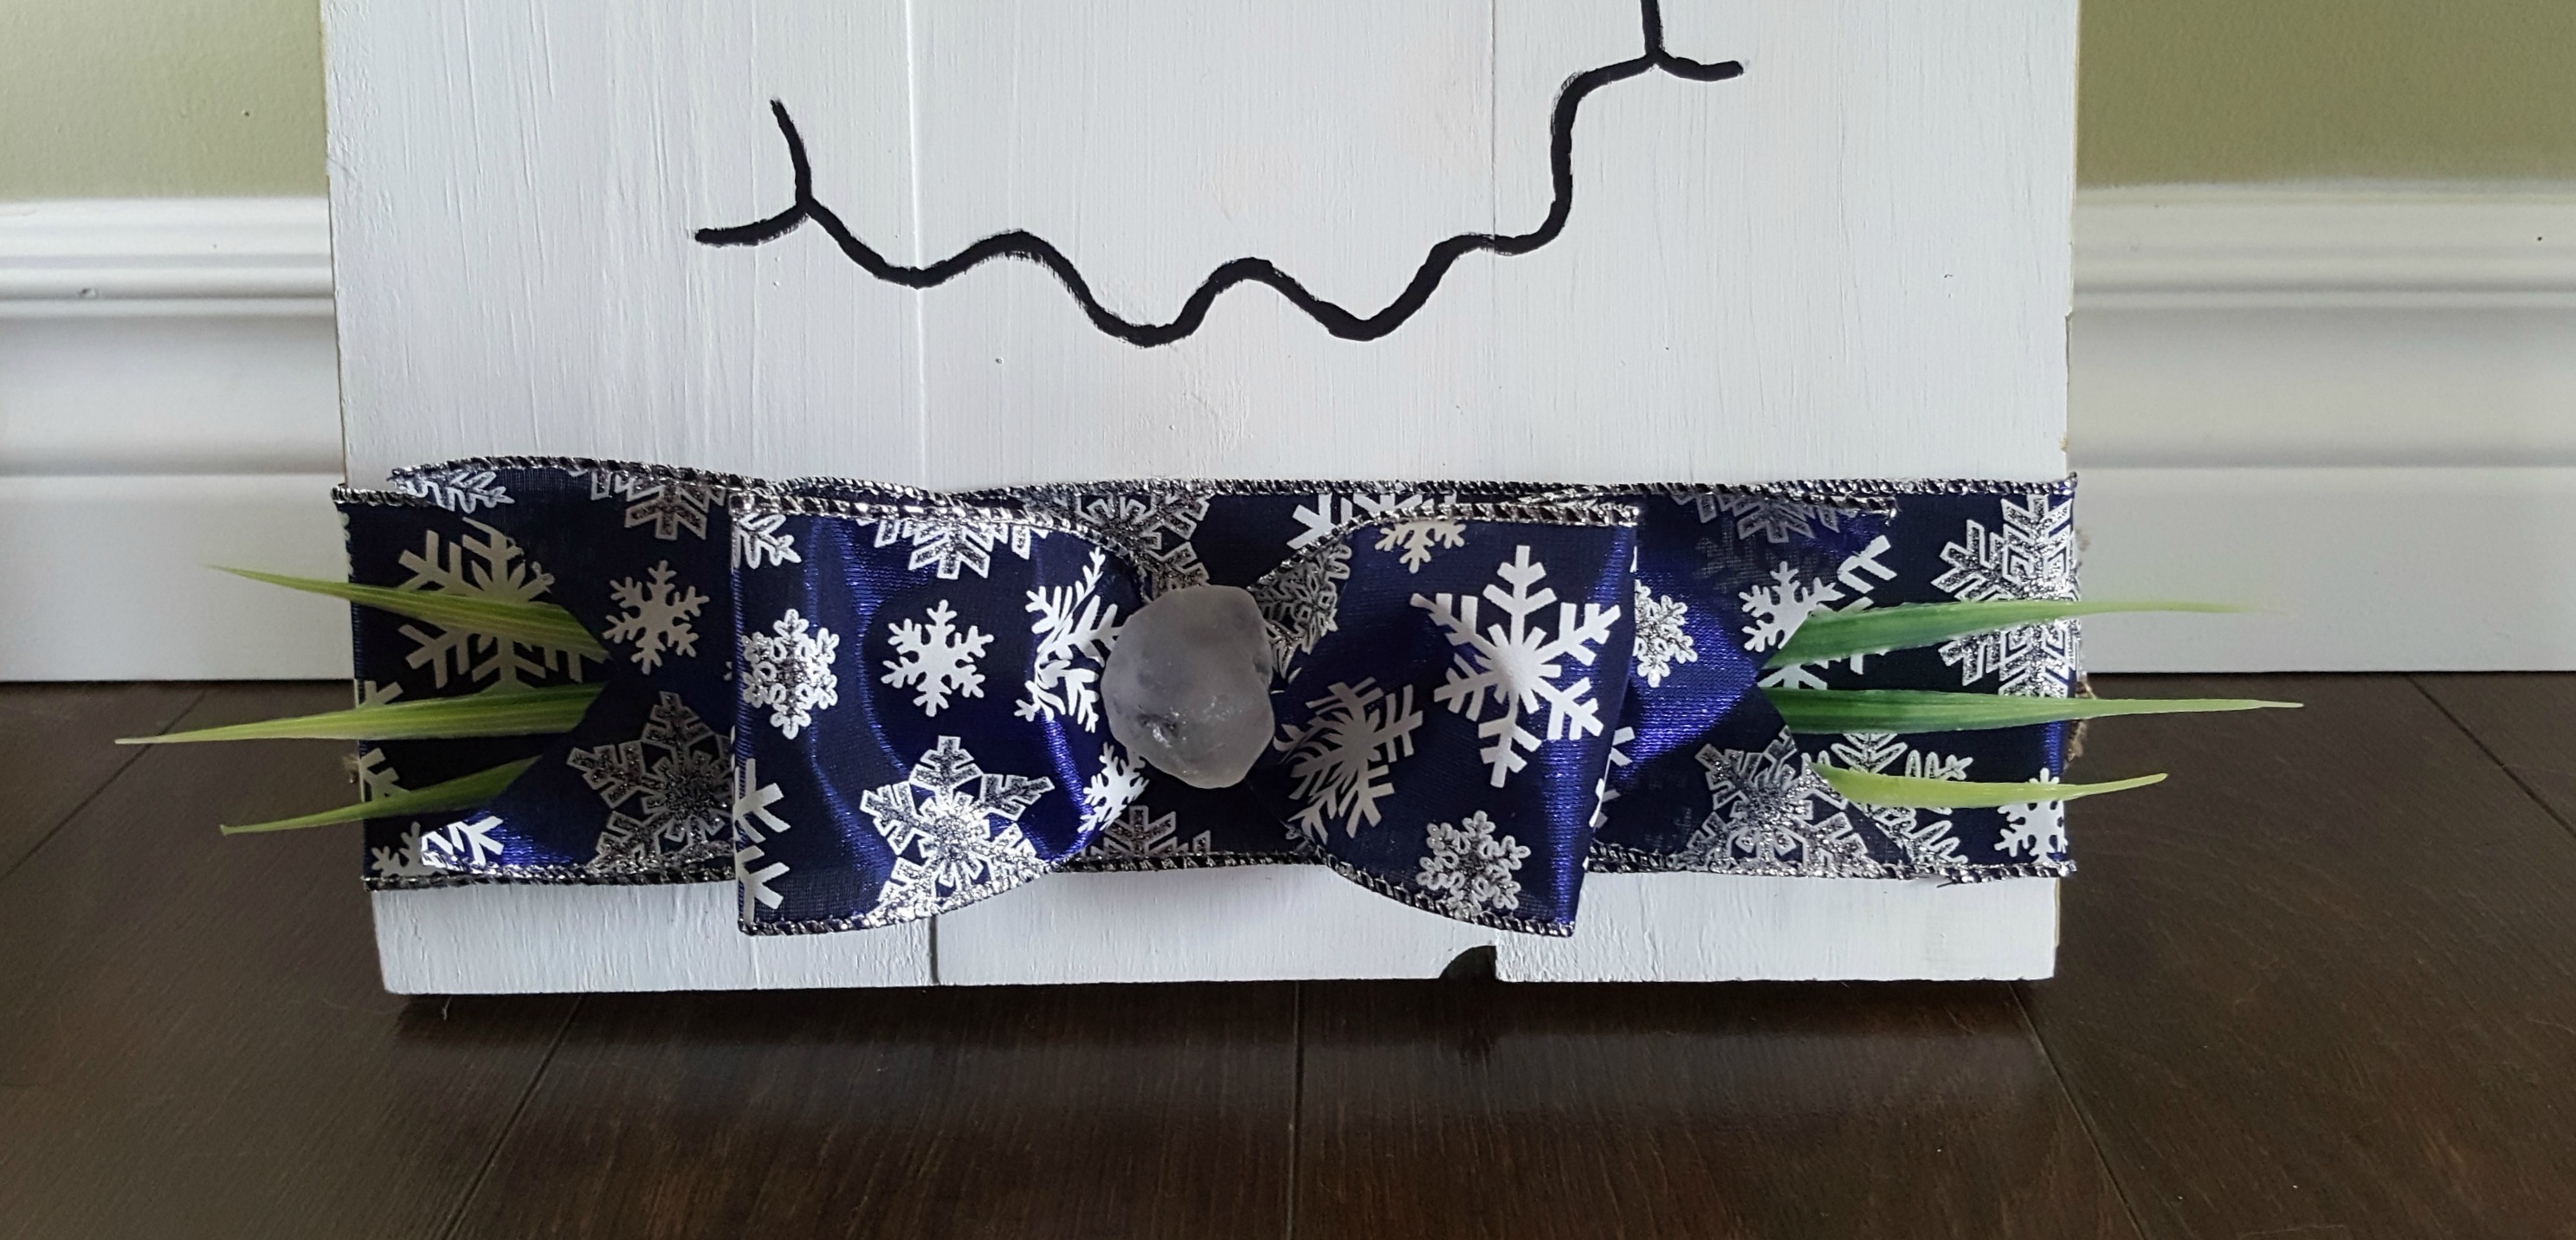
reversible scarecrow snowman sign

With the pumpkins from the farm and a potted mum, the front of the house is starting to look a little festive. Mr. Scarecrow fits right in. I can't wait until Mr. Snowman gets his chance, too.

reversible scarecrow snowman sign

Mar 28, 2015

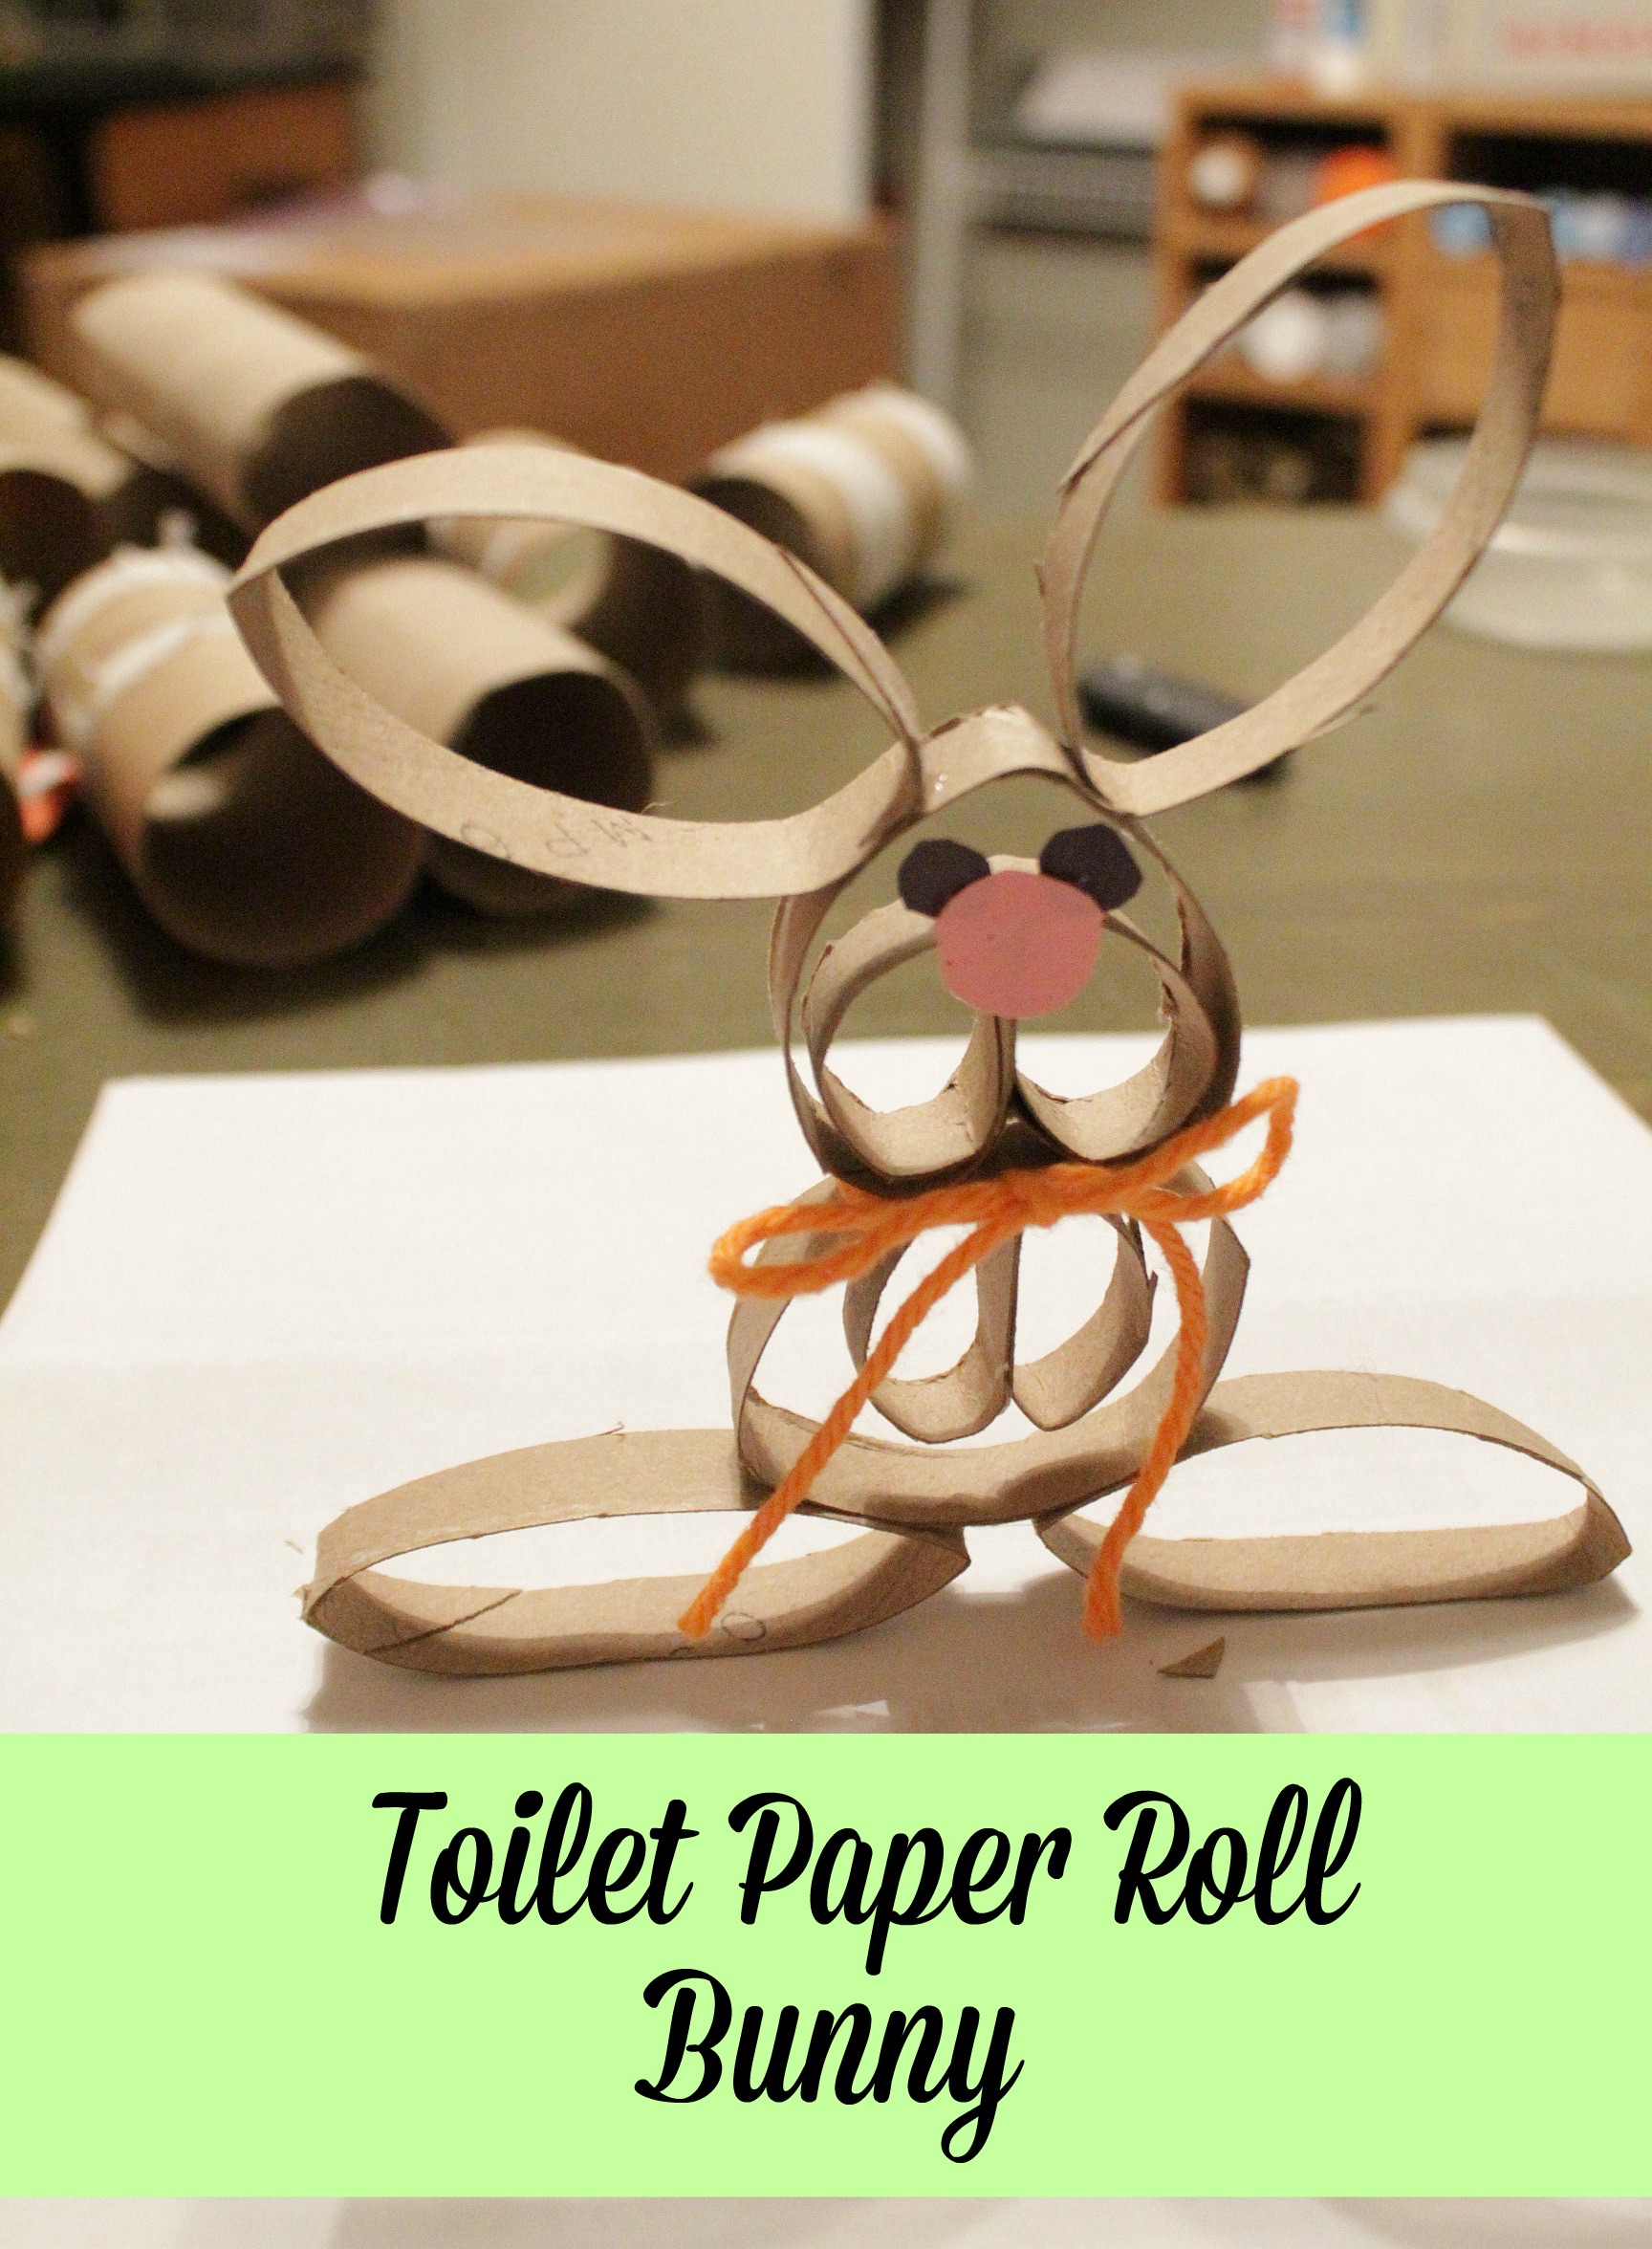
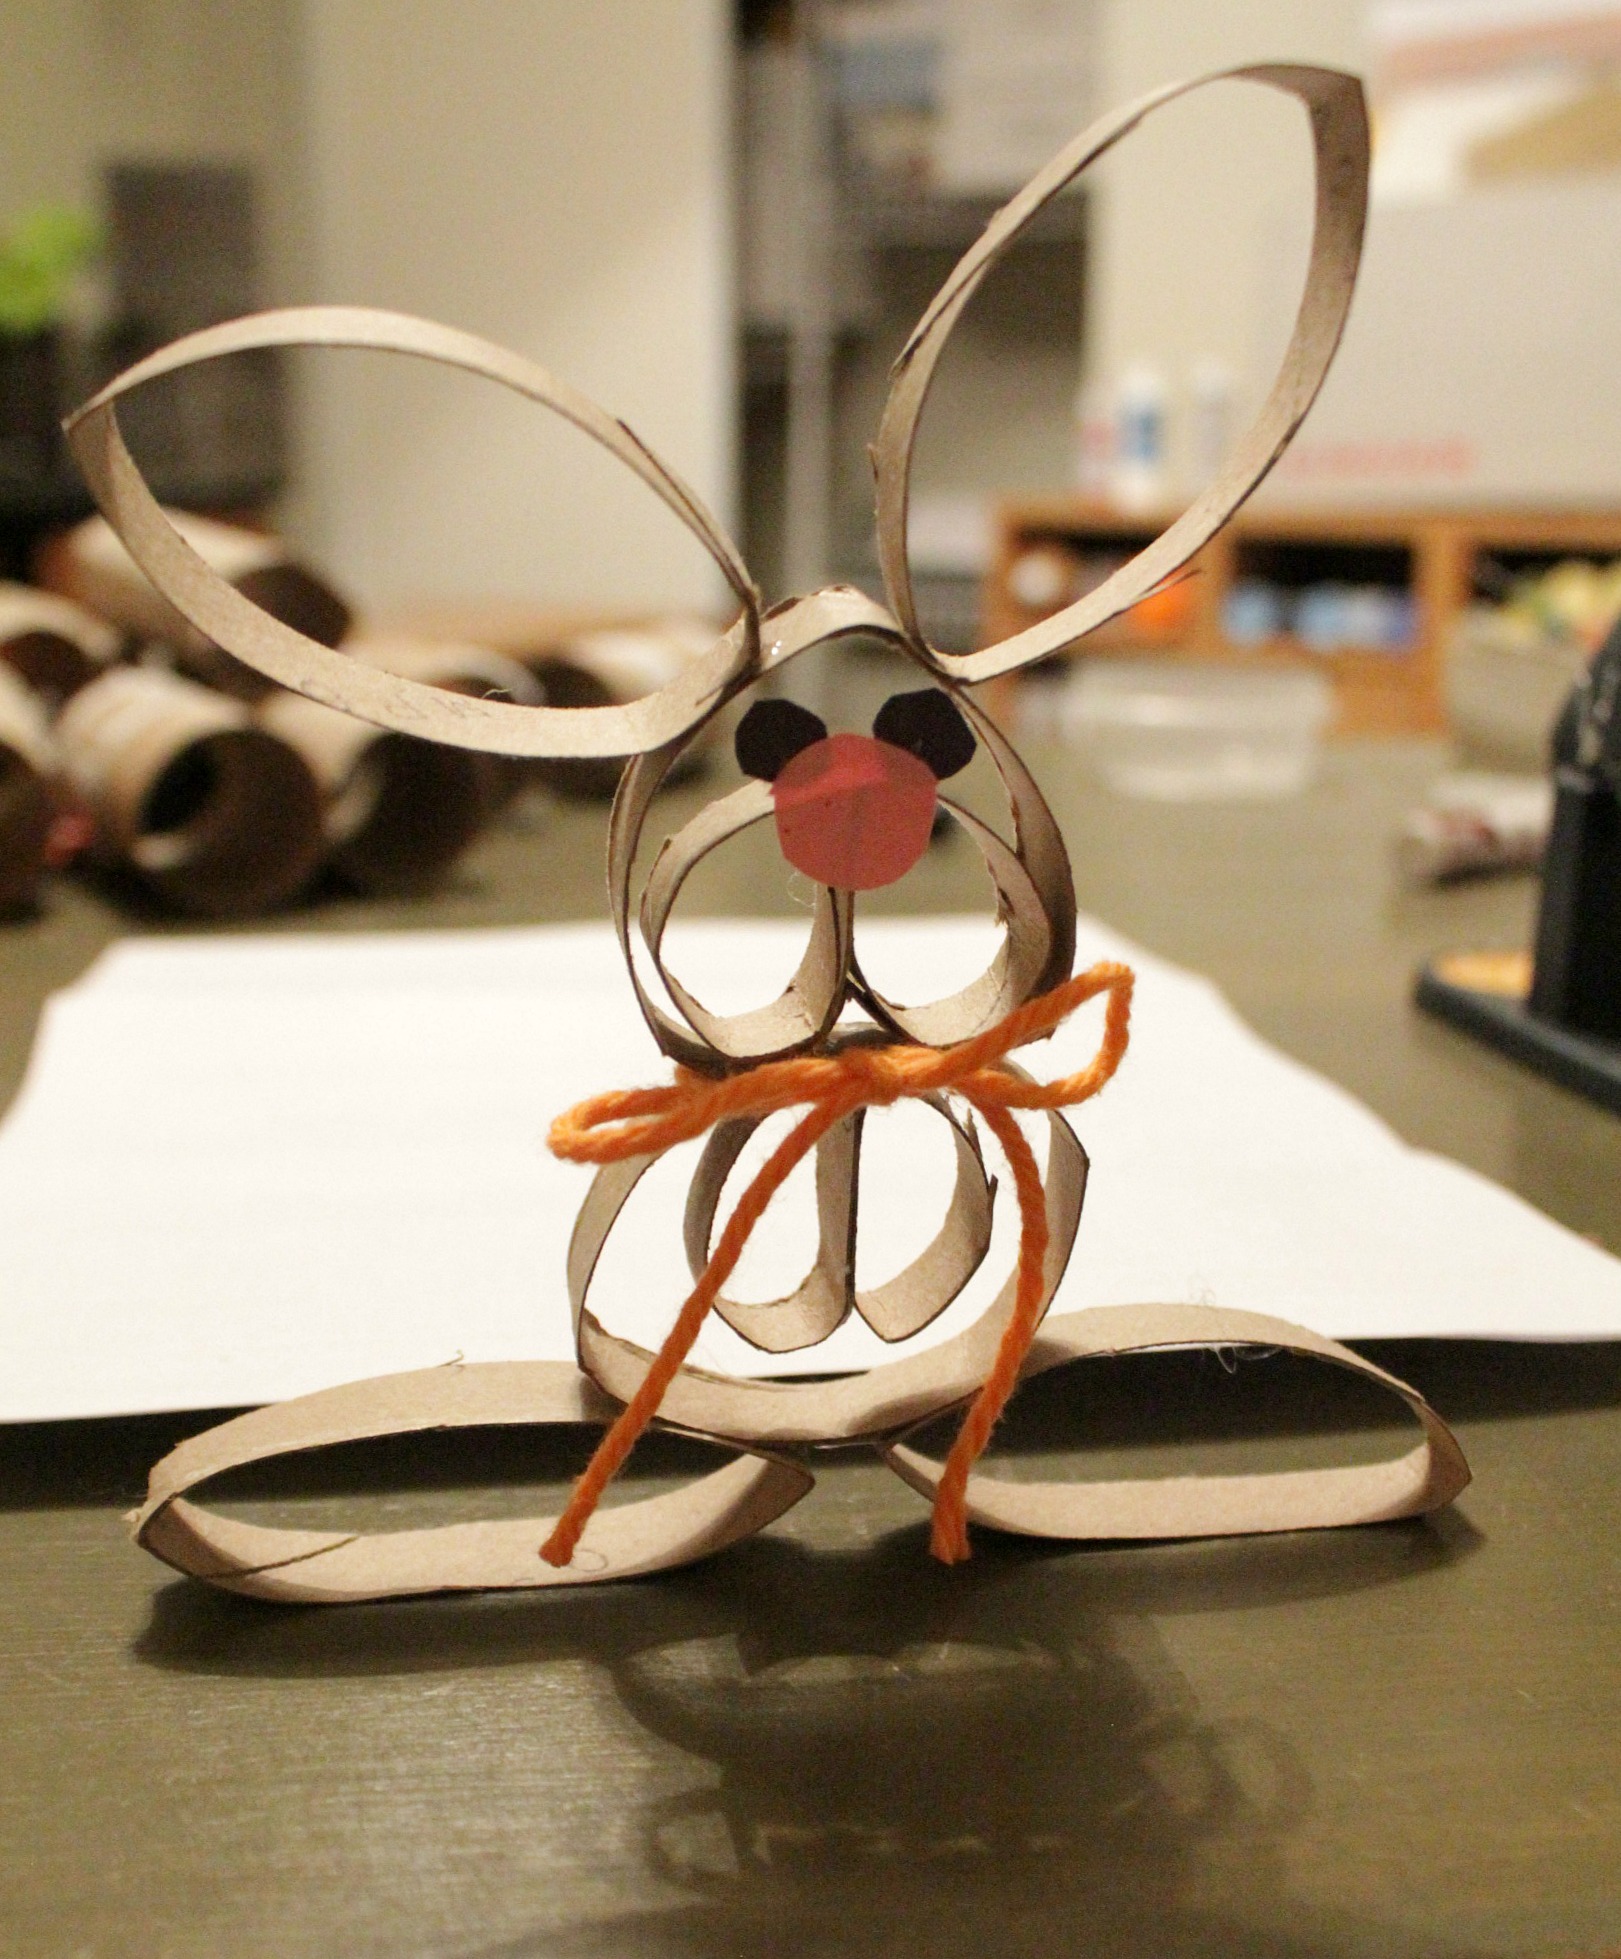
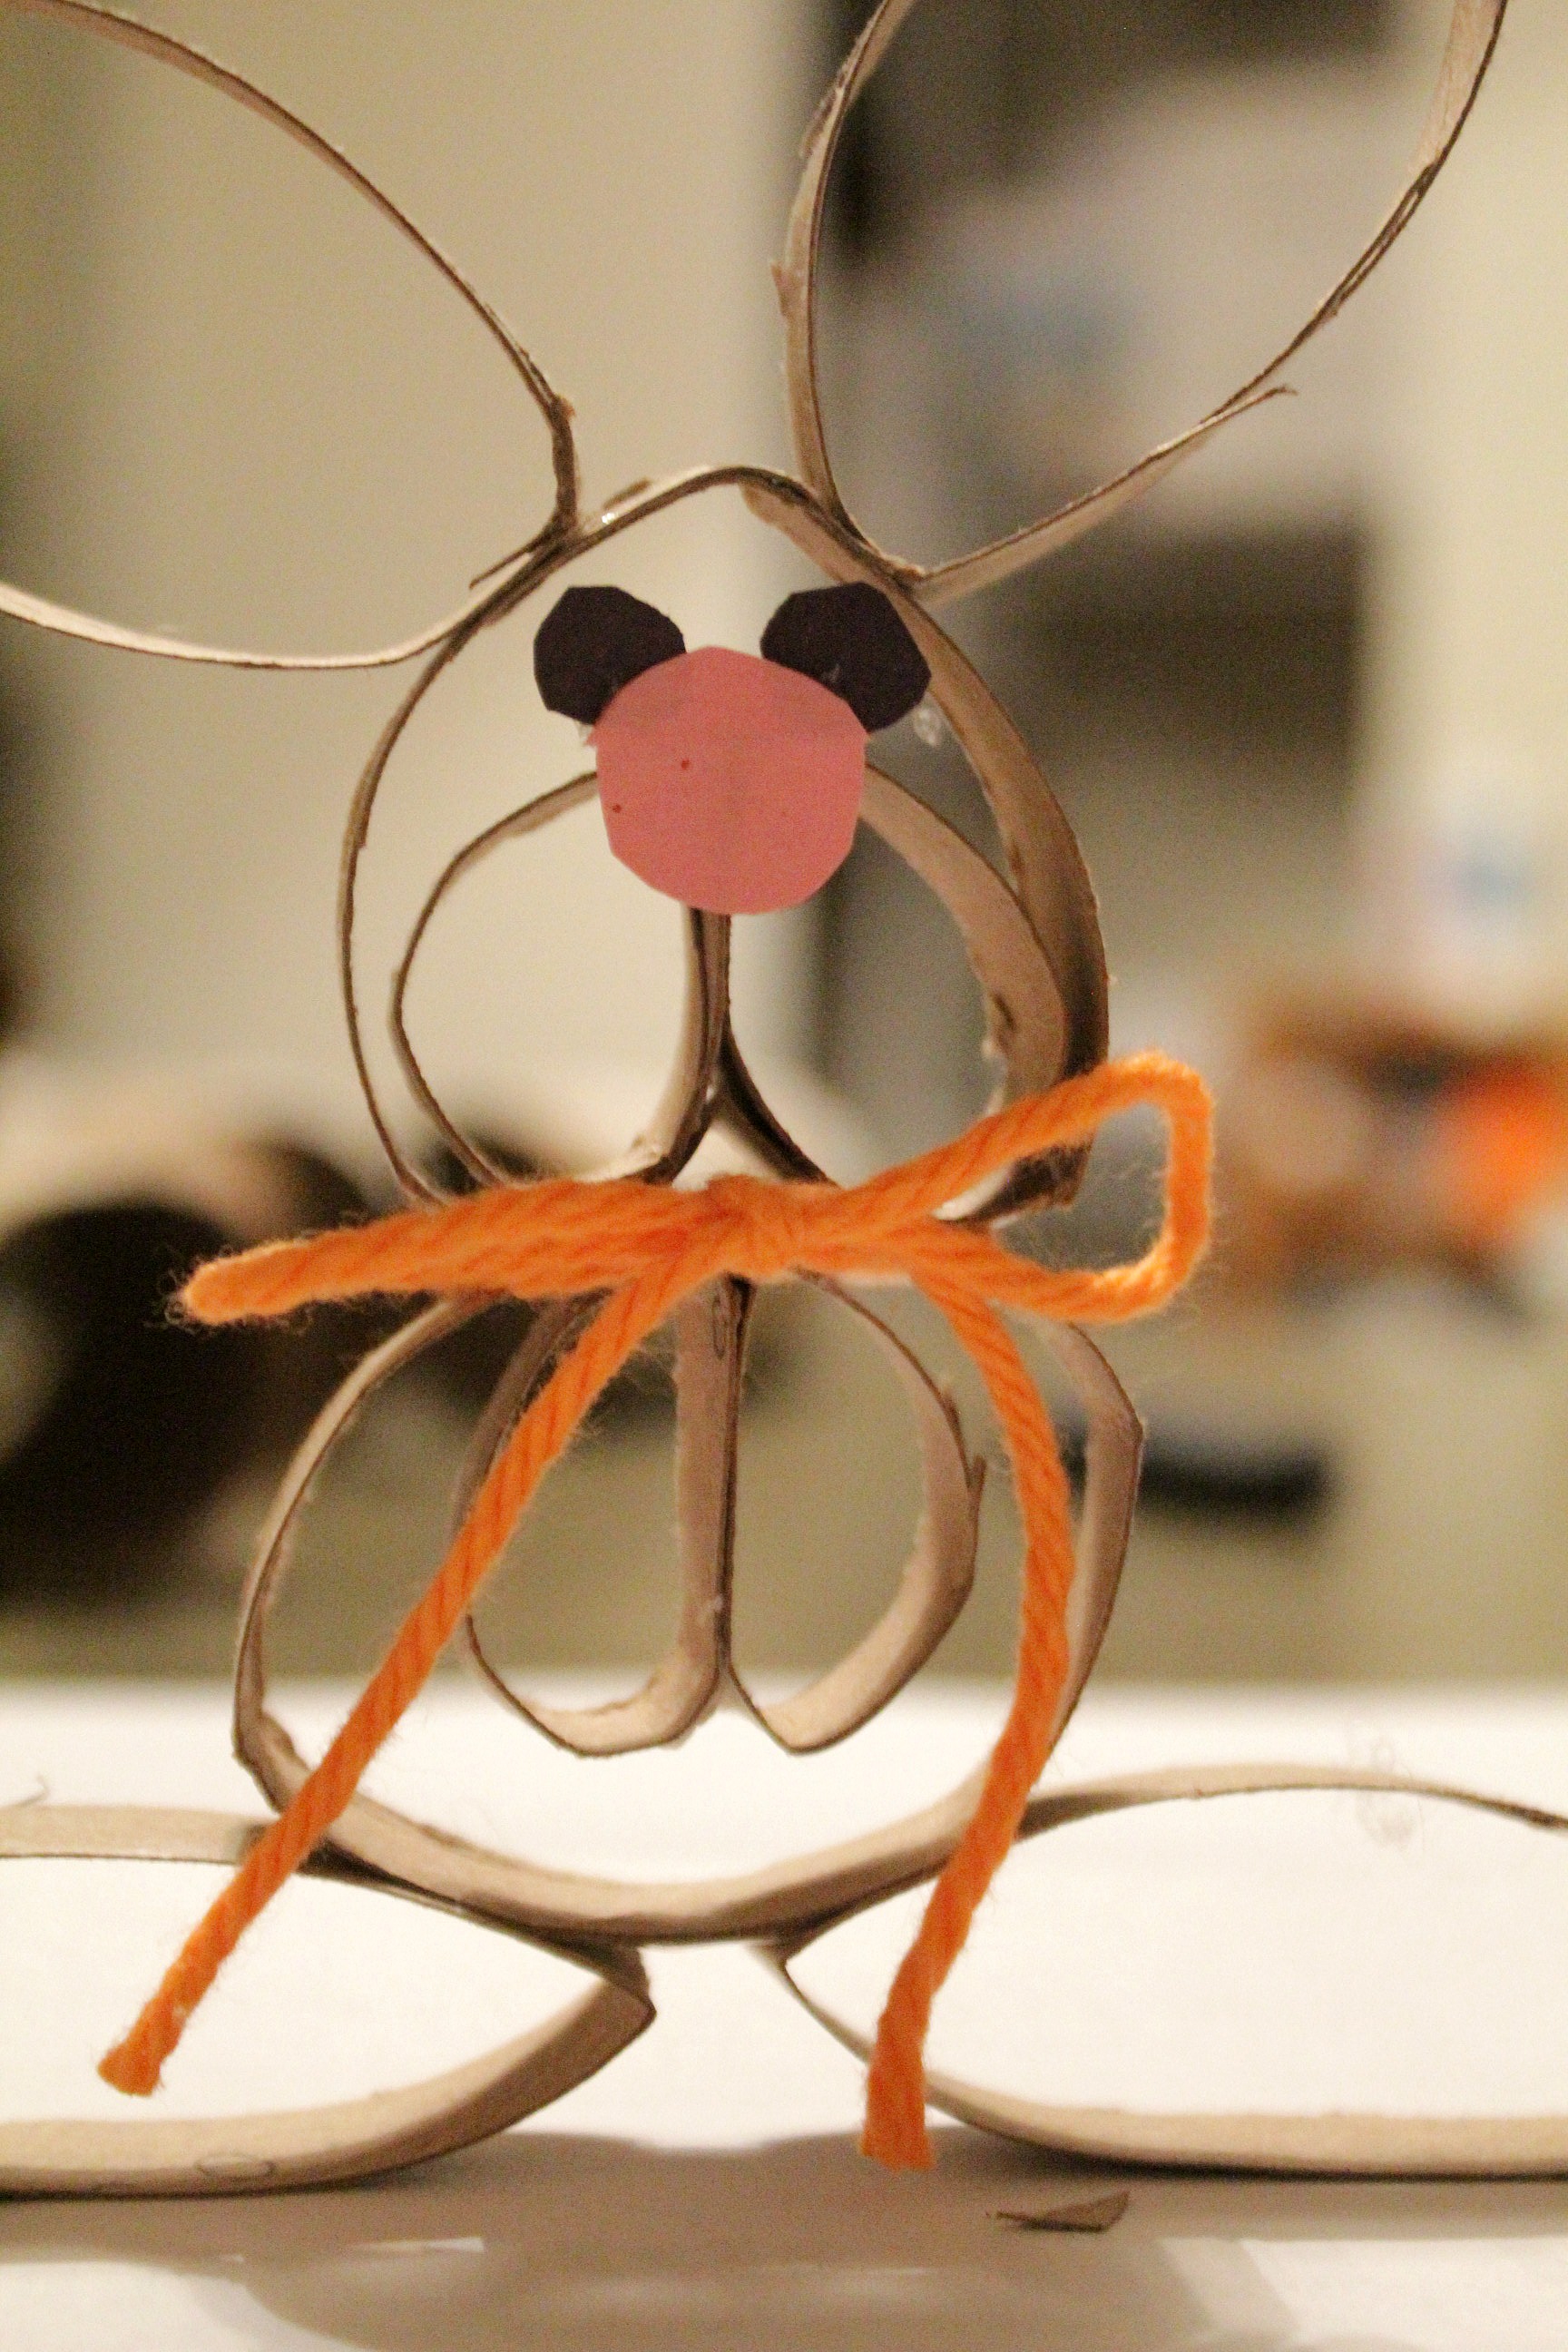
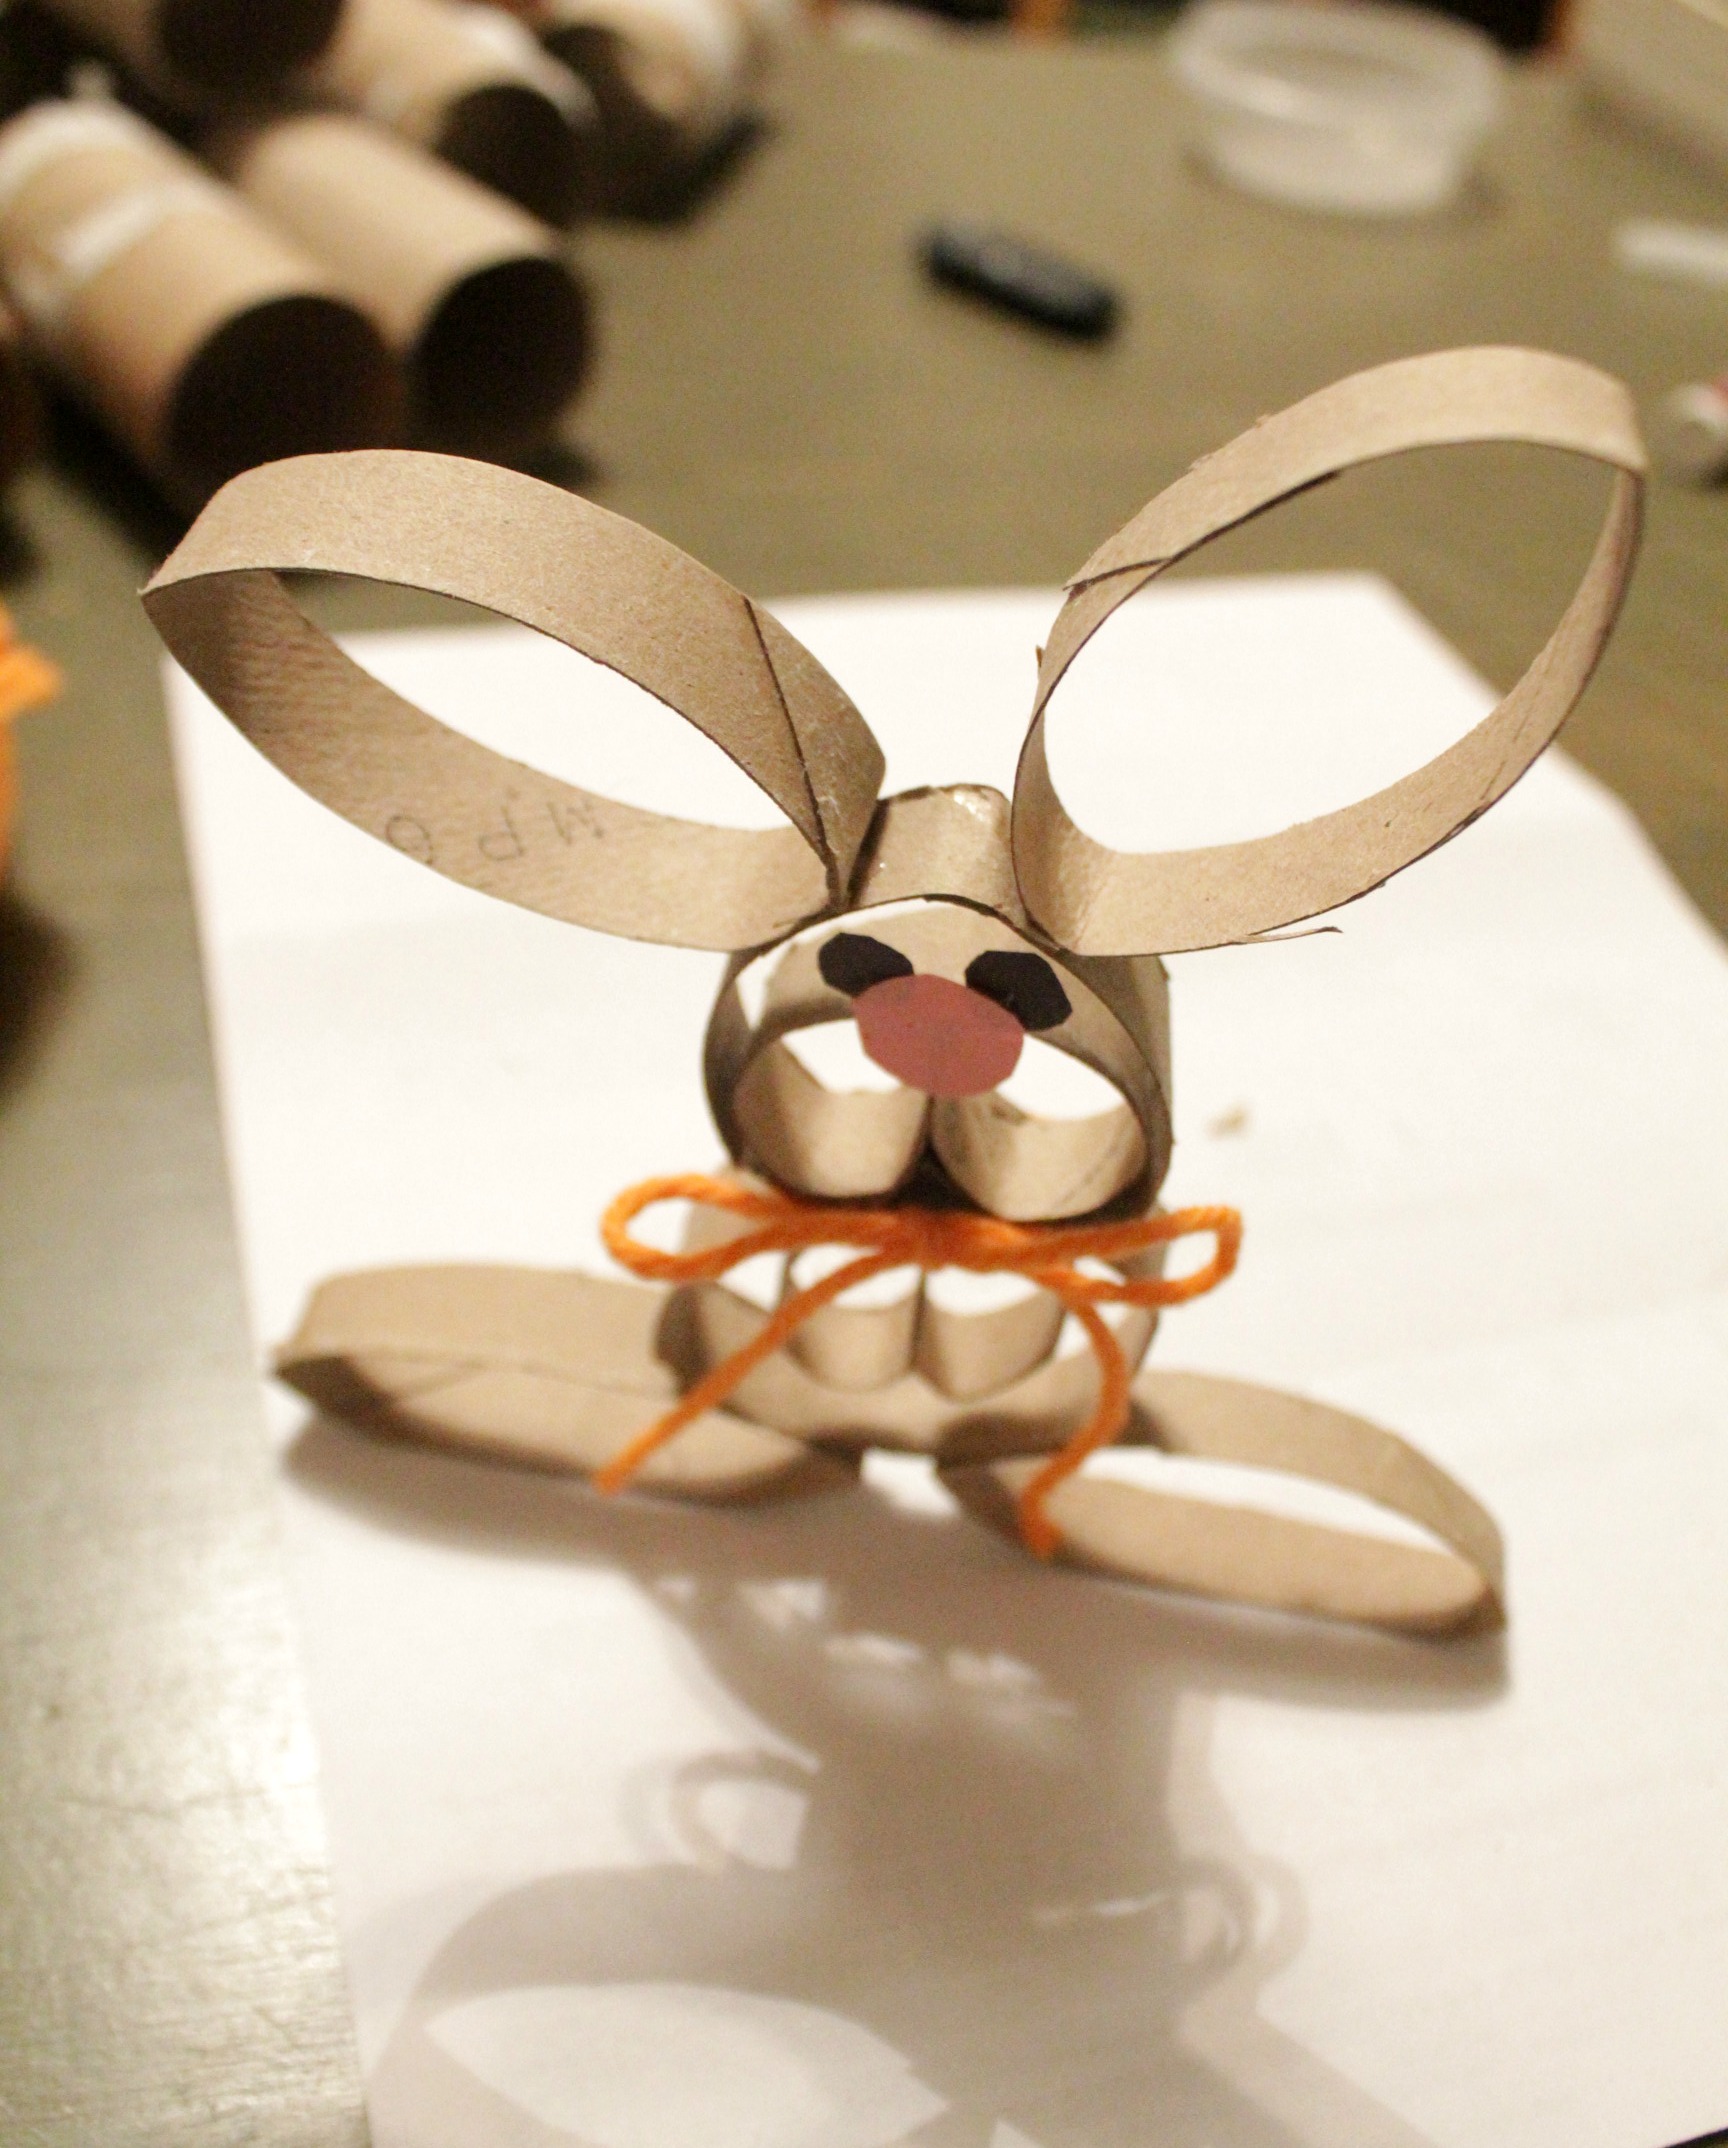
Toilet Paper Roll Easter Bunny


I always have a collection of leftover toilet tissue rolls laying around. I have great plans for them - that often never come to be. Usually at Christmas time I'll dig them out to make stars/snowflakes for the tree or to tie on gifts.

toilet paper roll star

This time I was saving them up as I had a plan to make an activity for the dogs, but I'm still waffling on whether or not to do it. Instead I poked around on Pinterest and came upon this little project. Who doesn't love a bunny, right? So I dug out my scissors and my glue gun and got to work.

toilet paper roll bunny

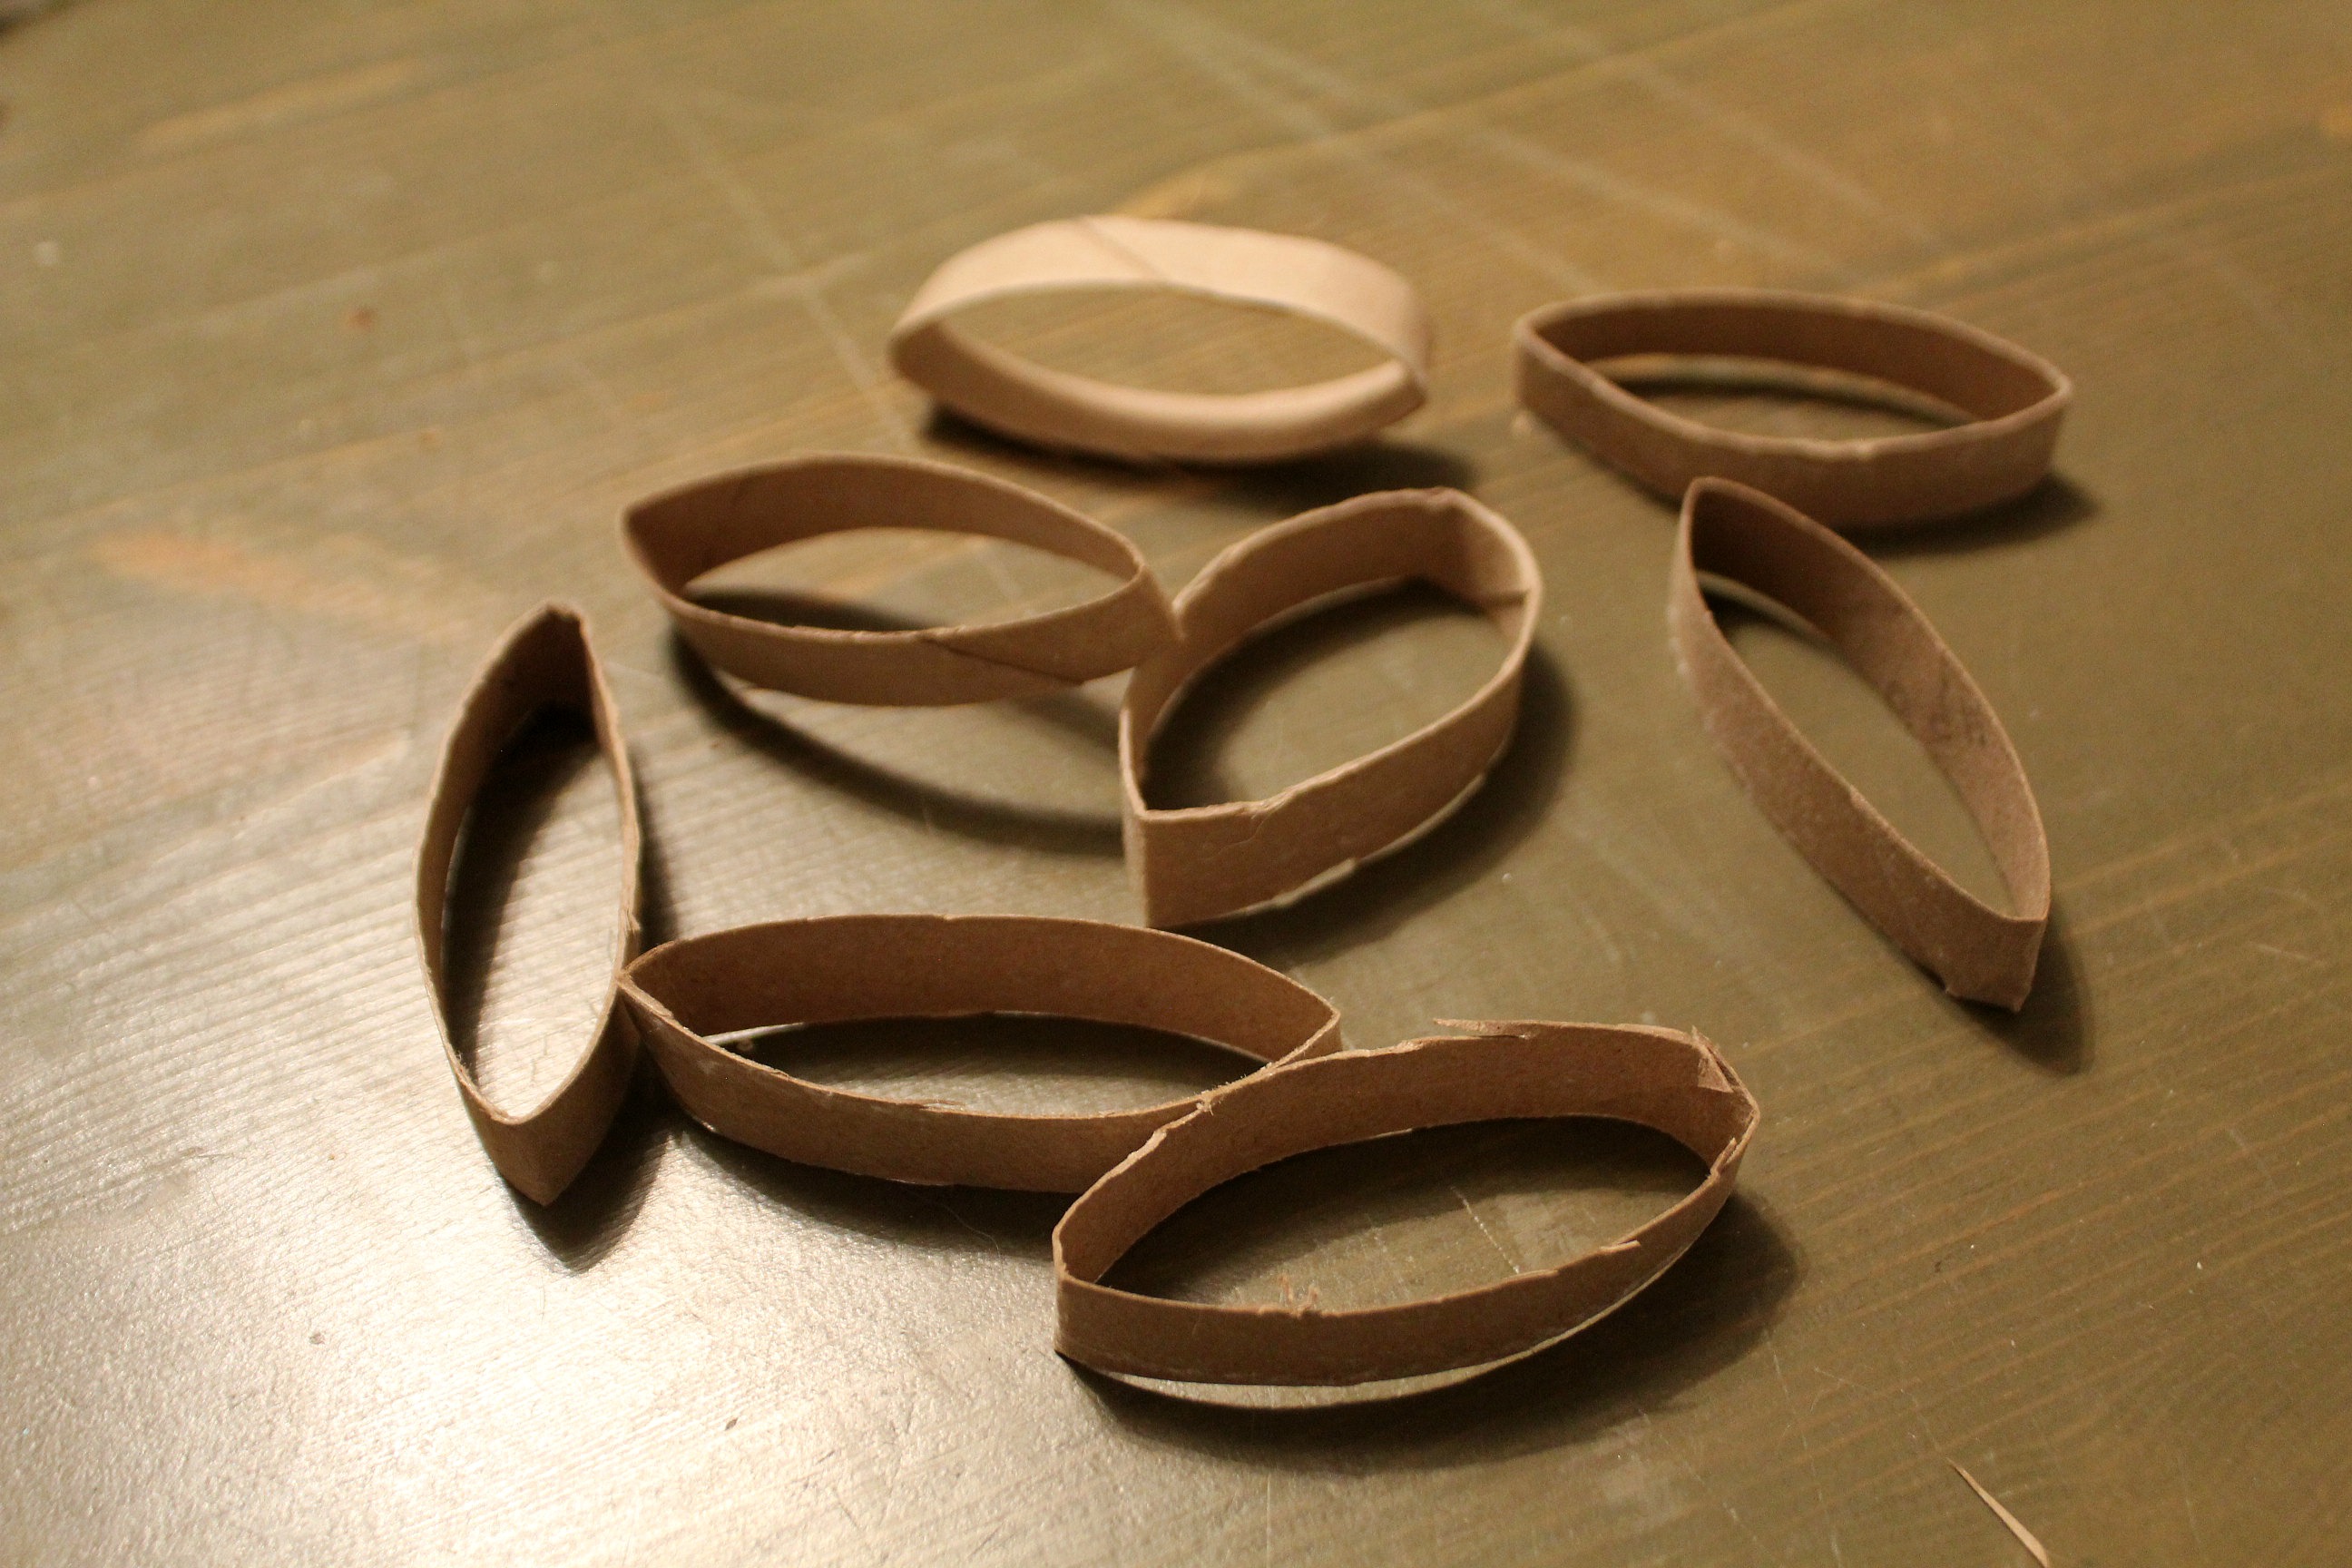
To make this bunny you'll need to cut a toilet paper (or papertowel) tube into seven equal rings. I ended up using part of a second roll to have enough rings.

toilet paper roll bunny

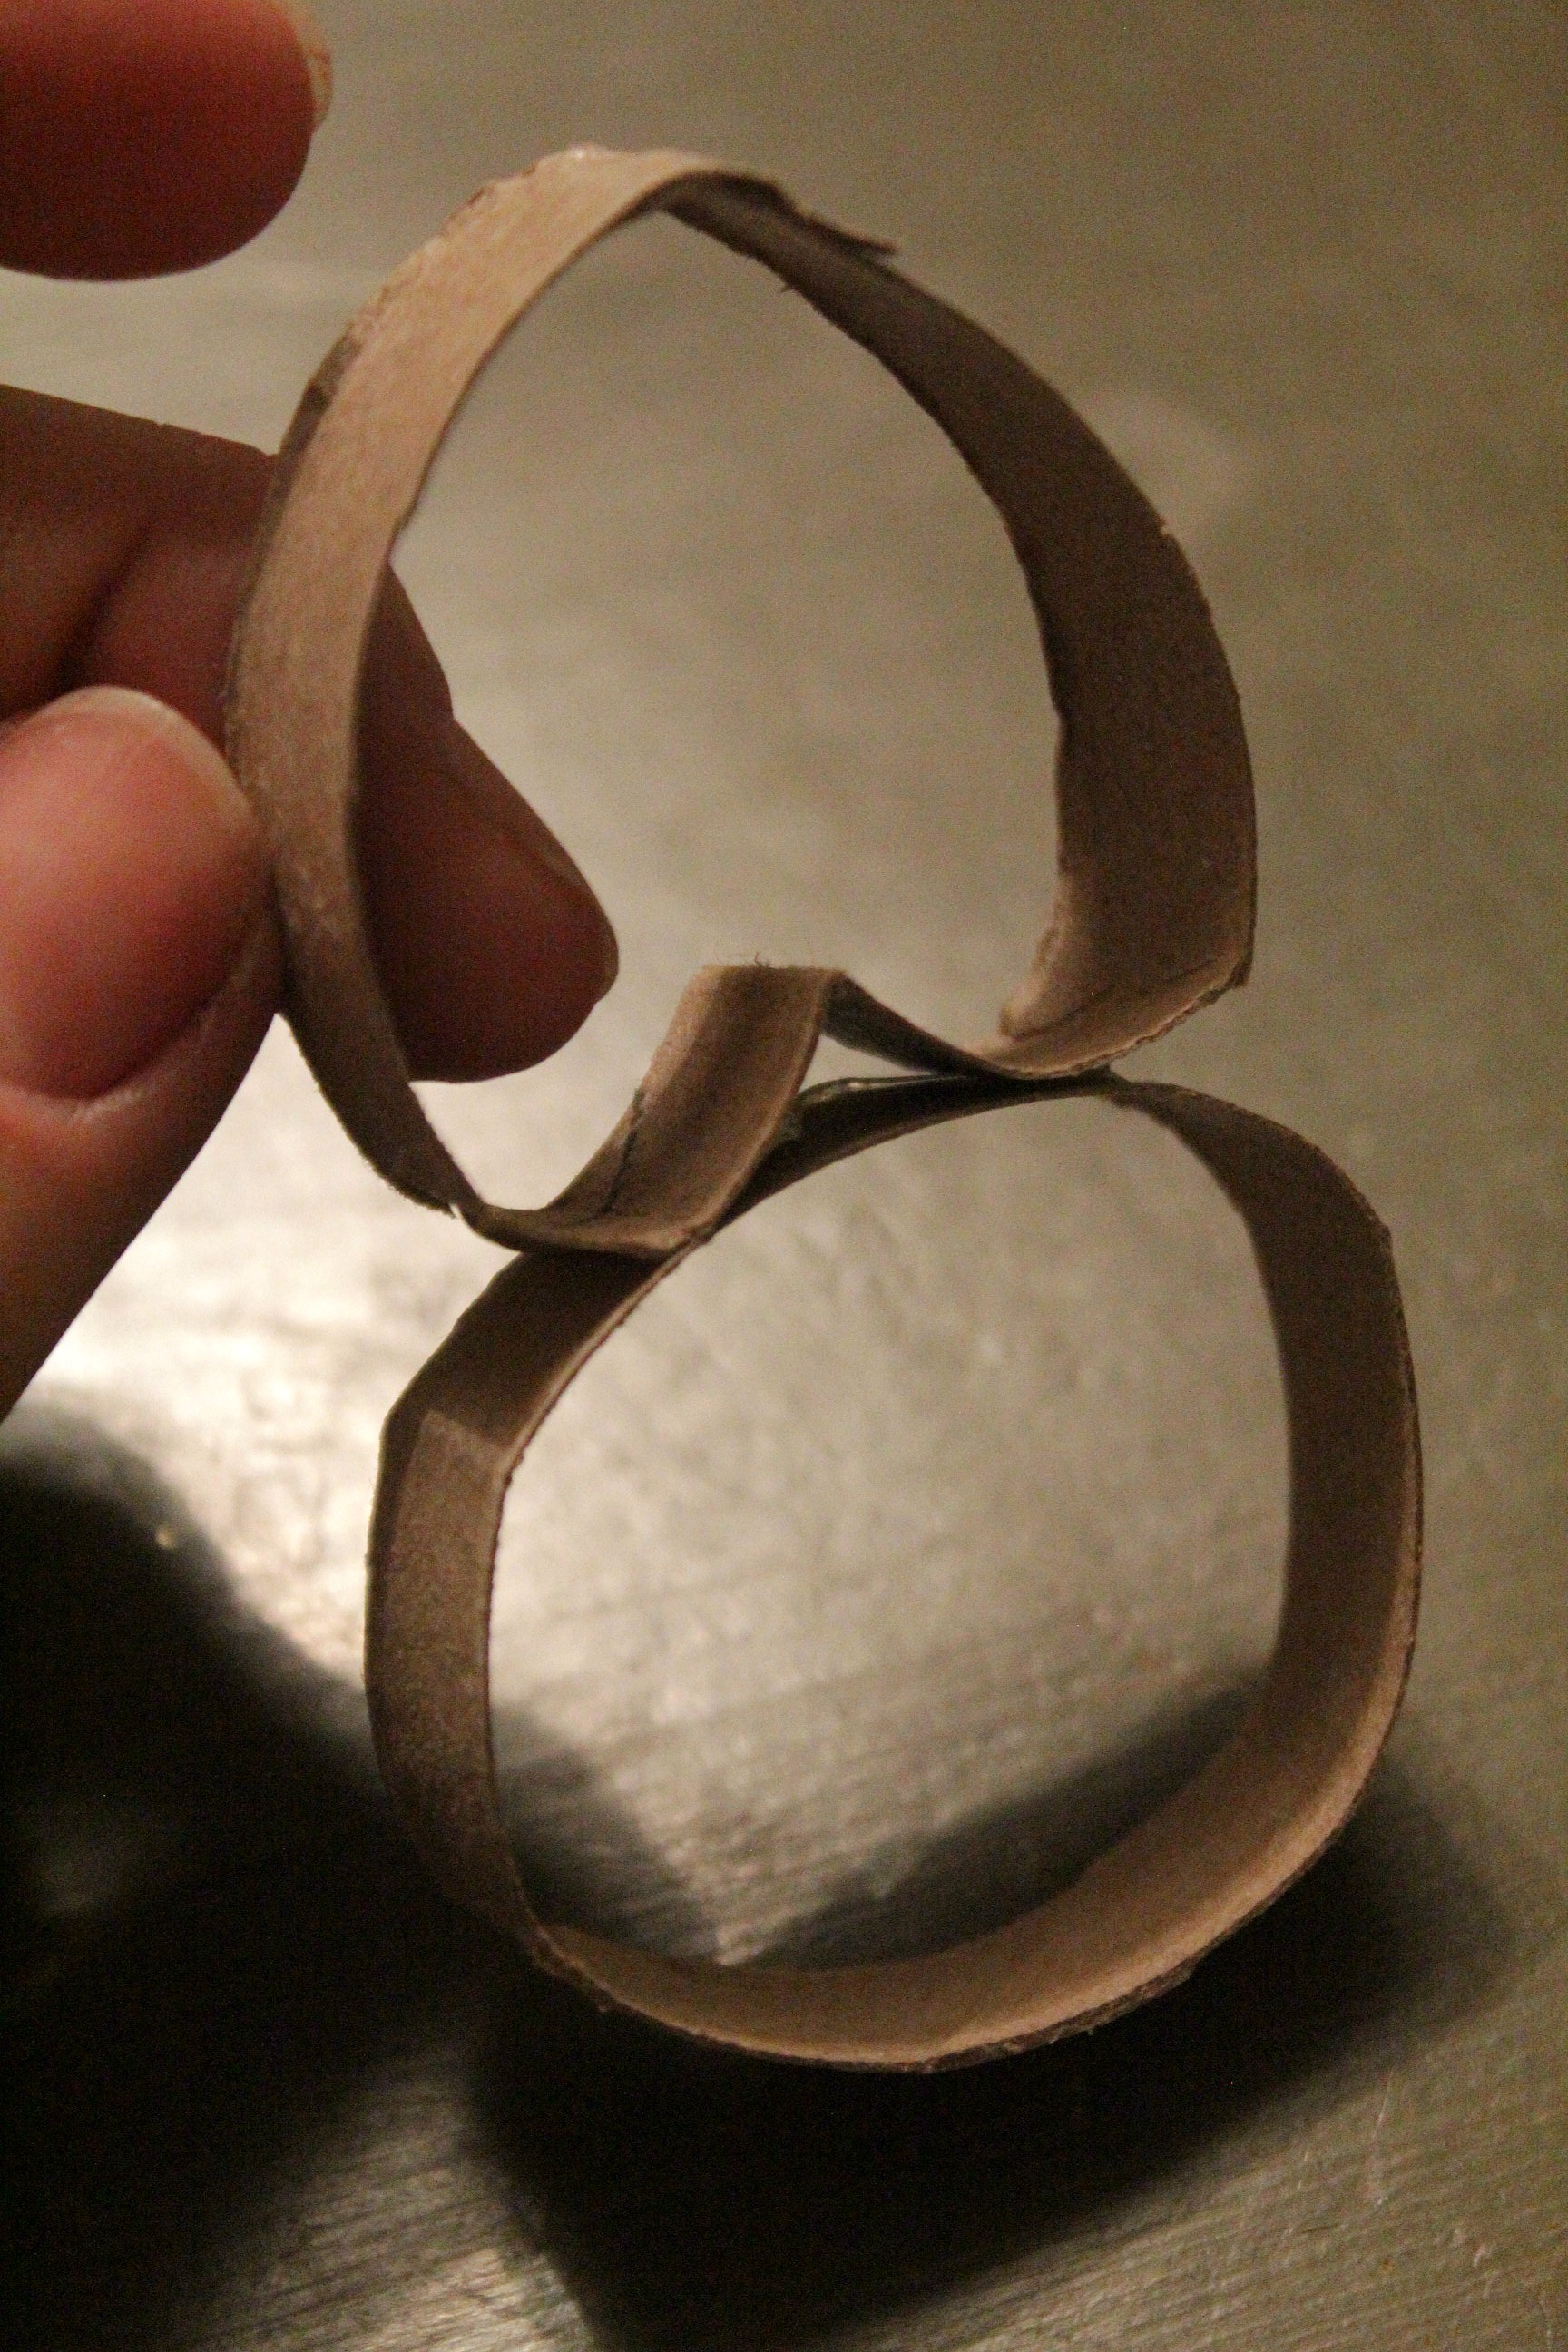
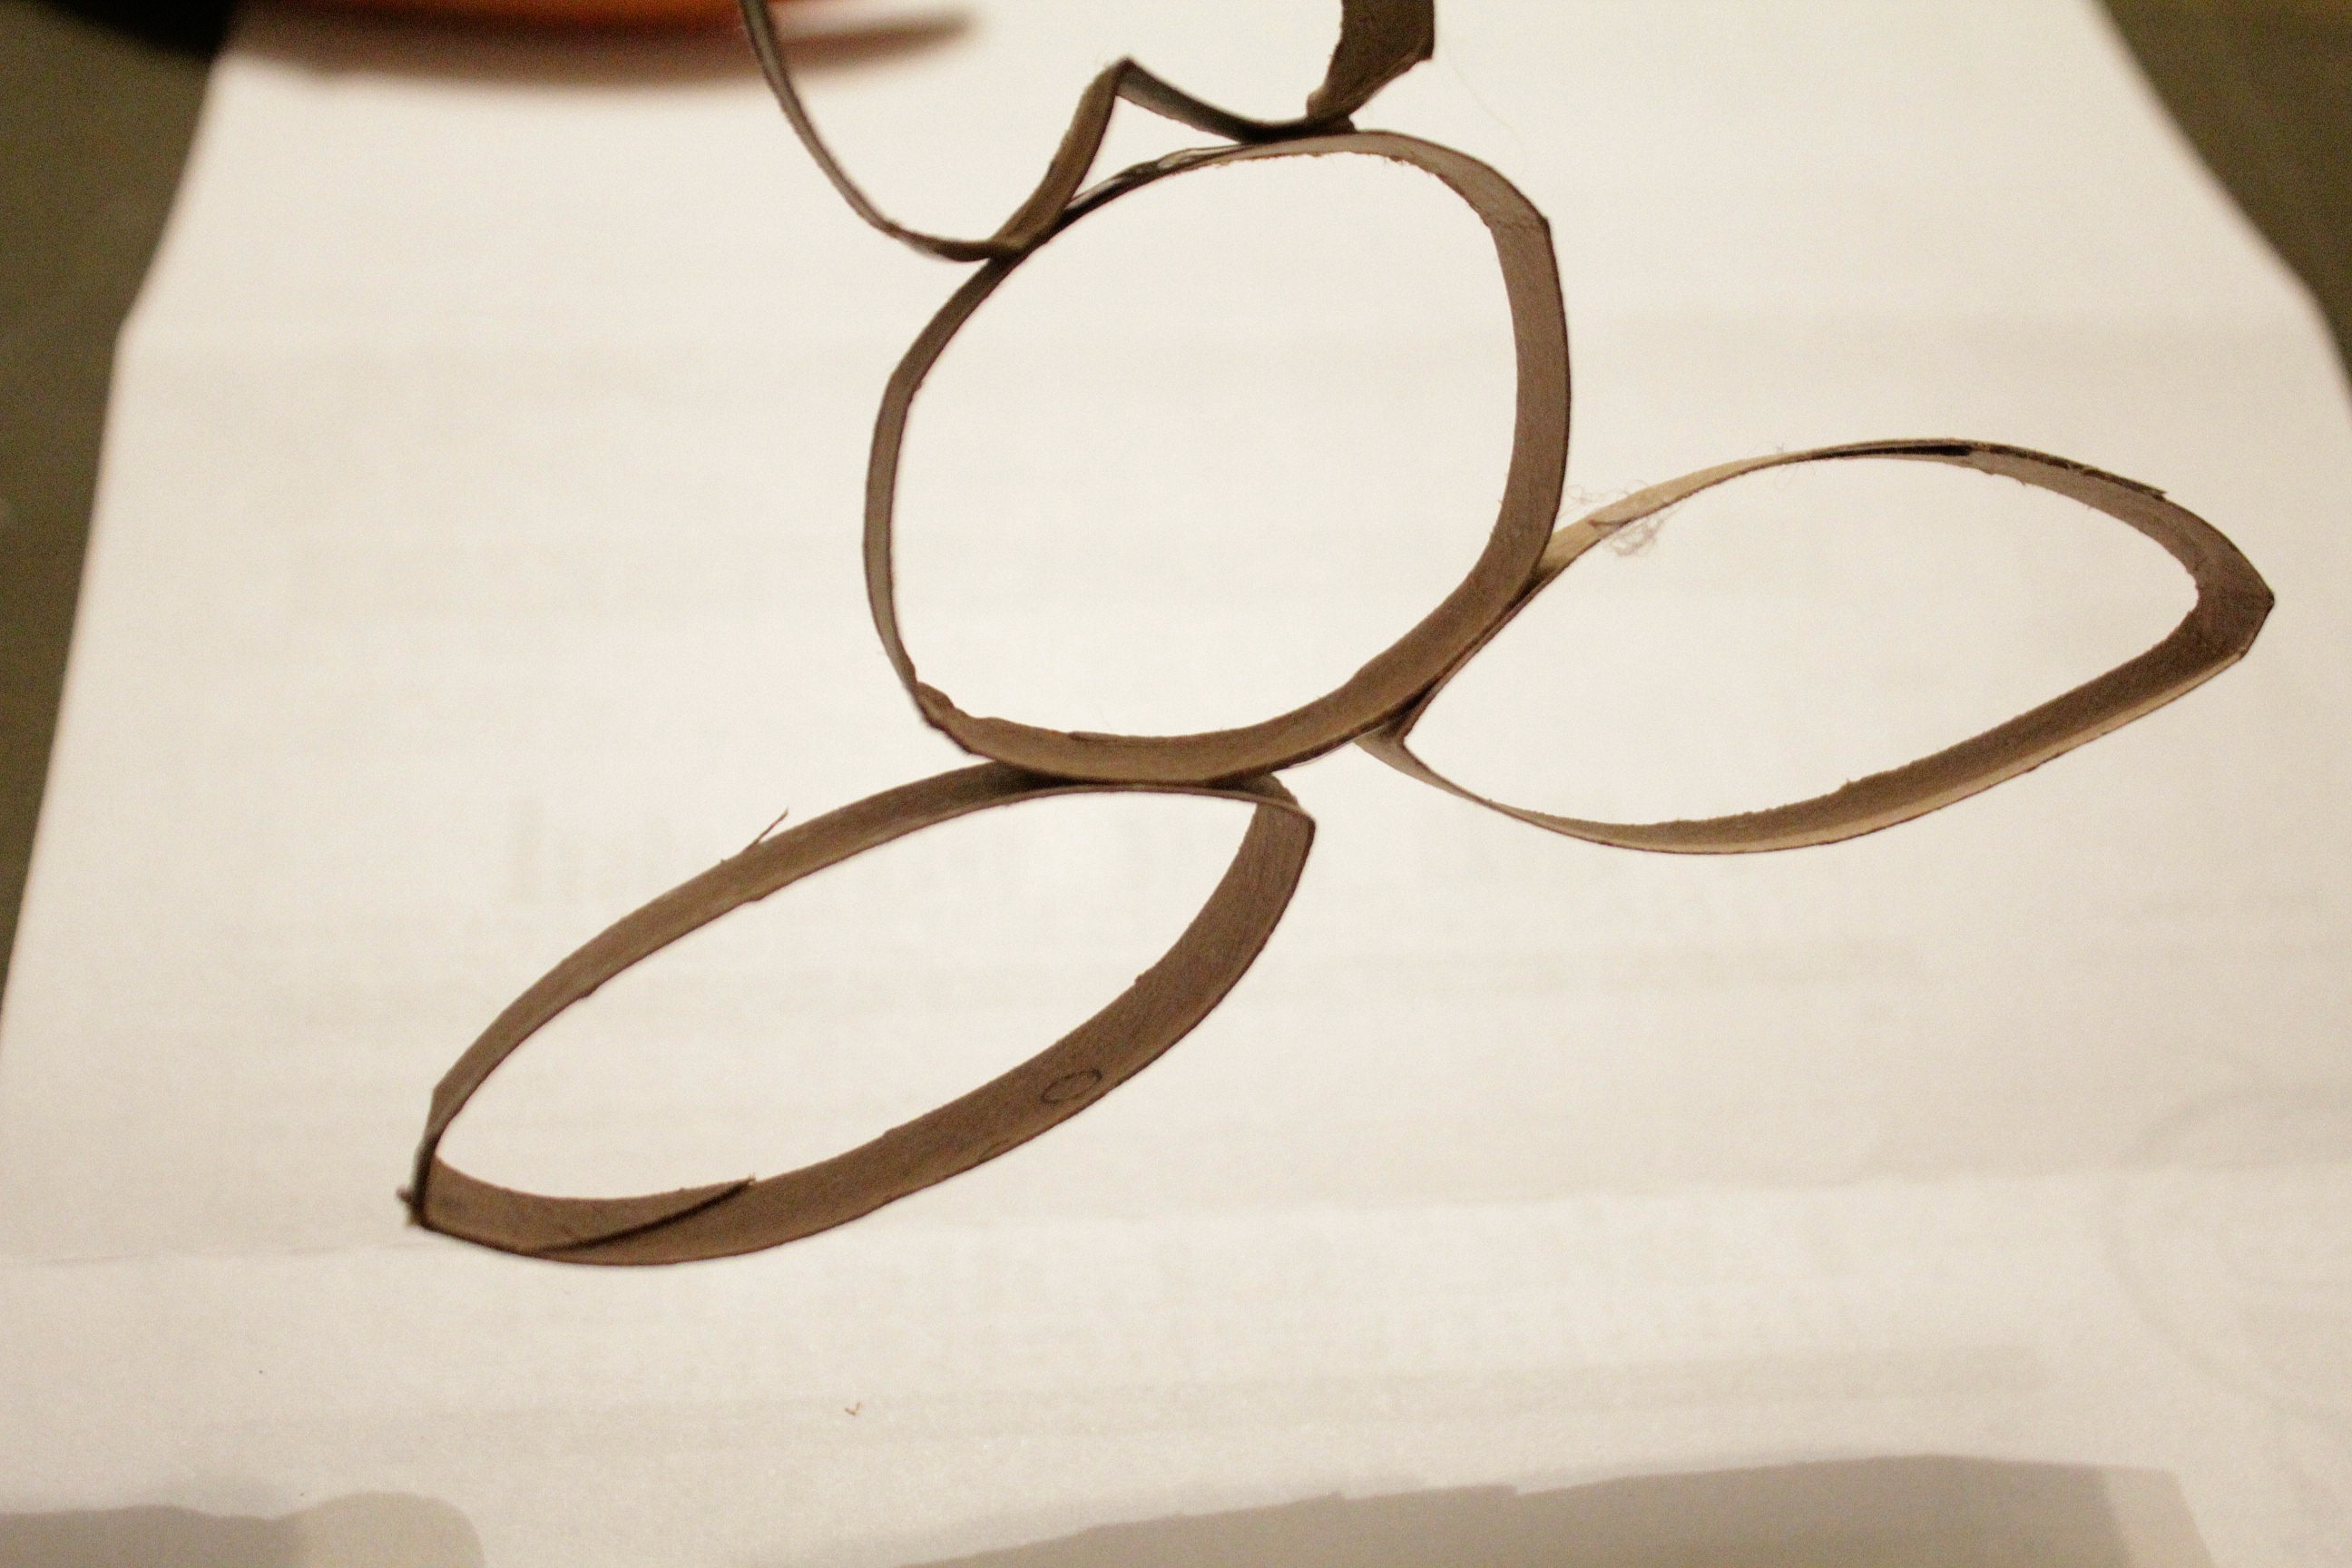
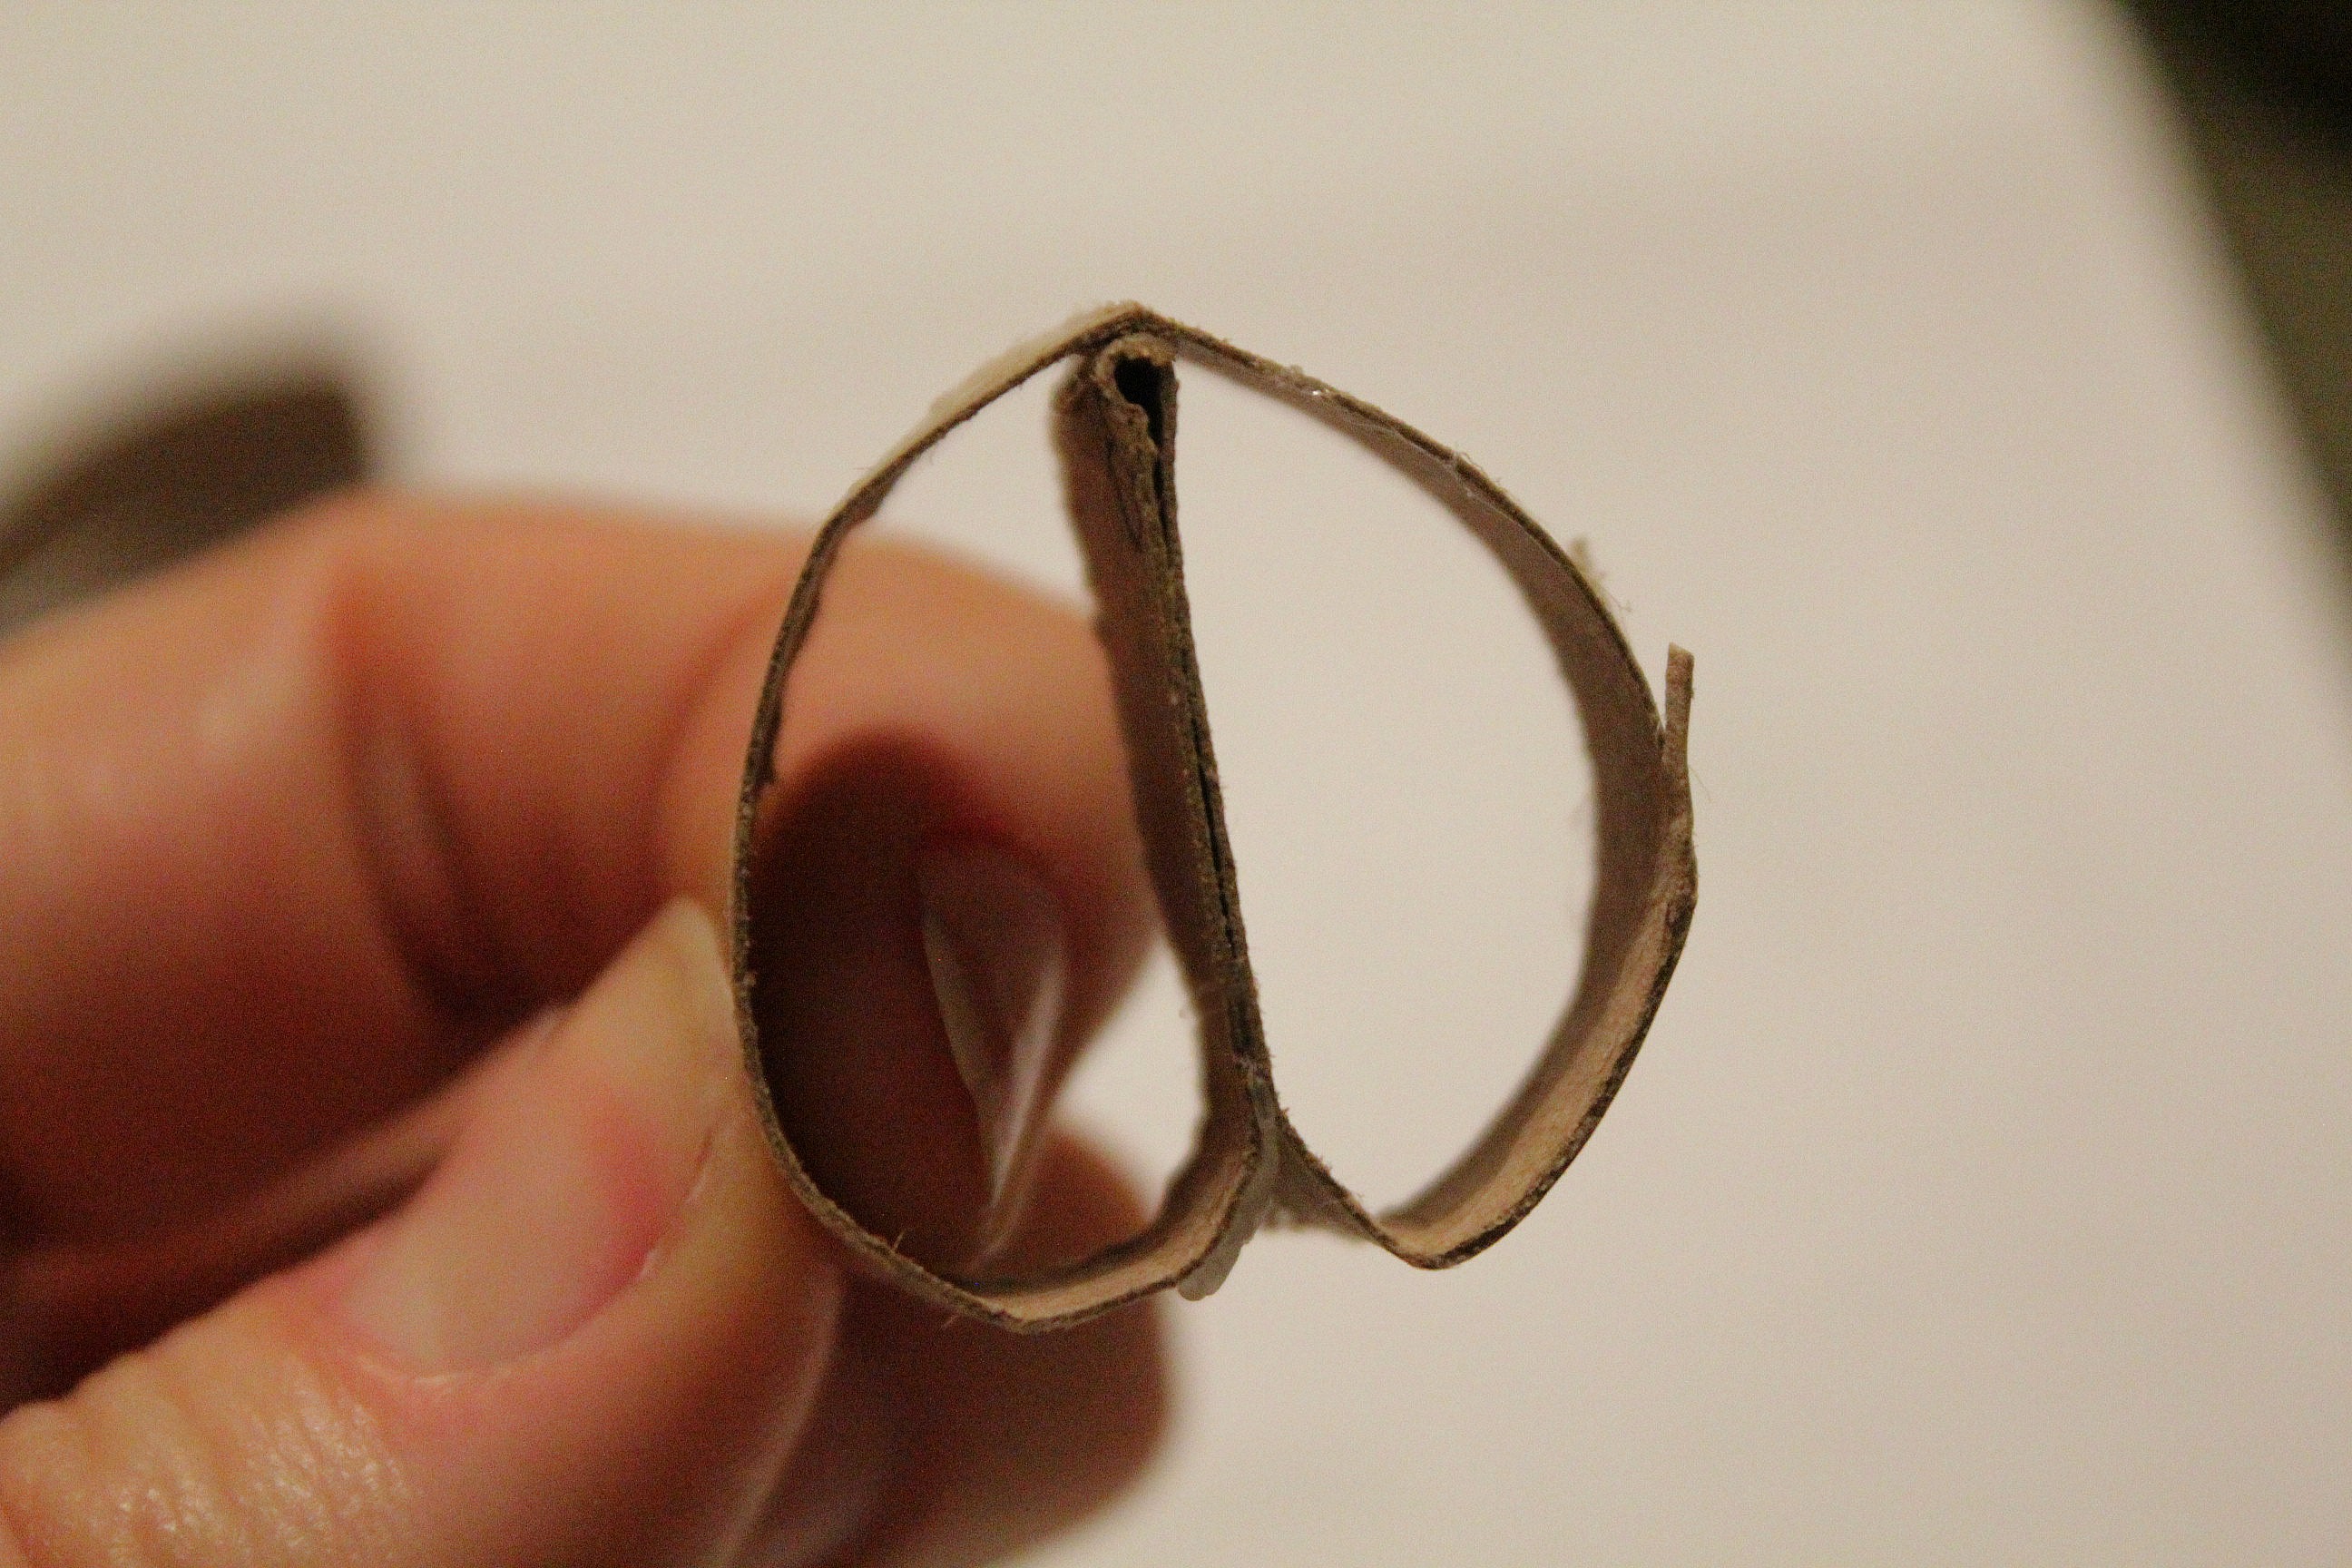
Start by taking one ring and pinching inwards in one spot to make a heart shape. Glue the heart upside down on a second ring, making sure to leave a bit of a point.

toilet paper roll bunny

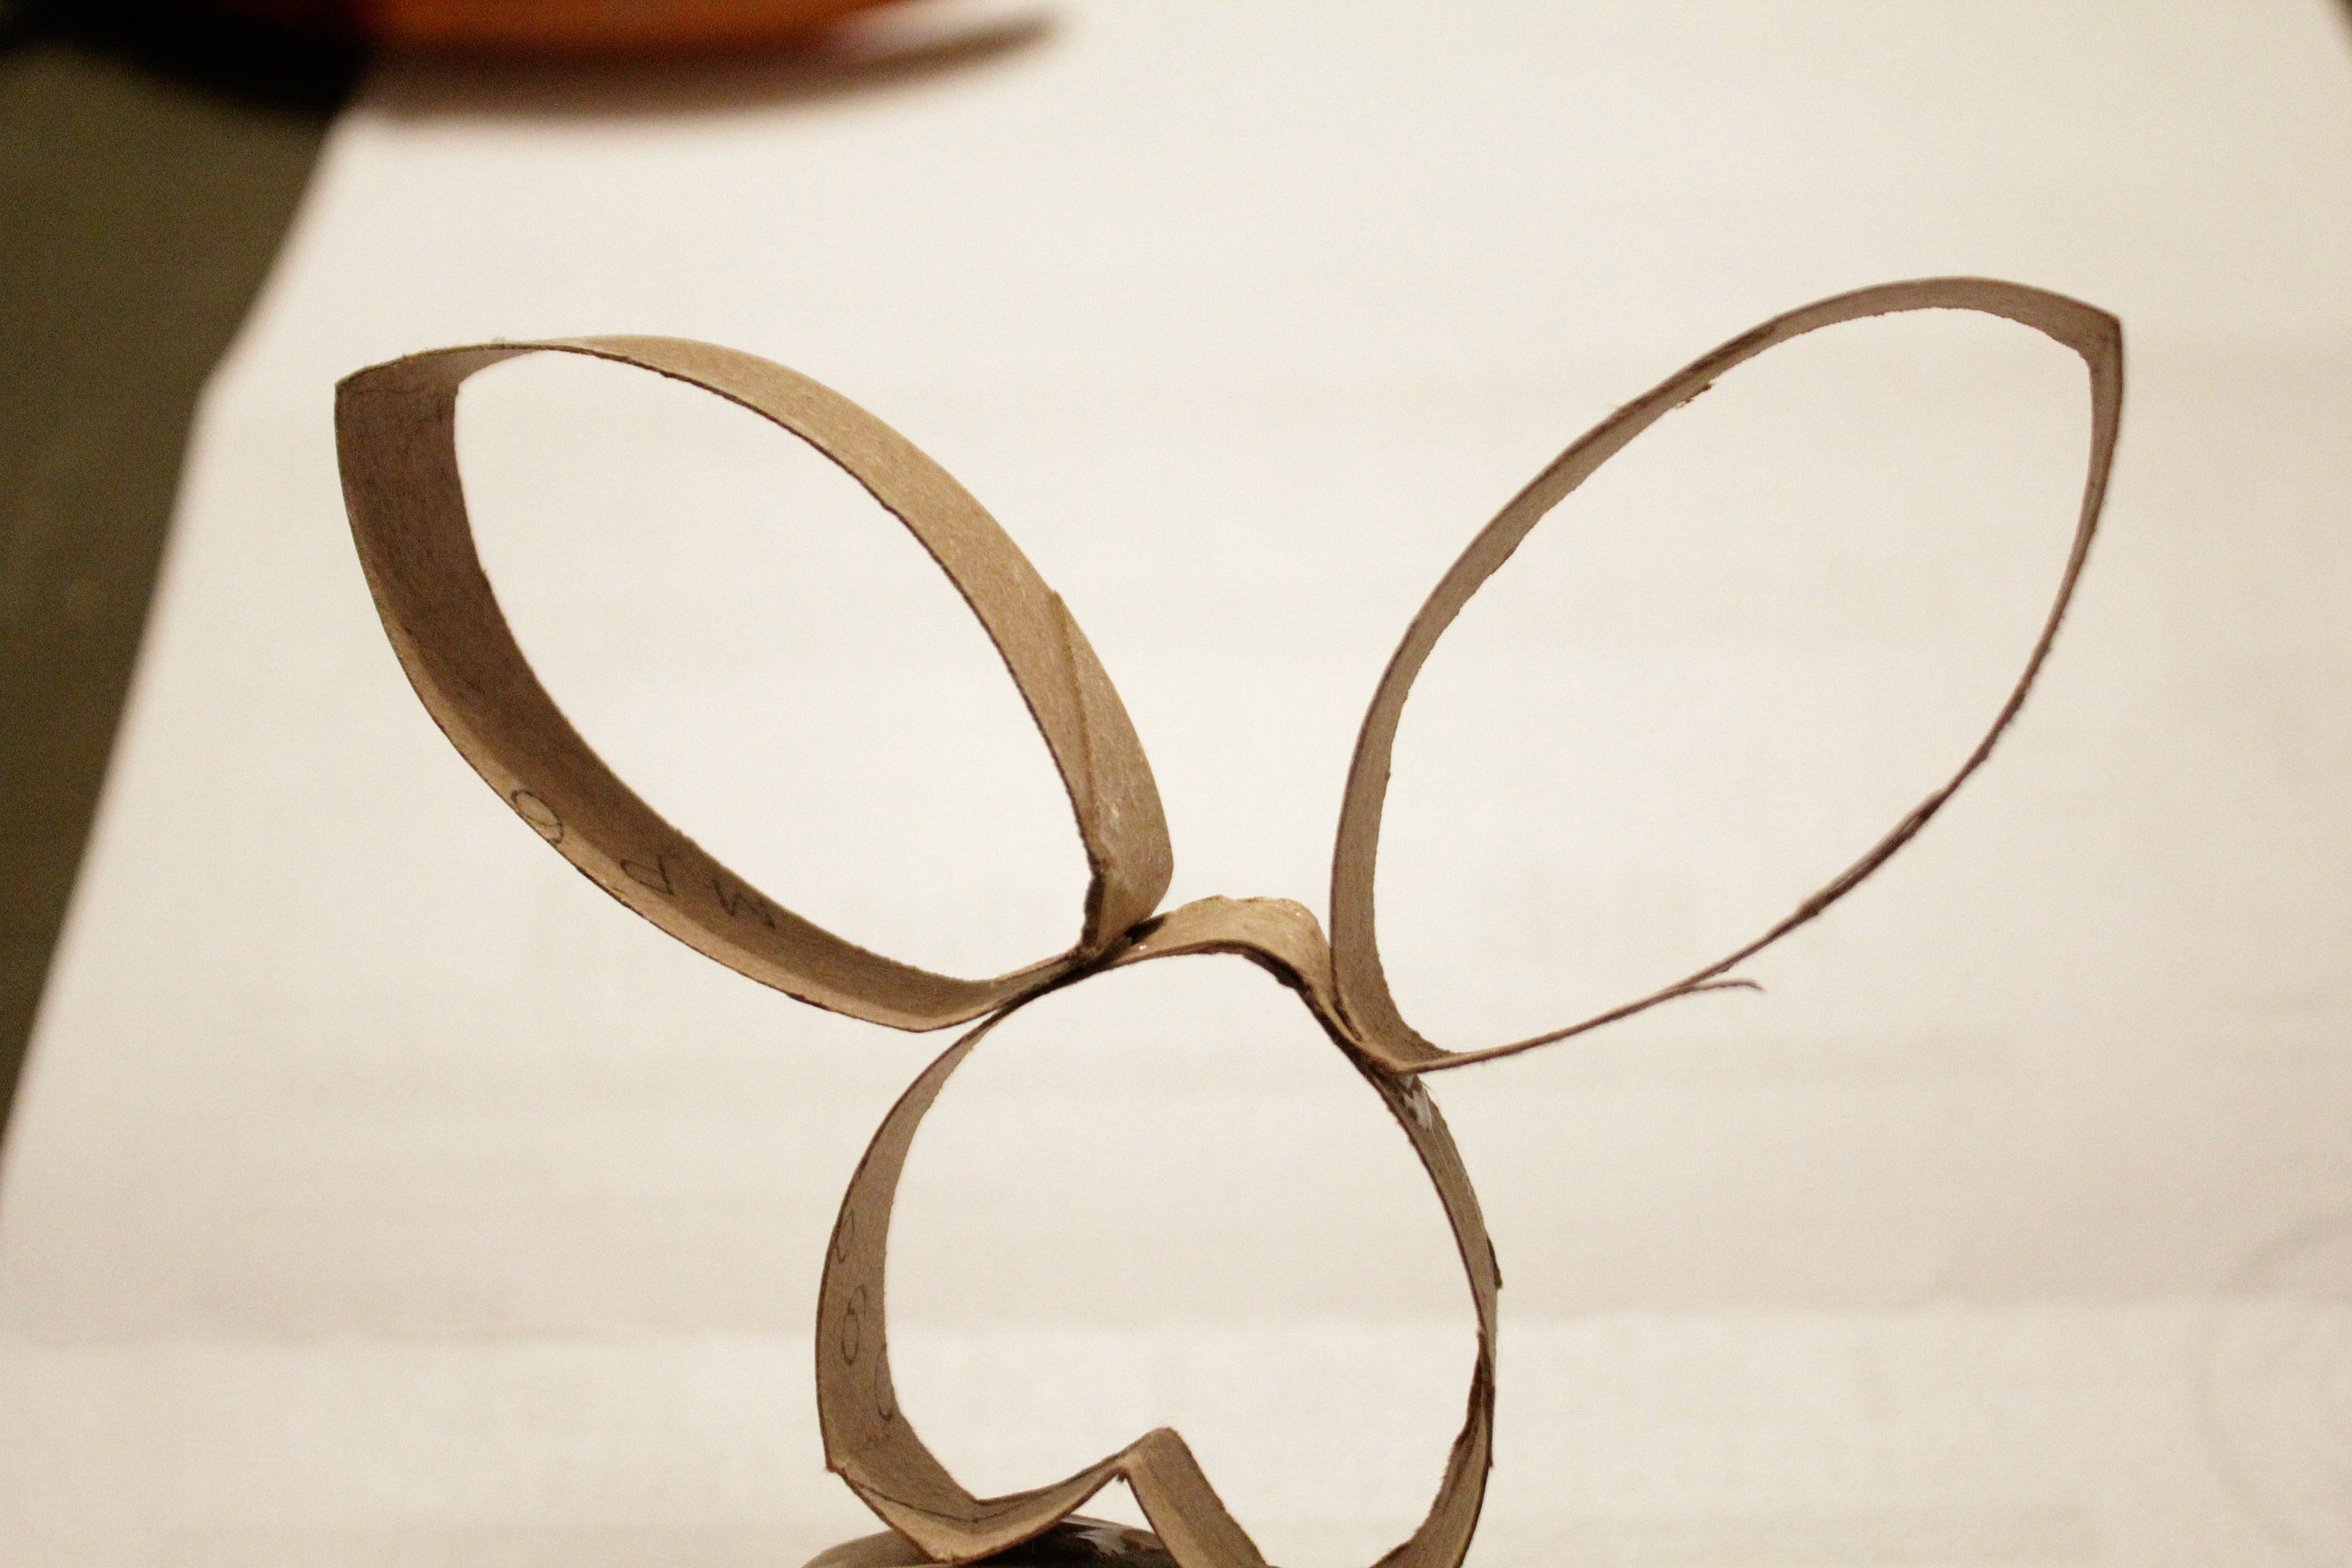
Take two more rings and flatten them out a bit, squeezing a point at one end so that they look like ears. Glue these to the bunny's head (the bottom of the heart) any way you want. You can make them stand up or be floppy - your choice.

toilet paper roll bunny

Take two more rings and flatten them the same way as the ears, gluing them to the bottom of the body for feet. These you'll want to get as even as possible so that your bunny doesn't fall over. The flatter you can get the bottoms of the rings, the better. (Mine aren't very flat here.)

toilet paper roll bunny

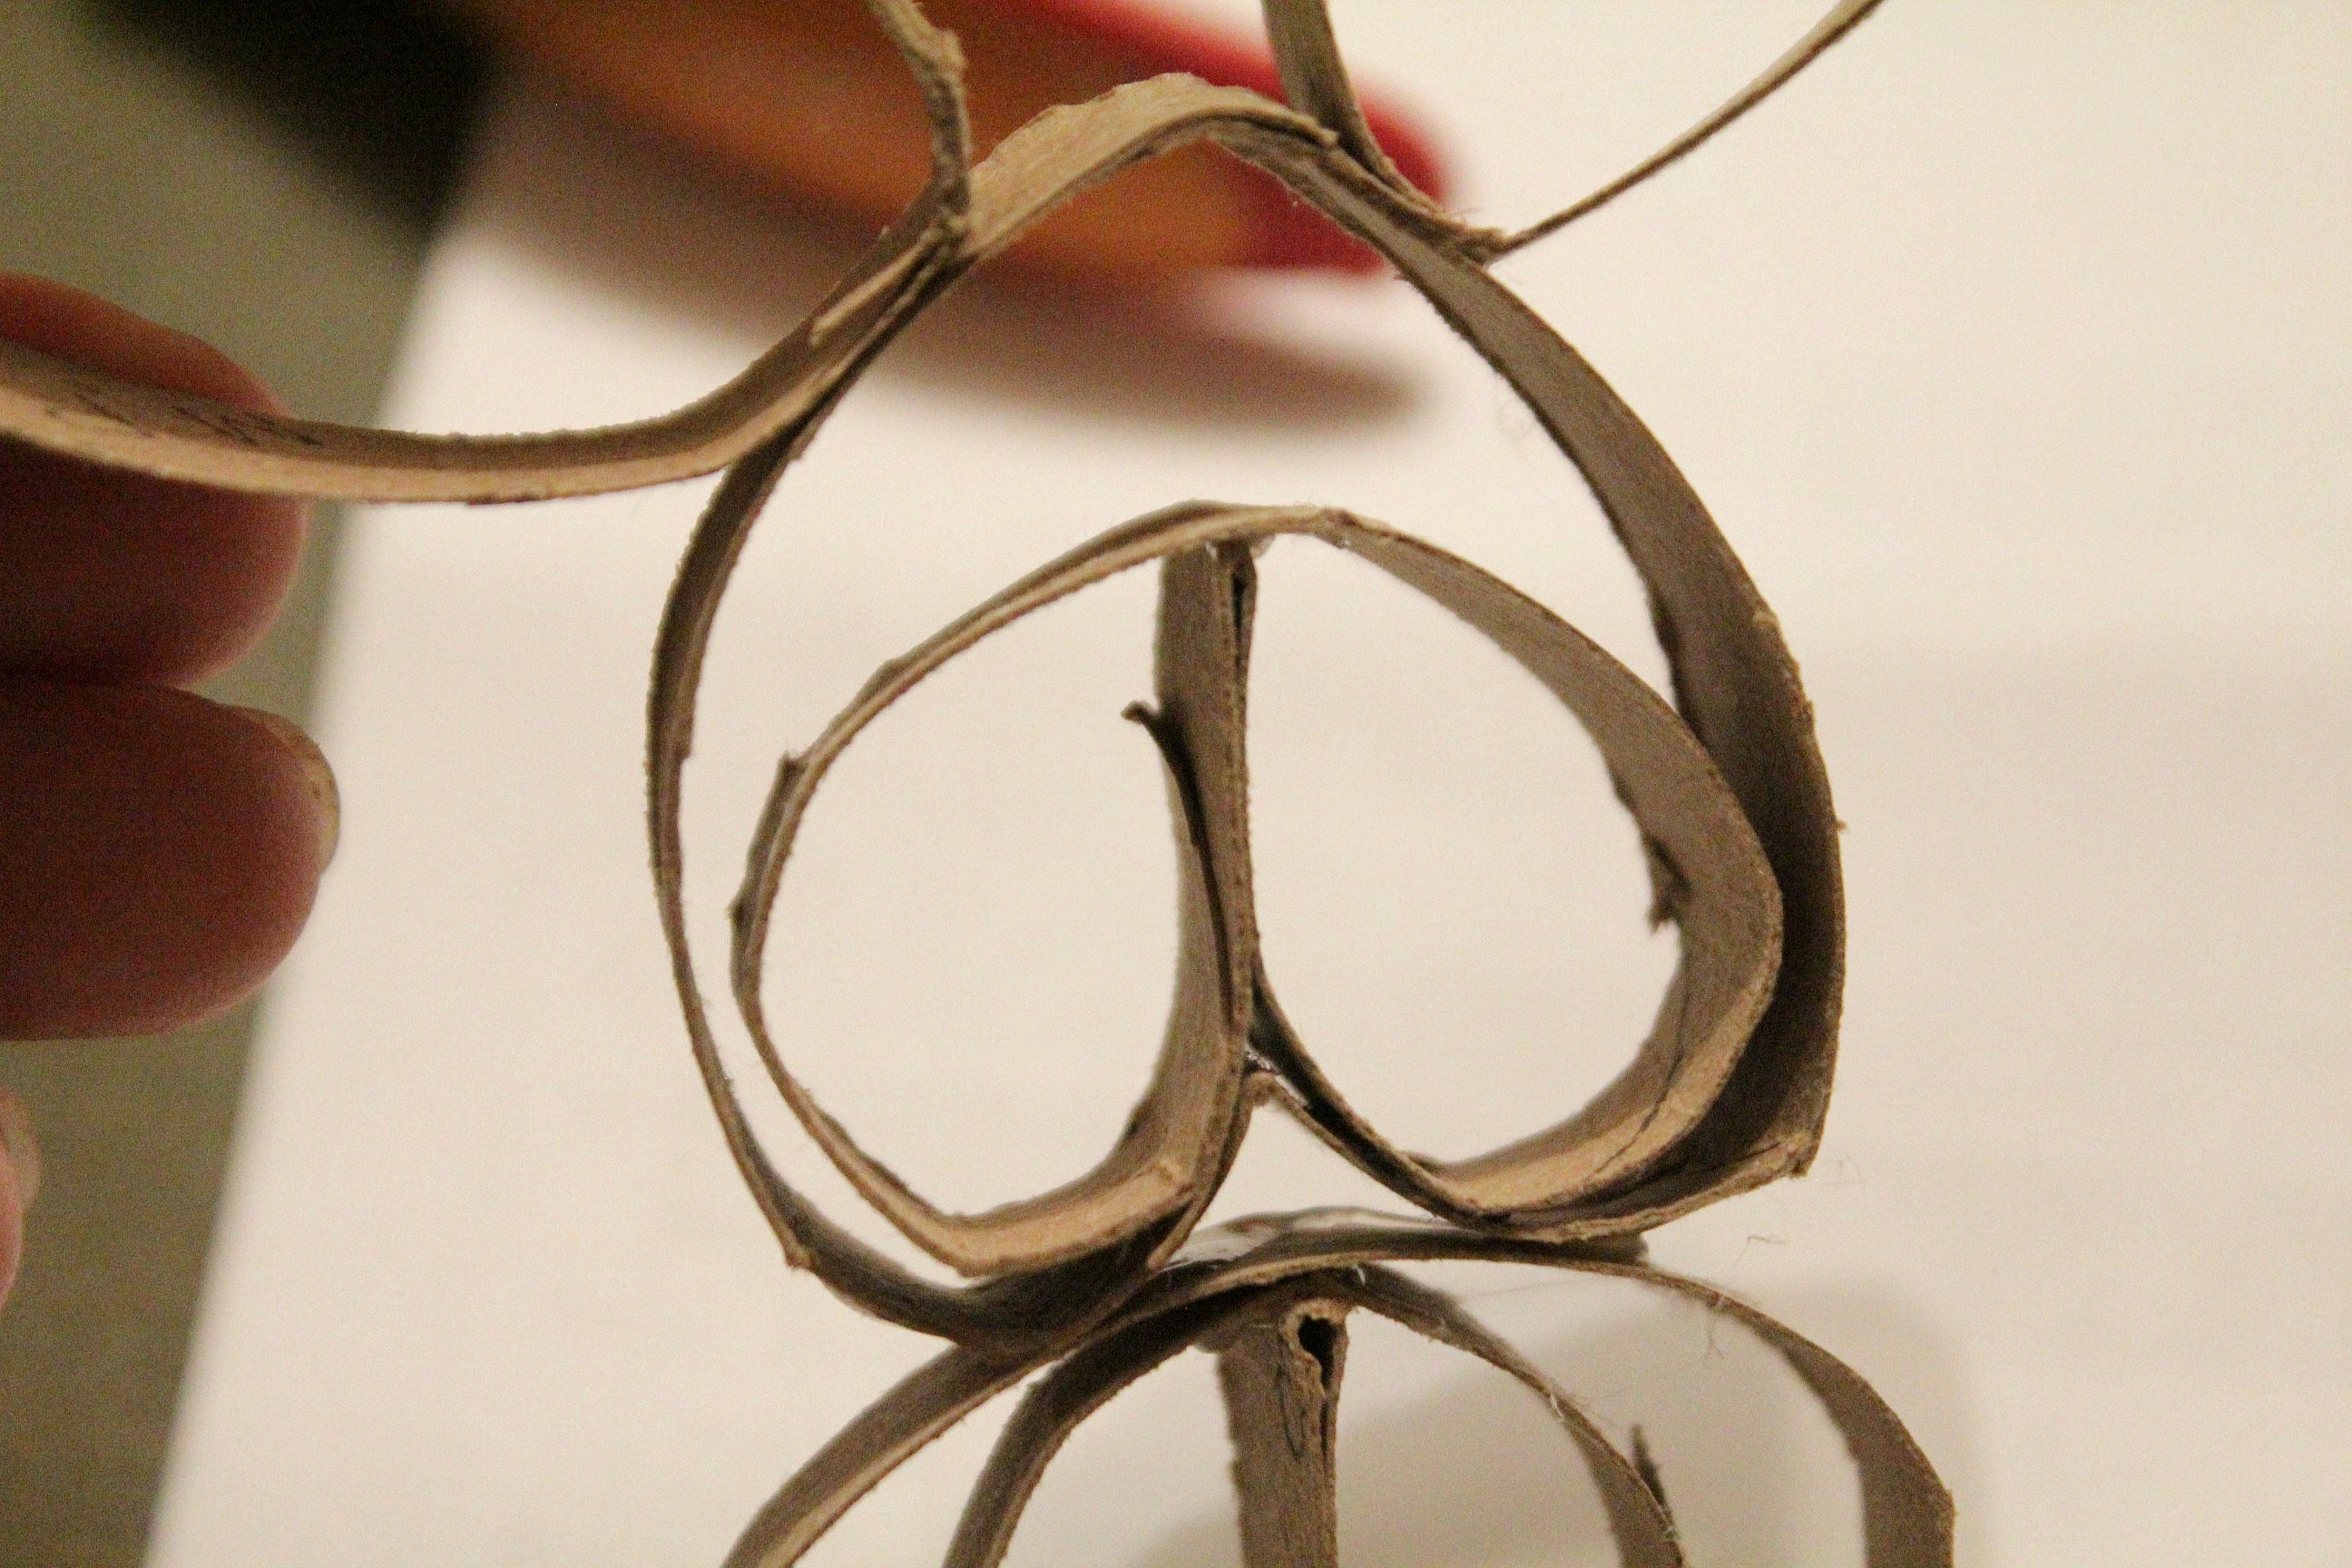
For the arms, you'll take one ring and do the "heart pinch" again, but this time pinch it all the way down until the center meets the other side. Glue the two sides that are pinched together to each other to keep them in place. Glue this shape to the inside of the body, right at the top, so that they hang down like paws.

toilet paper roll bunny

Take the last ring and make the same shape that you did for the arms. This will be the bunny's cheeks. Glue the ring to the inside of the head. How's your bunny looking so far?

toilet paper roll bunny

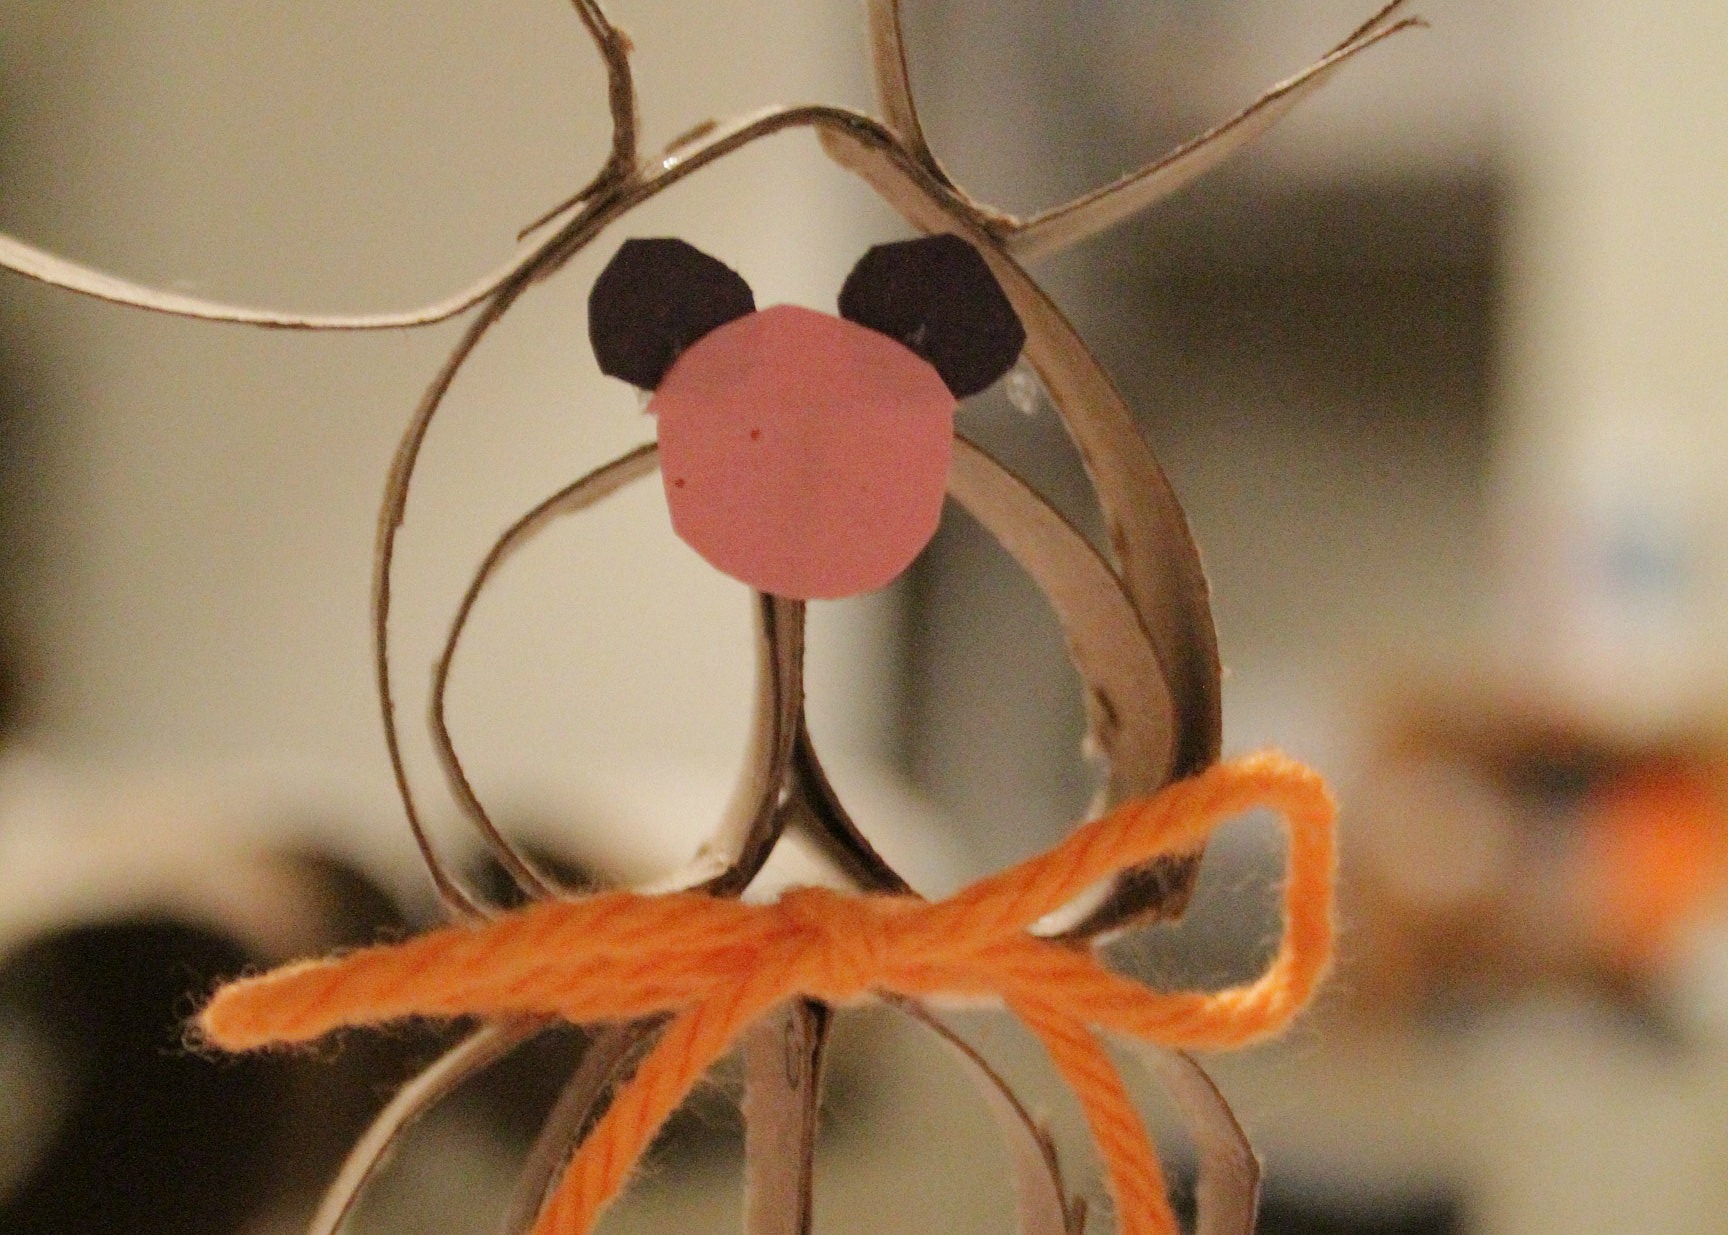
The tutorial I read calls for mini pompoms for eyes, nose, & tail, but I didn't have any, so I cut a nose and eyes out of construction paper. (My bunny is tail-less right now.)

toilet paper roll bunny

I took a piece of orange yarn and tied a bow around his neck for a little flare. You could also paint him white (before adding the eyes and nose, etc.) by hand or with spray paint. Mine's a wild bunny so he's going to stay brown.

How's that for a quick Easter project? Even kids could help with this one if you use craft glue instead of a hot glue gun.

toilet paper roll bunny

toilet paper roll bunny

toilet paper roll bunny


Looking for more Easter projects?  Here are a couple I've done in previous years. Just click on the picture to take you directly to the post (it will open in a new window).

Yarn Eggs

yarn eggs

Bunny in a Jar

Easter bunny in a jar

Easter Wreath

Easter Wreath


Related Posts Plugin for WordPress, Blogger...